Introduction
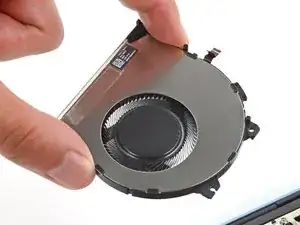
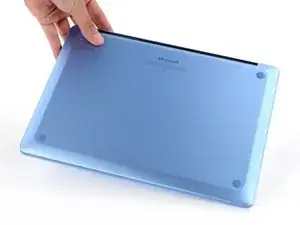
Follow this guide to replace a broken fan in your Microsoft Surface Laptop 7 (13.8‑inch).
If your fan is spinning erratically, constantly, or not at all, it may be time to replace it.
Tools
Parts
-
-
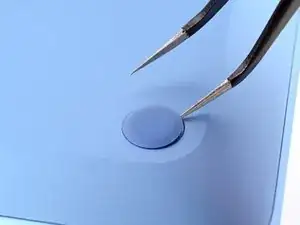
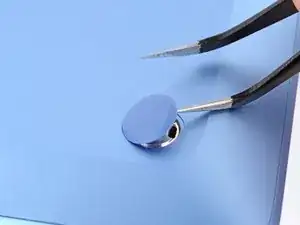
Gently slide one arm of your angled tweezers into the recess near the upper right edge of one of the feet.
-
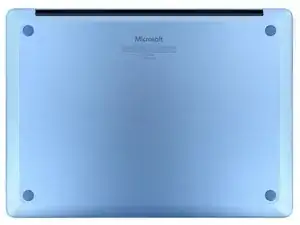
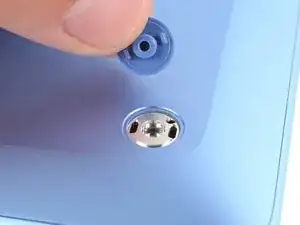
Use your tweezers to pry up and remove the foot.
-
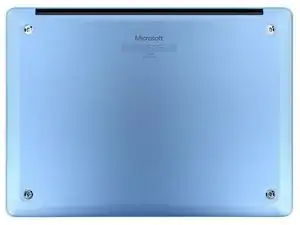
Repeat the process to remove the remaining feet.
-
-
-
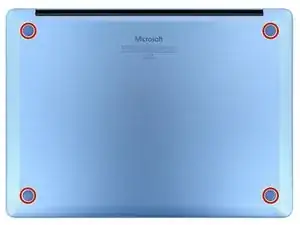
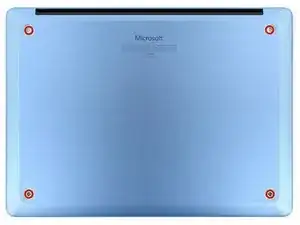
Use a Torx Plus 5IP screwdriver to remove the four 4.5 mm‑long screws (with washers) securing the lower case.
-
-
-
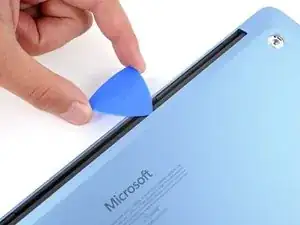
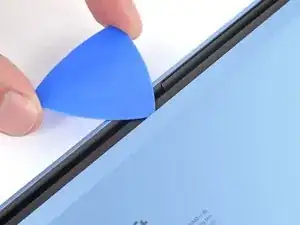
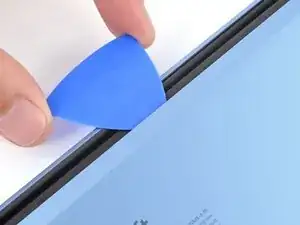
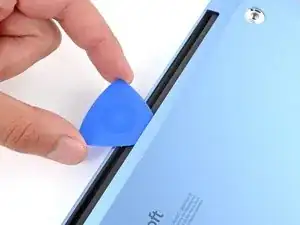
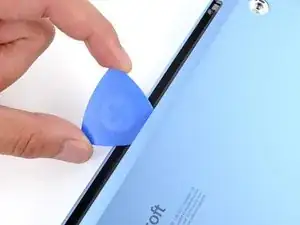
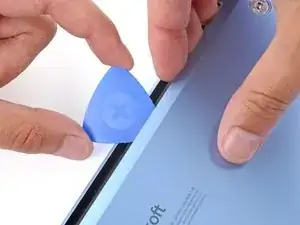
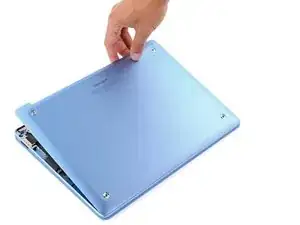
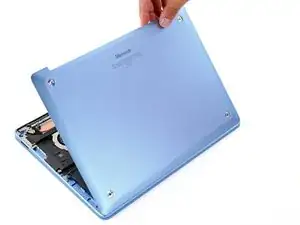
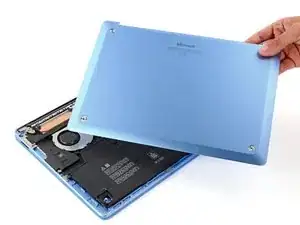
Insert the tip of an opening pick under the top edge of the lower case, about an inch (2.5 cm) to the left or right of the Microsoft logo.
-
-
-
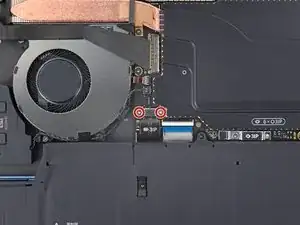
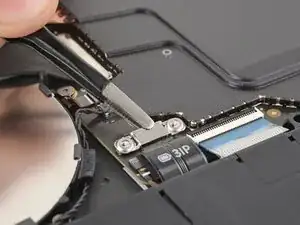
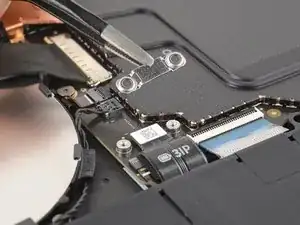
Use a Torx Plus 3IP screwdriver to remove the two 2.3 mm‑long screws securing the battery connector cover.
-
-
-
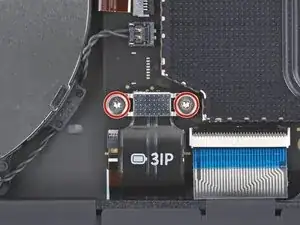
Insert the flat end of a spudger under the top edge of the battery press connector and pry up to disconnect it.
-
-
-
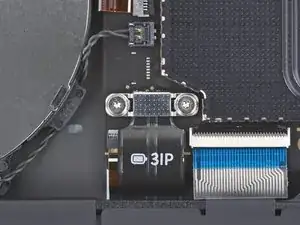
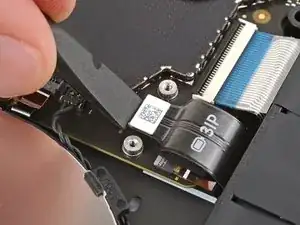
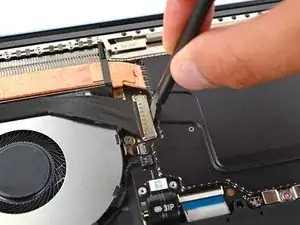
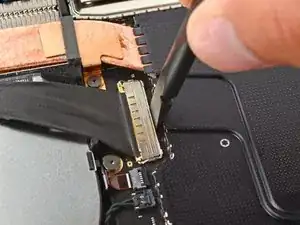
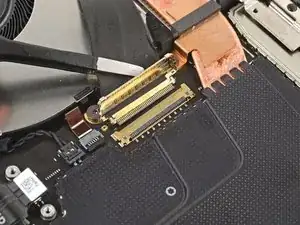
Use the flat end of a spudger to flip up the metal buckle on the Surface Connect port connector.
-
-
-
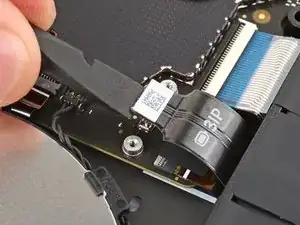
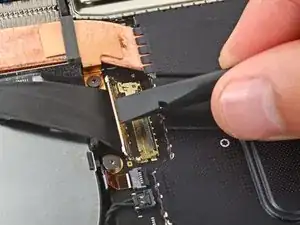
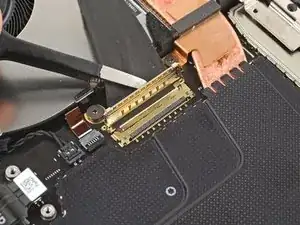
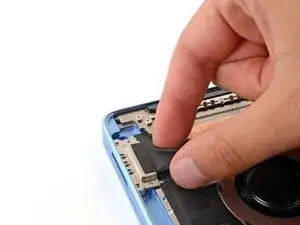
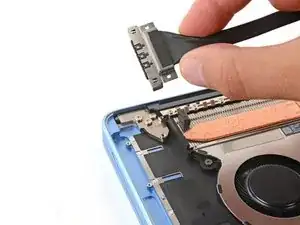
Use tweezers or your fingers to grip the Surface Connect port cable and pull it straight out of its socket.
-
Reconnect the Surface Connect port cable.
-
Remove any adhesive liners and press the cable into place to secure it with the adhesive.
-
-
-
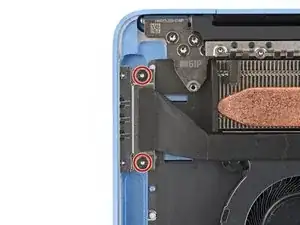
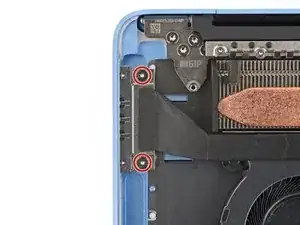
Use a Torx Plus 3IP screwdriver to remove the two 3 mm‑long screws securing the Surface Connect port to the top left corner of the frame.
-
-
-
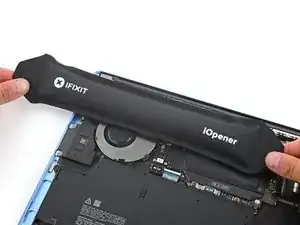
Heat an iOpener and lay it on the Surface Connect port cable for two minutes to soften the adhesive.
-
-
-
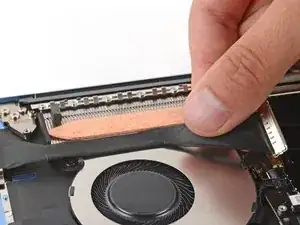
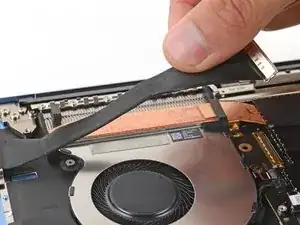
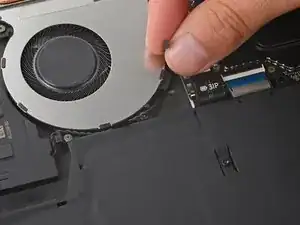
Grip the Surface Connect cable close to the motherboard connector and peel the cable from the fan.
-
If the tape is still sticky, you don't need to replace it.
-
If the adhesive is no longer sticky, or if you're replacing the fan and it doesn't have adhesive, apply a new strip of thin, double-sided tape to the top edge of the fan.
-
-
-
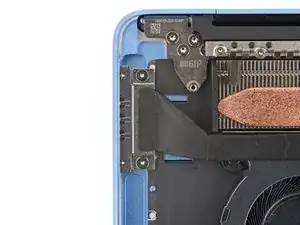
Lift and remove the Surface Connect port.
-
Put the Surface Connect port into place so its cutouts go over their posts on the motherboard. Make sure the port is fully in its cutout—the outer edge should be flush with the frame.
-
Install the two screws that secure the port.
-
-
-
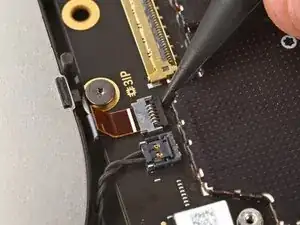
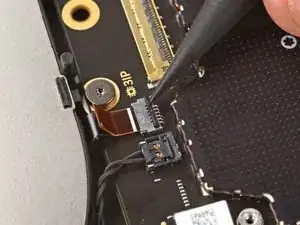
Use the point of a spudger to lift the hinged locking flap on the fan cable ZIF connector, located on the left edge of the motherboard.
-
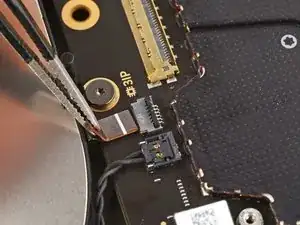
Use tweezers to grip the fan cable's pull tab and slide the cable out of its socket.
-
-
-
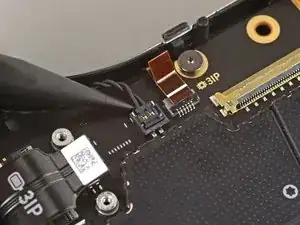
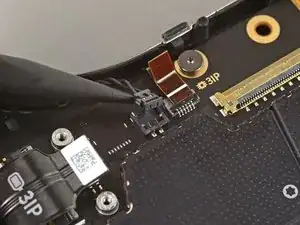
Slide the point of a spudger under the speaker connector (just below the fan cable) and gently lift it straight up and out of the socket.
-
-
-
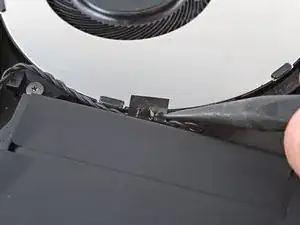
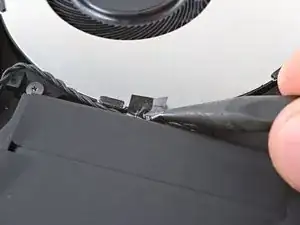
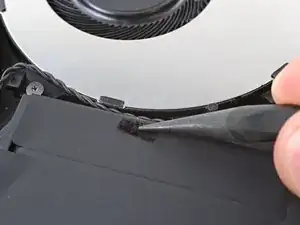
Use the point of a spudger to separate the tape from the bottom of the fan and move it out of the way of the speaker cable.
-
-
-
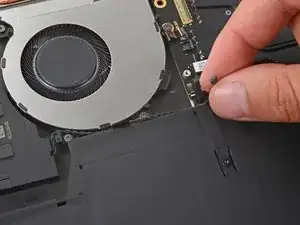
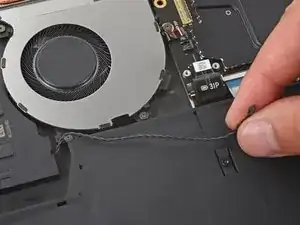
Use your fingers to grip the speaker cable and gently guide it out of the clips along the edge of the fan.
-
To reassemble your device, follow these instructions in reverse order.
Take your e-waste to an R2 or e-Stewards certified recycler.
Repair didn’t go as planned? Try some basic troubleshooting, or ask our Answers community for help.
