Introduction

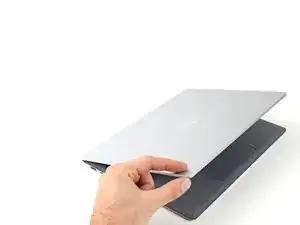
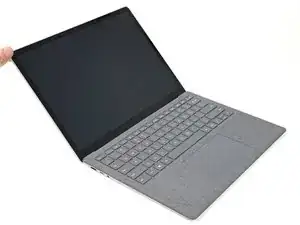
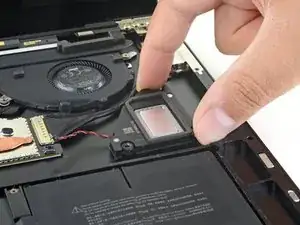
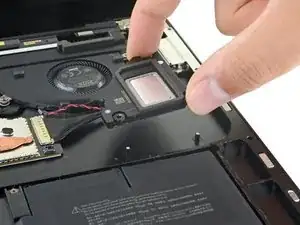
Use this guide to remove or replace the right speaker in your Microsoft Surface Laptop 4 (15-inch).

If your battery is swollen, take appropriate precautions.

Some photos in this guide are from a different model and may contain slight visual discrepancies, but they won't affect the guide procedure.

  1. bpeA62WRYRS4DhL1
    bpeA62WRYRS4DhL1
    SgXDJcObLKdjbAkn
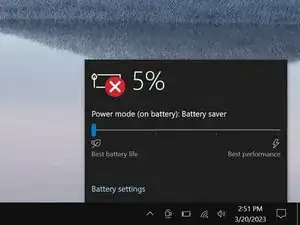
    • Allow your laptop's battery to drain below 25% before starting this repair. A charged battery may catch fire if damaged.

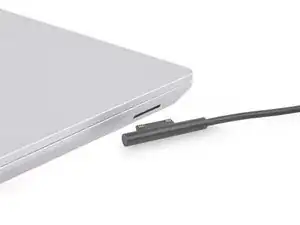
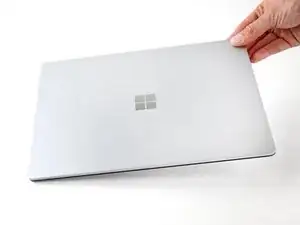
    • Unplug all cables and fully shut down your laptop.

  2. UMuqrxRVapEbSd34
    UMuqrxRVapEbSd34
    53rnKrew6beQjGMR
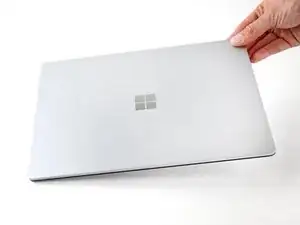
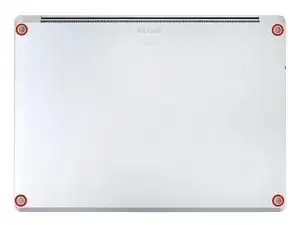
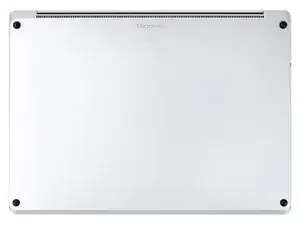
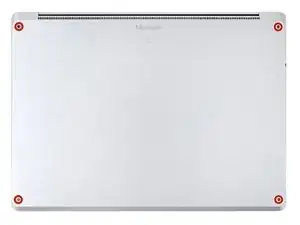
    • Close the screen and lay your laptop down with the rear case facing up to access the four rubber feet.

  3. bUauTNtcAHERPjrZ
    bUauTNtcAHERPjrZ
    sQFceOILSnu6WgcY
    UuUGbpFe55SKDhEs
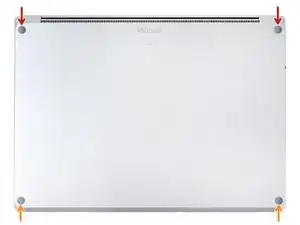
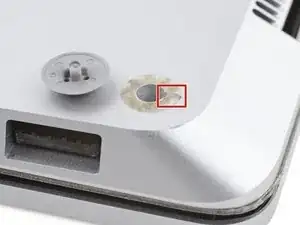
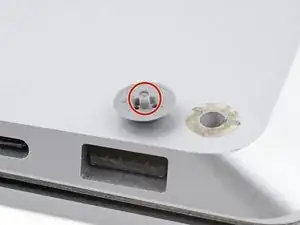
    • Each foot has a recess to help pry it from the laptop:

    • The back feet recesses are closest to the back edge of the laptop.

    • The front feet recesses are closest to the front edge of the laptop.

  4. tHwpcYIPv6gLfNSV
    tHwpcYIPv6gLfNSV
    I4EZLq5PAgnaniC2
    dEgymwisSWVTYSHj
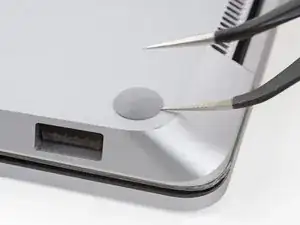
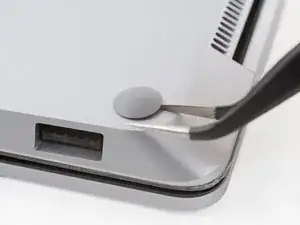
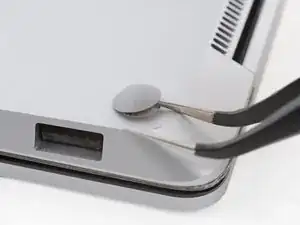
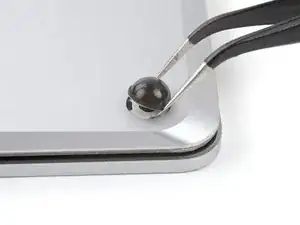
    • Insert one arm of your tweezers into the recess of one of the feet.

    • Twist your tweezers and pry up to separate the adhesive and unclip the foot from the laptop.

    • The feet eject very quickly—be careful not to lose them.

    • Remove the foot.

    • Repeat this process on the remaining feet.

  5. 1gNJ6C3FPseaxbFB
    1gNJ6C3FPseaxbFB
    ijMCTDAWHDYcFdnQ
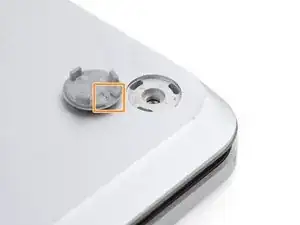
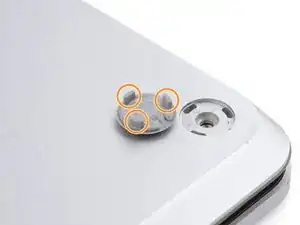
    • This laptop has two different types of feet. During reassembly, make sure the feet go in their correct recesses.

    • The rear feet have a single center clip.

    • The front feet have three clips and can only be reinserted one way.

    • Press the feet into their recesses to secure them to the frame.

    • If the existing feet no longer adhere to the frame, remove the old adhesive and apply a small amount of Tesa Tape where the old adhesive was.

  6. EA5LtBhZBeguMxMn
    EA5LtBhZBeguMxMn
    g5a4W5MGAYMyipJI
    22Cj5CBpj2gudgBK
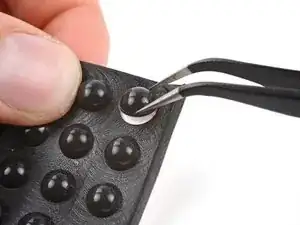
    • If the feet are damaged or worn out, use 8 mm rubber furniture pads:

    • Peel a pad away from its backing.

    • Align the pad over a foot cavity and press down to secure it.

    The feet are expensive and I've only been losing the back feet. The link to the alternate was really appreciated. Thanks.

    Mike -

  7. IAEcKuPHpcKYUjGr
    • These screws strip easily. Apply constant, downward force to prevent stripping.

    • Use a T5 Torx driver to remove the four 3 mm screws securing the upper case.

    • Throughout this repair, keep track of each screw and make sure it goes back exactly where it came from.

  8. p1qT5efs6wYhOTvC
    p1qT5efs6wYhOTvC
    XsbQvJLgK5n2pL2x
    JOXFilts1s11N6jg
    • Flip your laptop over and fully open the screen.

  9. LxXFwyaQTrV4WOPD
    LxXFwyaQTrV4WOPD
    TEVn52cvMsB5AFyv
    V2byfRUPlrJvpAQm
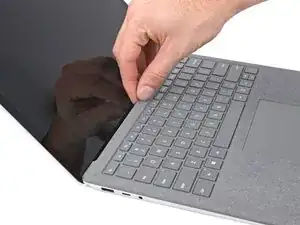
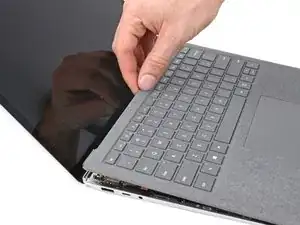
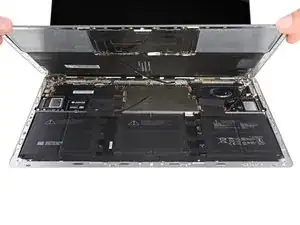
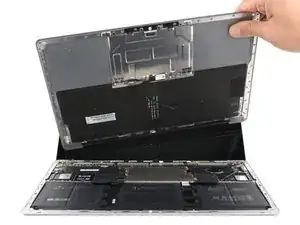
    • The upper case is secured by magnets.

    • Grip the top edge of the upper case above the keyboard and lift straight up to release it.

    • Don't try to completely remove the upper case, as it's still connected to the laptop by a cable.

    • Lift the bottom edge of the upper case up and away from the laptop, taking care to not strain the ribbon cable underneath.

    • During reassembly, lower the upper case onto the lower case until the magnets snap into place and it lays flat.

    • Check that the upper case sits flush around the entire perimeter. Any gaps between the upper and lower case near the screen could damage the screen as it closes.

  10. KJIru1cTRJEAtudD
    KJIru1cTRJEAtudD
    hOfy115bAcZNtVCt
    3VQKcpEkSx1wM3ad
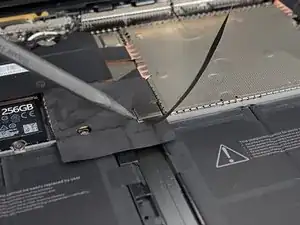
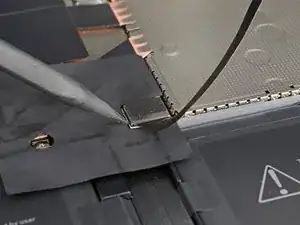
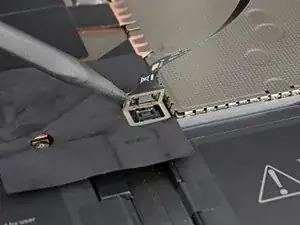
    • The keyboard and touchpad cable connects the upper case to the laptop.

    • Insert the pointed end of a spudger under one edge of the magnet connector and pry up to disconnect it.

    • To reconnect the cable, align the magnet connector over its socket with the cable facing the bottom of the laptop. Press down on the connector to secure it.

  11. mbRkMVhRgbxcJAnr
    • Remove the upper case and set it keyboard-side down on a clean surface.

  12. IprXfhHbqAwBHBhV
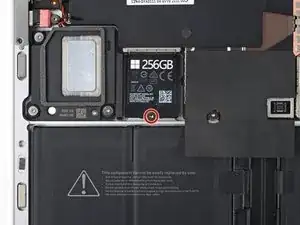
    • Use a T5 Torx driver to remove the 2.7 mm screw securing the SSD.

    • With the screw removed, the SSD pops up at a shallow angle.

  13. 56nqVDdPlmYP5GCZ
    56nqVDdPlmYP5GCZ
    ebhDGDLKbHRC5YhO
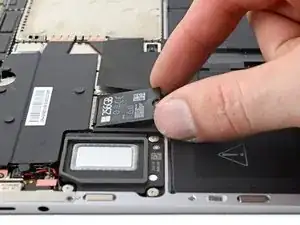
    • Removing the SSD also functions as a battery disconnect.

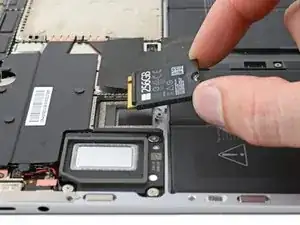
    • Pull the SSD out of its socket and remove it.

    • Don't pull up at a sharp angle, as this could damage the SSD and its socket.

    • During reassembly, insert the SSD at a slight angle.

  14. fiVNfKXoIEEgNJ3r
    fiVNfKXoIEEgNJ3r
    EWPnwG5kYaTyBBmP
    MJJmlIXG31aA6lAT
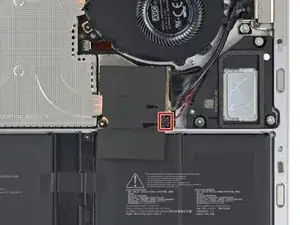
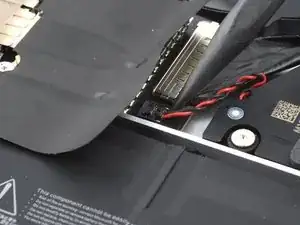
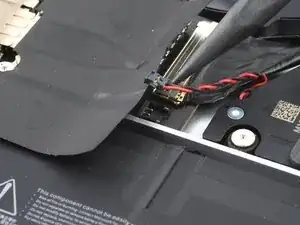
    • Use the pointed end of a spudger to lift and disconnect the right speaker wire from its connector on the motherboard.

  15. O6XbHbMFjYSUyfSW
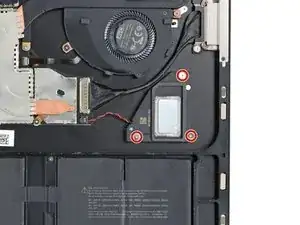
    • These screws strip easily. Apply constant, downward force to prevent stripping.

    • Use a T3 Torx driver to remove the three 2.6 mm screws securing the right speaker.

  16. 1Use1Gp1Y5tSxIhL
    1Use1Gp1Y5tSxIhL
    TXt2vDDVwiBweb24
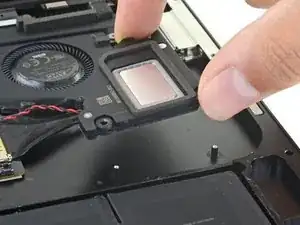
    • Lift and remove the right speaker from its three posts.

Conclusion

Compare your new replacement part to the original part—you may need to transfer remaining components or remove adhesive backings from the new part before you install it.

To reassemble your device, follow these instructions in reverse order.

Take your e-waste to an R2 or e-Stewards certified recycler.

Repair didn’t go as planned? Try some basic troubleshooting or check out our Answers community for help.
Spencer Day

Member since: 14/09/22

88286 Reputation

0 comments