Introduction
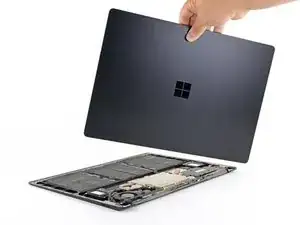
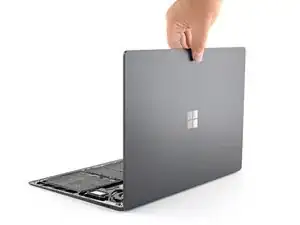
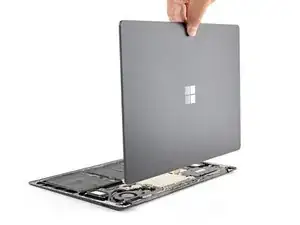
Use this guide to remove the screen on a Microsoft Surface Laptop 3 (15").
Note: This guide is for replacing the entire screen assembly, not just the display panel. Make sure you have the correct replacement part before starting this procedure.
Remember: follow general electrostatic discharge (ESD) safety procedures while repairing your device.
Tools
-
-
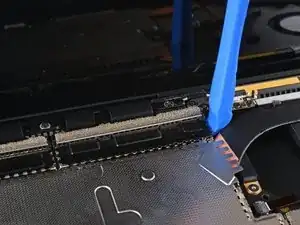
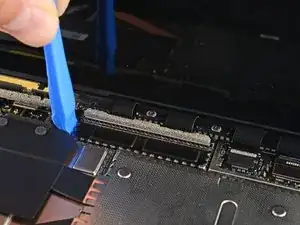
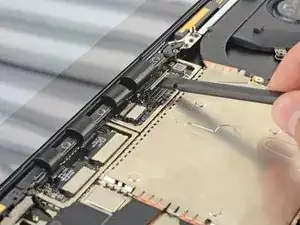
Use an opening tool to pry up the black shield covering the right bank of display connectors.
-
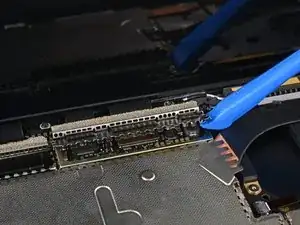
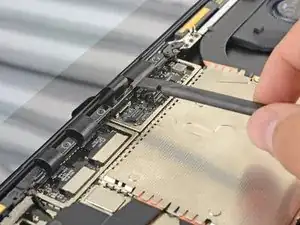
Repeat at different points around the shield until it becomes loose.
-
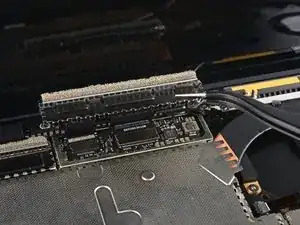
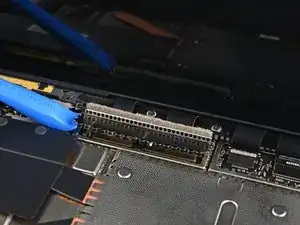
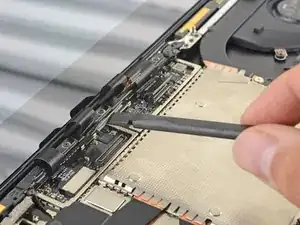
Remove the shield.
-
-
-
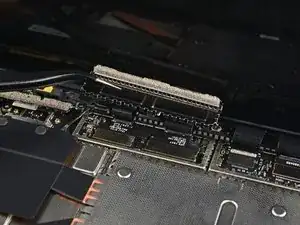
Repeat the previous step to remove the remaining shield from the left bank of display connectors.
-
-
-
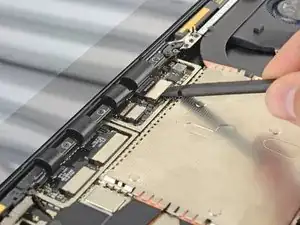
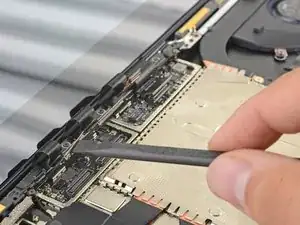
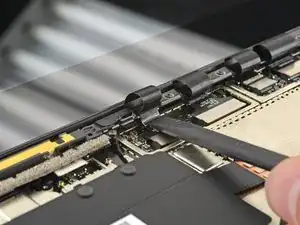
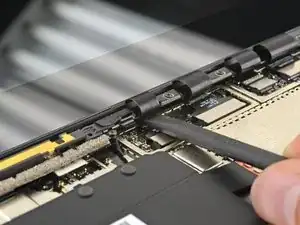
Use the flat end of a spudger to pry the first display cable up and out of its socket on the motherboard to disconnect it.
-
-
-
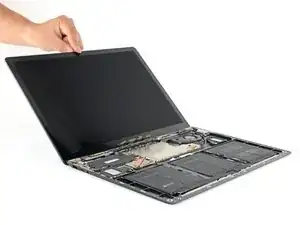
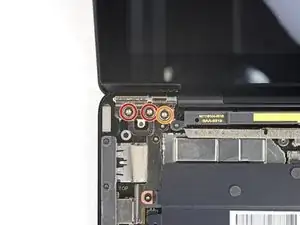
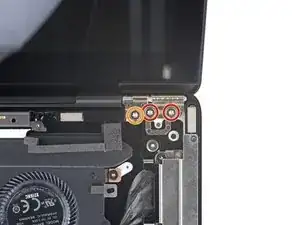
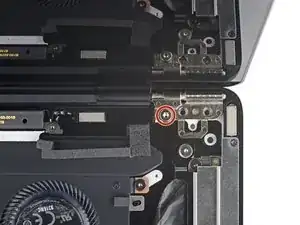
While holding the screen steady, use a T6 Torx driver to remove the four outermost 5.9 mm screws securing the screen, two on each side.
-
Leave the two innermost hinge screws in place for now, one on each side.
-
-
-
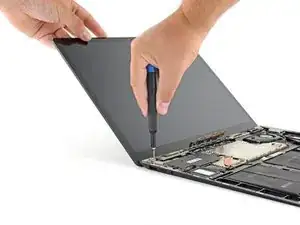
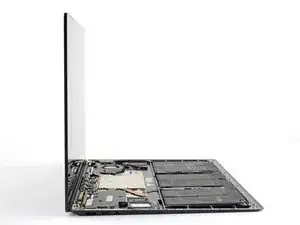
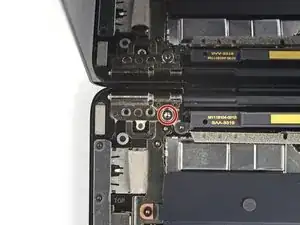
While holding the screen steady, use a T6 Torx driver to remove the two remaining 5.9 mm screws securing the screen, one on each side.
-
Compare your new replacement part to the original part—you may need to transfer remaining components or remove adhesive backings from the new part before installing.
To reassemble your device, follow the above steps in reverse order.
Take your e-waste to an R2 or e-Stewards certified recycler.
Repair didn’t go as planned? Try some basic troubleshooting or search our Answers community for help.
