Introduction

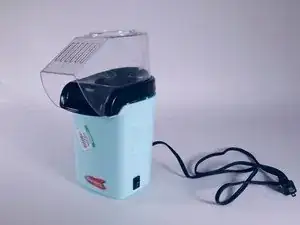
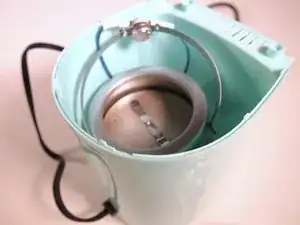
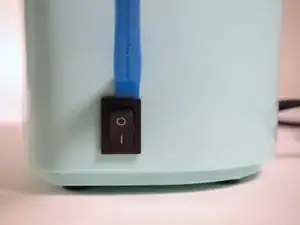
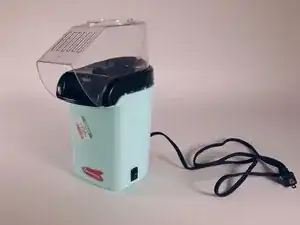
This guide will show you how to disassemble a Maxi-Matic Intertek popcorn maker (model EPM-1810BL; series number 25322) by removing its inner circuitry. Before starting, make sure the popper is turned off, unplugged, and cool.

  1. jmSsBW1y6ymWqtMQ
    • How This Device is Supposed to Work

    • Once the device is plugged in, there is a small switch on the side that will make it turn on. While on, the device will get hot, popping the popcorn kernels inside. When the kernels are done popping, the user must turn off the device using the switch.

  2. QLkUoQWub2IxbRZI
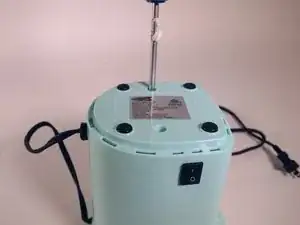
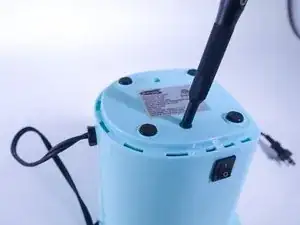
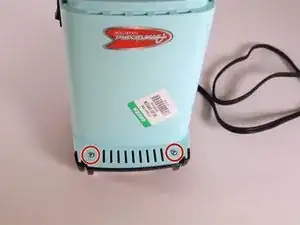
    • Turn the air popper upside down.

    • There are two different kinds of screws, so you will need different screw drivers.

    • Remove the screw above the label with a #2x4" screwdriver.

    • This screw is about 11 mm long.

  3. K3NVad2oVMYEHwW1
    • Remove the screw under the label with the Y1 screwdriver head from the iFixit ProTechToolkit.

    • This screw is about 11 mm long.

  4. Xt1skxXLcOj5g1KT
    Xt1skxXLcOj5g1KT
    HYLWJOXWGGUtehBe
    xZjQhVvVorg33lma
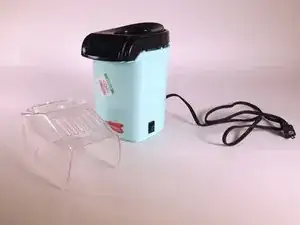
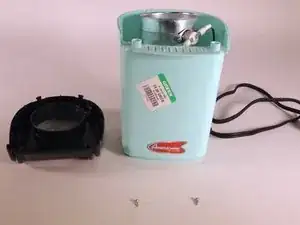
    • Turn the air popper back over (right side up). Remove the plastic protection piece from the top of the air popper.

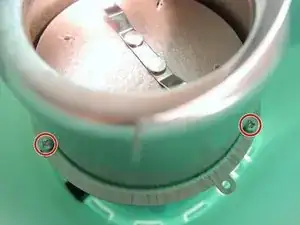
    • There are two screws on the front connecting the base to the lid, each approximately 9 mm long.

    • Remove the two screws using a #2x4" screwdriver.

    • Remove the black lid.

    • There are latches along the edges that release when the lid is pulled.

  5. KqZlZ2x6uiE3SObW
    KqZlZ2x6uiE3SObW
    XqsjQBZcS4WpaWds
    ExMEBN35ANpyIu2P
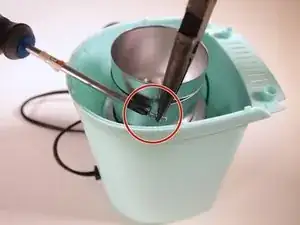
    • Unscrew the ring around the central cylinder using the Phillips #2 screwdriver and a wrench or pliers to hold the bolt in place.

    • The screw is about 14 mm long.

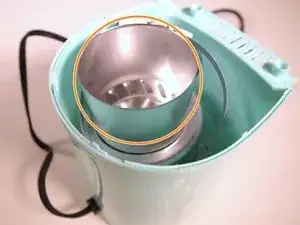
    • Remove the central cylinder by pulling it out straight upwards.

  6. tKpZRRqydTpjLkKR
    • Around the edge of the remaining wider, shorter cylinder, there are four screws.

    • The two most easily accessible screws, opposite the blue wires, are approximately 9 mm long.

    • Remove these two screws using a #2x4" screwdriver.

  7. sa3FwiWUEq6SHKJI
    sa3FwiWUEq6SHKJI
    AFt6J22f42M2nVuI
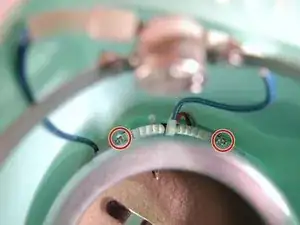
    • Of the remaining two screws near the blue wires, the one on the left is approximately 11 mm long, and the one on the right is approximately 19 mm long.

    • Remove these two screws using a #2x4" screwdriver.

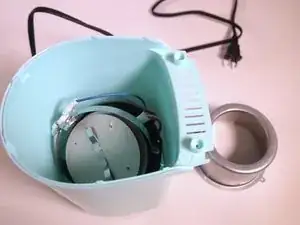
    • Remove the wide, short cylinder from the interior by pulling and separating it from the disk inside it, taking the cylinder fully out.

  8. nvOtBgaCRJaDi2Qr
    nvOtBgaCRJaDi2Qr
    NN1FWgKqKmjvIPS5
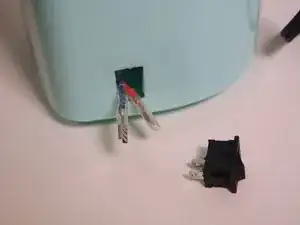
    • Use a plastic iFixit prying tool to remove the switch from the main body.

    • Disconnect the blue and red wires from the switch.

  9. eoVMFZ5EYJIevHiA
    eoVMFZ5EYJIevHiA
    PiLJRTCdWmZ5hLBS
    ckqrMAQbNGCgFLcL
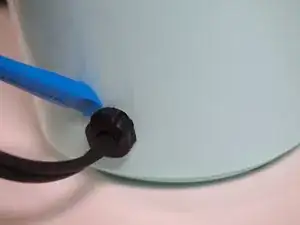
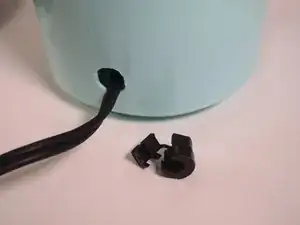
    • Use a plastic iFixit prying tool to remove the cord attachment from the main body of the air popper.

    • Remove the entire circuit from the device.

    • The circuit will come out easily.

  10. wbp3DXHnSRu4KxDp
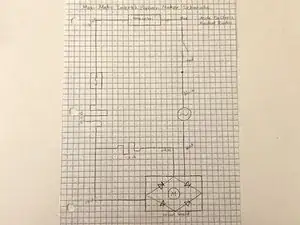
    • Schematic for reference

Conclusion

To reassemble the device, follow these instructions in reverse order.
Rachel

Member since: 13/09/23

231 Reputation

0 comments