Introduction

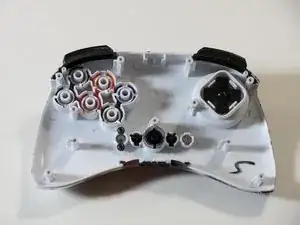
Use this as a guide to remove or replace the rubber part of the directional pad.

  1. pm416YSWvG5ucNwk
    • Use tweezers to completely remove the sticker from the rear of controller.

  2. 3uXvLlgQHkmtRRUM
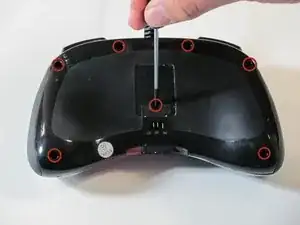
    • Find the seven 8.3 mm Phillips screws on the rear of the controller and remove them.

  3. FumE6DnlEejBvJim
    FumE6DnlEejBvJim
    EOnKxbsxMUVWcPcp
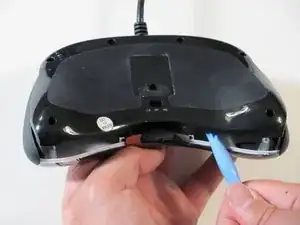
    • Use a plastic opening tool to separate the rear and front casing by inserting it in-between the two cases.

    • Use the plastic opening tool to pry the two cases apart.

  4. VVEjO1MLOoycT6Qt
    VVEjO1MLOoycT6Qt
    IJqQCC1YUNNyCDK3
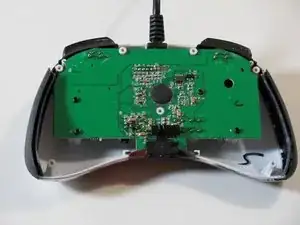
    • Remove the two rubber side grips.

  5. 6mf2FoIsZRtoAyTA
    6mf2FoIsZRtoAyTA
    unvODXCdUGvmTYGU
    • Locate RS-DP-LS switch.

    • Pull upwards on the switch to remove it.

  6. viIJjwUHe2BtVuuD
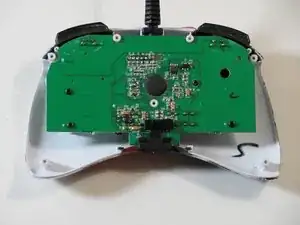
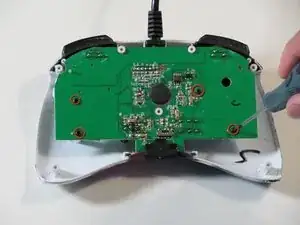
    • Locate the four 8.3 mm Phillips screws on the circuit board and remove them.

  7. hiophYM5WgcCxTmQ
    hiophYM5WgcCxTmQ
    s33OpVCF5QyrPnlp
    fJSaAKgMbFlQCEAW
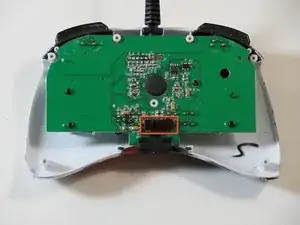
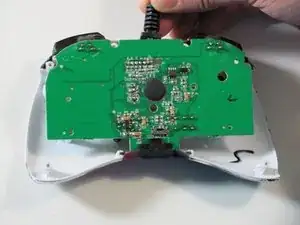
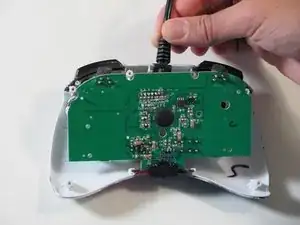
    • Hold the controller cable at the area just before it meets the controller and slowly lift upwards to slide it out of its plastic slot and remove the circuit board.

    • Be careful with the wires connected to the circuit board itself as they are thin and delicate.

    • When reassembling the controller, make sure that the bottom plastic piece is fully inserted into its slot before replacing the circuit board.

  8. ulOKS5PnVwqt1W1n
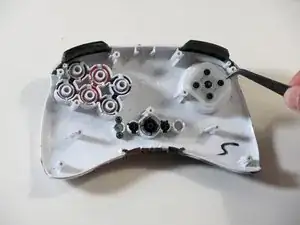
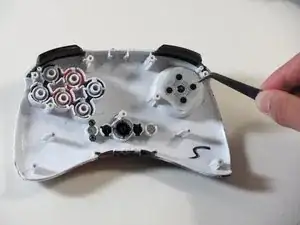
    • Use tweezers to remove the rubber part of the directional pad.

  9. Hnpc3eOkR3paKDDi
    Hnpc3eOkR3paKDDi
    wv3MraitHvTMHqhS
    • Insert a new directional pad over the original directional pad's location.

Conclusion

To reassemble your device, follow these instructions in reverse order.

Jefferson

Member since: 26/09/12

78 Reputation

2 comments

mi spiegate l'utilita di questa guida?vendere forse le pinzette e tutte le altre stronzatine che servono per riparare il fightpad?quando invece il pezzo più importante cioè il gommino non lo vendete....fate pena

auredo1988 -

Hi I don't speak Italian but I think you are asking "what is the purpose of this guide?". We made these as a project for university because I wanted to resolder a wire in this controller that came undone. For good measure we made a guide for each individual part although the real purpose of these guides was for the full disassembly and re soldering.
Eric Devlin -