Introduction
If the buttons on your arcade stick feel sticky, are less responsive than before, or are starting to miss inputs, this guide will show you how to quickly replace them so you can get back to mashing your way to victory.
Arcade buttons operate on a simple on/off switch mechanism: the button becomes active when pressed down far enough to close the internal electric circuit. Over time, the springs inside the buttons can lose their elasticity or become less responsive due to normal wear and tear. Replacing the buttons typically resolves most input-related issues.
While this guide focuses on the Mad Catz Street Fighter IV Fight Stick arcade stick variant, it can also be used to replace buttons on any front-loading arcade-style controller equipped with Sanwa OBSF 30mm snap-in buttons.
Before you begin, make sure to disconnect the controller from your PC or console.
Tools
Parts
-
-
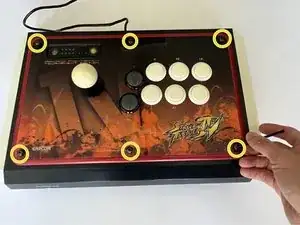
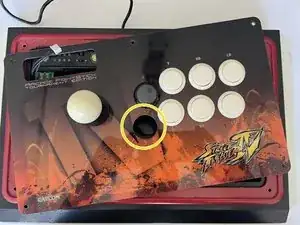
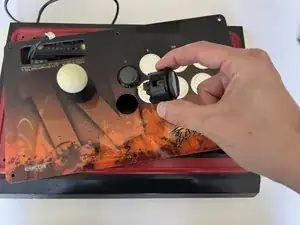
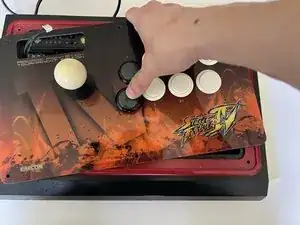
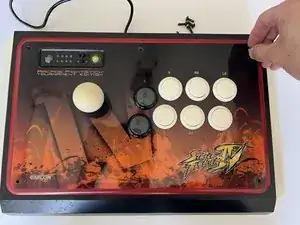
Place the controller on a flat surface, with the front facing you as you would normally use it.
-
Use a 3 mm Hex key to remove all six top-facing screws.
-
-
-
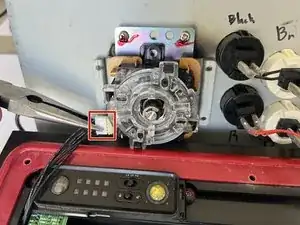
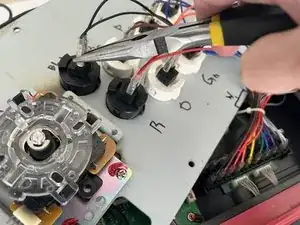
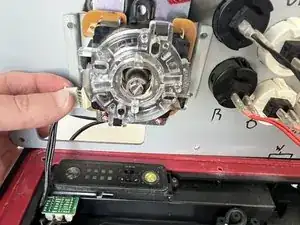
Use the needle nose pliers to loosen the lever to board 4-pin connection.
-
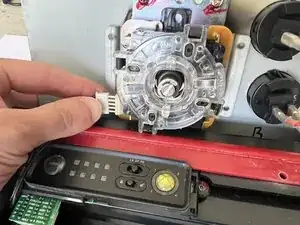
Once it's loose, disconnect the connector by hand to minimize the risk of accidentally damaging the plastic adapter.
-
-
-
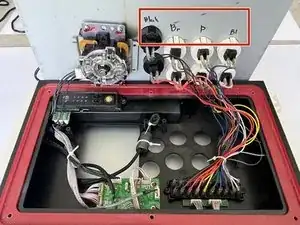
Completely flip the lid over with the lever resting inside the box.
-
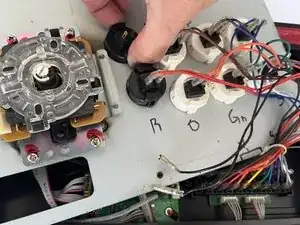
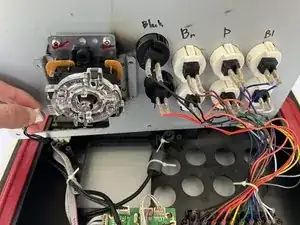
Use pliers to gently squeeze and disconnect the pin connectors located at the bottom of the button you wish to replace.
-
-
-
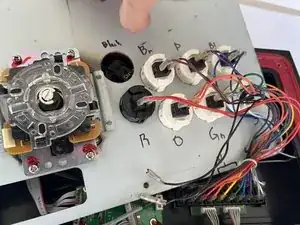
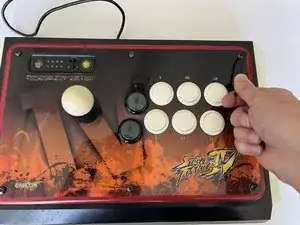
Remove the button by simultaneously squeezing both push tabs on either side and gently pressing down to release it.
-
-
-
Pull the plastic sheath away to reveal the pin connector.
-
Push the button pin down until the connector fully covers it, then slide the plastic sheath securely over the connector.
-
-
-
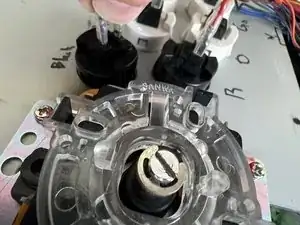
Reconnect the lever link by aligning the plastic adapter with the pins, ensuring everything is properly positioned, as the pins can easily bend.
-
Push it into place by using your thumb on the opposite end of the stick as leverage. Do so until flush, with no metal left exposed.
-
-
-
Flip the lid back into its original position.
-
Fasten the screws by hand first to ensure proper alignment.
-
Secure the lid by tightening the screws with a 3 mm Hex key until they are firmly in place.
-


To reassemble your device, follow these instructions in reverse order.
