Introduction

Use this guide to replace the right speaker in your MacBook Air 2022 (M2).

The right speaker is on the same side as the power button and headphone jack.

  1. lquDimvZWHVcGkIF
    lquDimvZWHVcGkIF
    MrBPlfJiyDeCh3Xy
    GiVPDUTQKCcVHQEp
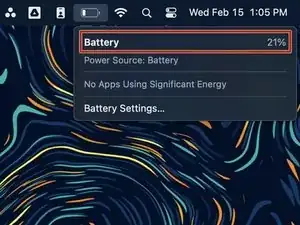
    • Before you begin, discharge your battery below 25%, as a charged lithium-ion battery can be dangerous if accidentally punctured.

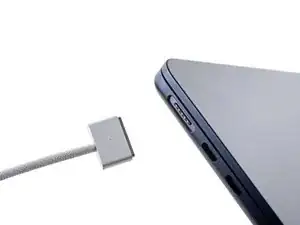
    • Power off your MacBook Air and unplug all cables.

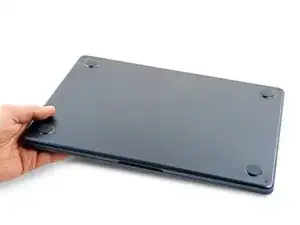
    • Close the display and flip the laptop upside down. Keep the lid closed until you've physically disconnected the battery.

  2. UU3OByKvXHdj5Y2H
    UU3OByKvXHdj5Y2H
    IiKX3lhcjAkhlYAf
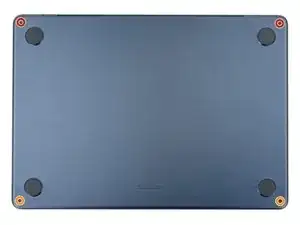
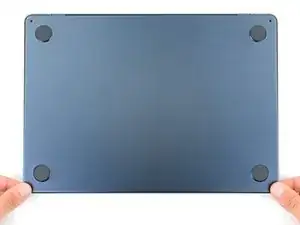
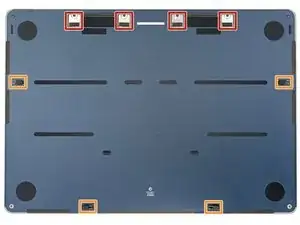
    • Use a P5 Pentalobe driver to remove the four 6.4 mm screws securing the lower case:

    • Two screws with a short threaded portion near the hinges

    • Two screws with a long threaded portion near the front of the MacBook

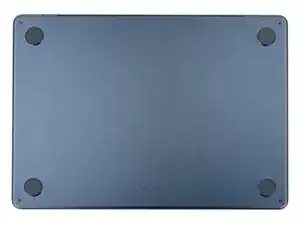
    • Throughout this repair, keep track of each screw and make sure it goes back exactly where it came from.

  3. dokINhbATeVrKXtr
    dokINhbATeVrKXtr
    TjUylLnpiHfWk2sV
    m6fVPUBtNhtoYYHl
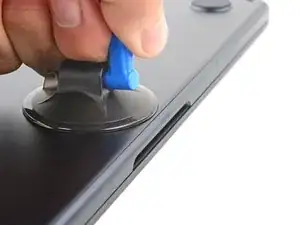
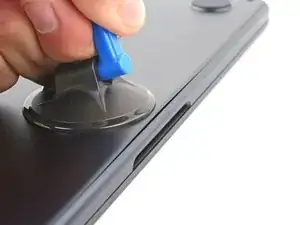
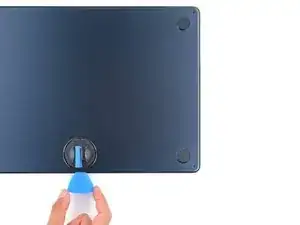
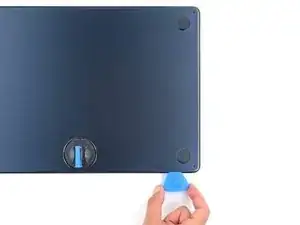
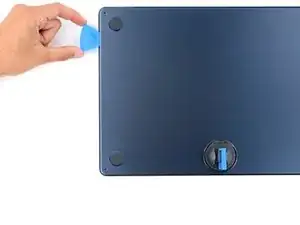
    • Apply a suction handle to the center of the lower case's front edge.

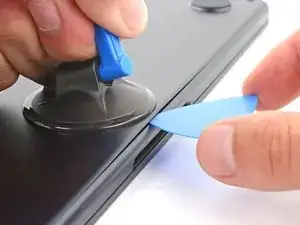
    • Pull up on the suction handle with strong, steady force to create a small gap between the lower case and the frame.

    • Insert an opening pick into the gap.

  4. BoDqyqxbGBlggTvo
    BoDqyqxbGBlggTvo
    pY1Qrw1jHD1iDd2b
    UBVsUaYNRIMIAlaU
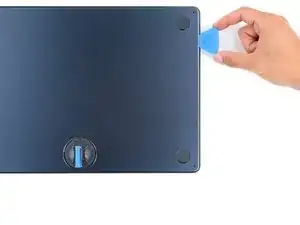
    • During the next two steps you'll feel and hear four snapping clips release. If a clip doesn't release, insert your opening pick farther and try again.

    • Slide the pick to the bottom right corner to release the first clip.

    • Slide the pick around the corner and up the right edge to release the next clip.

  5. BkegaQVYCGs6e6uo
    BkegaQVYCGs6e6uo
    uARqMGT1yaE2uhOn
    Lo1ugnNCtcNL1Qyj
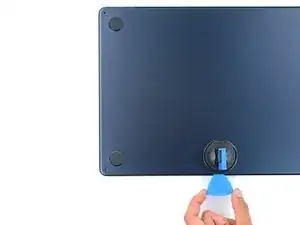
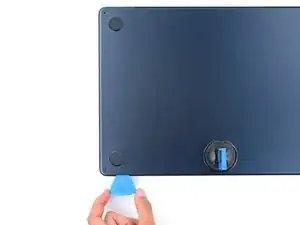
    • Insert the opening pick in the original gap created with the suction handle.

    • Slide the opening pick to the bottom left corner and up the left edge to release the two remaining snapping clips.

  6. JxjCoOqbtL6riXKd
    JxjCoOqbtL6riXKd
    bXZHWpvubTHOOBVP
    AuNBkdMIobCVlYIC
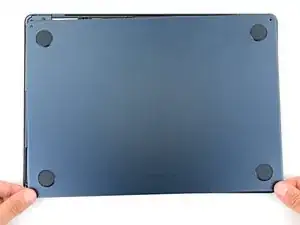
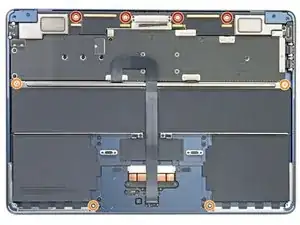
    • Four sliding tabs along the back edge of the MacBook firmly secure the lower case. Separating these tabs requires a lot of force—consider using gloves to protect your hands from the sharp edges of the lower case.

    • Keep the lower case flat and firmly pull it straight away from the back edge, one corner at a time, to disengage the sliding tabs.

    • Don't pull up until the cover is completely separated.

    It's obvious once you know how, but I think that stating the direction of force you apply to the lower case (towards the front) to separate the sliding tabs would be helpful.

    Thank you for the great instructions!

    Tatsuya Takahashi -

    The back tabs are meant to slide down towards the track pad. Do not pull up on the back tabs

    nick mulvaine -

  7. dQ1idM13kbRF6NQC
    dQ1idM13kbRF6NQC
    UqDpUWQXDrMQDWSf
    bXP3i6XCG1BSaeBP
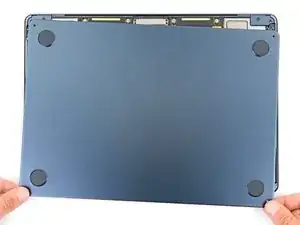
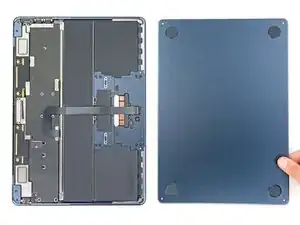
    • Remove the lower case.

    • During reassembly:

    • Set the lower case in place and align the sliding tabs with the screw heads they slide over. Press down and slide the lower case toward the back edge to engage the tabs—it'll stop sliding as the tabs engage.

    • When one side is engaged, it may push the other out of alignment. Check both sides as you push, there should be no gap along the back edge.

    • Once the lower case is flush with the frame, press down firmly along the perimeter to engage the four snapping clips.

    • You'll hear and feel a distinct click as each clip snaps into place.

    I'd bet that if iFixit was to source upgraded replacement lower case 'feet' with a material like nearly any earlier macbook air or pros had--less hard and slippery--they'd sell a lot of them. I'd buy several sets. The OEM feet are horrible and not very 'Apple' in quality.

    Walt Keyes -

  8. DP2BQNffNgdKM1dp
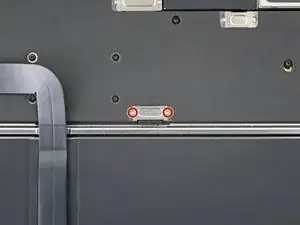
    • Use a T3 Torx driver to remove the two 1.5 mm screws securing the battery connector cover.

    • Due to screw variances, you may need to use a T4 Torx instead. Keep this in mind whenever you encounter T3 Torx screws during this repair.

  9. 2UVCE1lqOt3ViR3I
    2UVCE1lqOt3ViR3I
    JCSnLNLOpWoUBEM2
    • Remove the battery connector cover.

  10. TLUsv2wJrhFsJtLN
    TLUsv2wJrhFsJtLN
    TnjVCuugvheTD3RO
    • Use an opening pick to pry up and disconnect the battery press connector.

    • To reconnect a press connector, align it over the socket and gently press down on one side until it clicks into place, then press down on the other side. It might take a few tries to align the connector.

  11. kebHJh5MREfKeChO
    kebHJh5MREfKeChO
    yXHTMYe5o5TVlUuK
    • Peel up and remove the foam pad from the lower display cable cover to reveal a hidden screw.

  12. gBQ3u44nTDYrcyQm
    gBQ3u44nTDYrcyQm
    RWF2XSltyonEiThE
    • Use a T3 Torx driver to remove the seven 1.5 mm screws securing the three metal covers.

  13. AMkMwcgVxJOG6QHF
    AMkMwcgVxJOG6QHF
    onYf4BjQbEWSPZCf
    DQlXgOTO6KdXxeSF
    • Use tweezers or your fingers to remove the three metal covers:

    • Two speaker cable covers

    • The display cable cover

  14. DB1eNRSrKCyreKHN
    DB1eNRSrKCyreKHN
    v6j5Z65QXD1LnYAH
    • The right speaker will be on your left-hand side when working on the MacBook, as it's laying upside down.

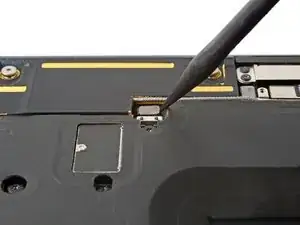
    • Use the pointed end of a spudger to pry up and disconnect the right speaker press connector.

  15. PacOFHa5JDwgwvPj
    PacOFHa5JDwgwvPj
    bArcPihuNqu5J52i
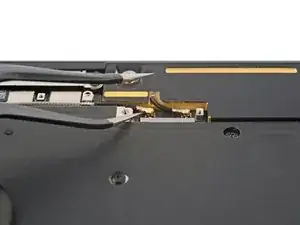
    • Use a pair of tweezers to grip the left antenna connector, as close to its base as possible.

    • Lift straight up to disconnect the cable.

    • The antenna connectors on the logic board are very fragile. When disconnecting the cables, pull straight up—don’t bend them to the side.

    • To reattach antenna connectors like these, align the connector over its socket and press down with the flat end of a spudger. The connector should snap into place. This can be tricky and may take a few tries.

  16. 3CAsGTC4ZvuIX4Ti
    • Use a T3 Torx driver to remove the 2.6 mm screw securing the left hinge cover.

  17. aCPVVMSkhbhGFRK4
    aCPVVMSkhbhGFRK4
    Fu4YFf5Yh1Lo5wmS
    QFEHLw4UaMqLncsC
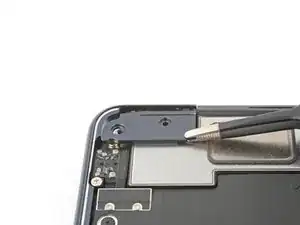
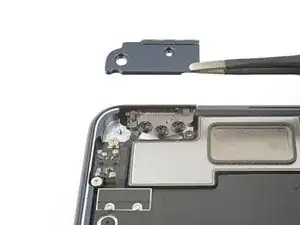
    • Grip the left hinge cover with blunt nose tweezers.

    • Pull the cover toward the bottom of the laptop and upward to free it from its recess.

    • Pull up and remove the hinge cover.

  18. YGwSQOlI2OnCTLSK
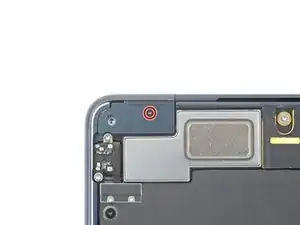
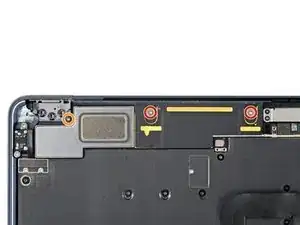
    • Use a T5 Torx driver to remove the three screws securing the right speaker:

    • Two 5.6 mm screws

    • One 3.5 mm screw

  19. a4WHfep1IU3mGHFr
    a4WHfep1IU3mGHFr
    oKlSXESYFV2YpaWC
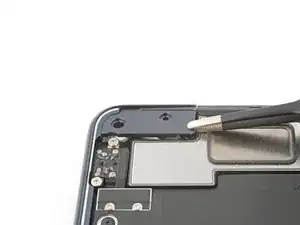
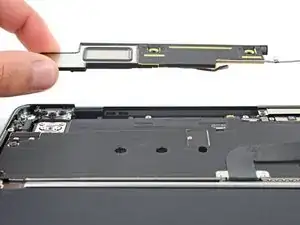
    • Lift the right speaker straight up and remove it.

Conclusion

Compare your new replacement part to the original part—you may need to transfer remaining components or remove adhesive backings from the new part before you install it.

To reassemble your device, follow these instructions in reverse order.

Take your e-waste to an R2 or e-Stewards certified recycler.

Repair didn’t go as planned? Try some basic troubleshooting or check out our Answers community for help.

Spencer Day

Member since: 14/09/22

88286 Reputation

0 comments