Introduction
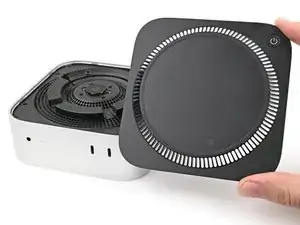
Use this guide to replace or clean the fan in your Mac mini (2024).
This guide was written with a baseline M4 Mac mini. Although the internals for the M4 Pro version are slightly different, the disassembly procedure is the same.
Before buying a replacement fan, use this guide to clean your fan to confirm that dirt or dust isn't your issue.
-
-
Fully shut down your Mac mini and unplug all cables from it.
-
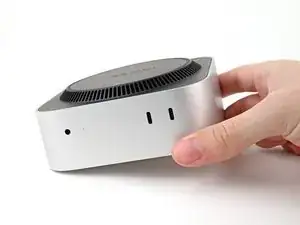
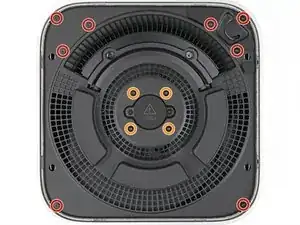
Flip over your Mac mini and place it on a clean, flat surface to avoid scratching the chassis.
-
-
-
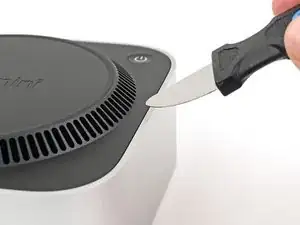
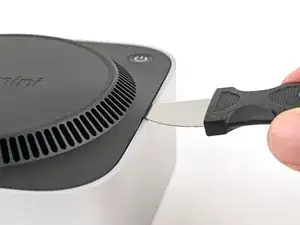
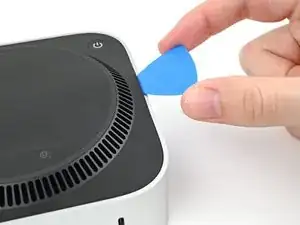
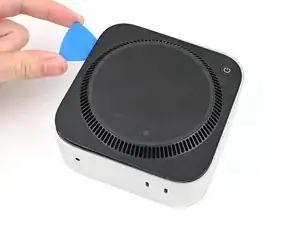
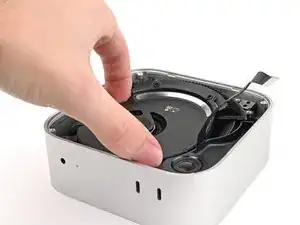
Insert a Jimmy into the gap between the bottom cover and the chassis.
-
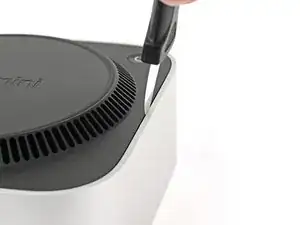
Pry up the bottom cover to create a gap.
-
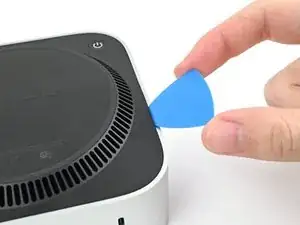
Keep the Jimmy inserted under the bottom cover.
-
-
-
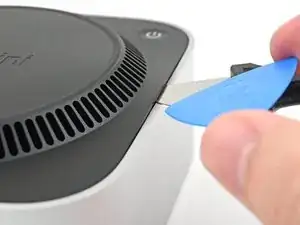
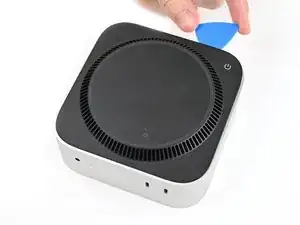
Slide the opening pick along the bottom cover until you feel it snag on a clip.
-
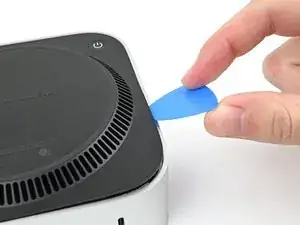
Twist the pick to lift the clip out of its slot.
-
-
-
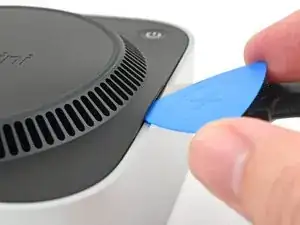
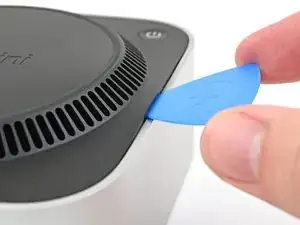
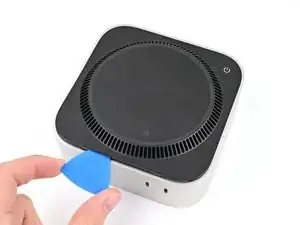
Continue sliding and prying with the pick along the perimeter of the bottom cover to release the remaining clips.
-
-
-
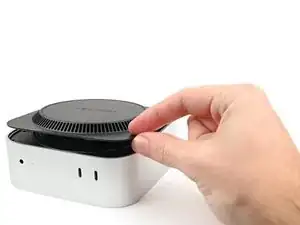
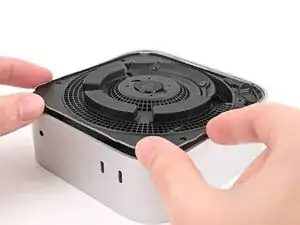
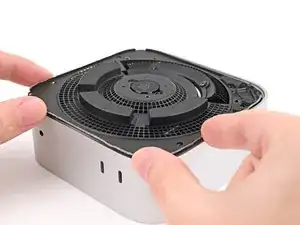
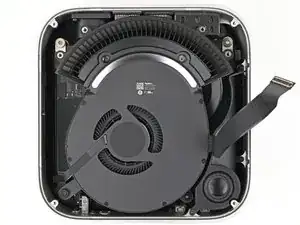
Lift the edge of the bottom cover opposite the power button and flip it over to expose the power button cable.
-
-
-
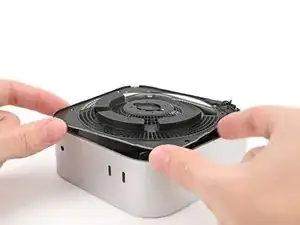
Grip the power button cable close to the head and pull it away from its socket to disconnect it.
-
-
-
Use a T5 Torx screwdriver to remove the twelve screws securing the inner plate:
-
Eight 3.4 mm‑long screws
-
Four 2.4 mm‑long screws
-
-
-
Insert the point of a spudger into one of the clips' slots on the inner plate.
-
Pry up the inner plate enough so you can grip the edge along the same side as the headphone jack.
-
-
-
Pull the inner plate away from the chassis to slide it out from under the lip on the heat sink.
-
-
-
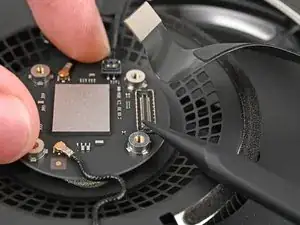
Use one hand to secure the wireless module during this step.
-
Use a Torx Plus 5IP screwdriver to remove the four 2.5 mm‑long screws securing the wireless module cover.
-
-
-
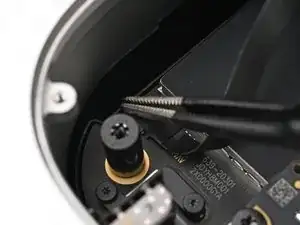
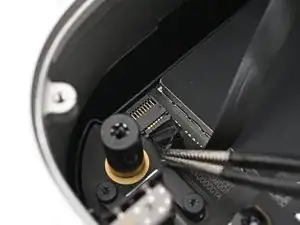
Use one hand to secure the wireless module during this step.
-
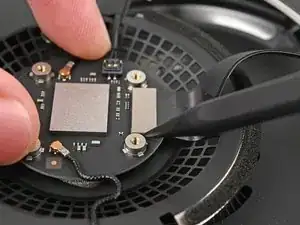
Insert the point of a spudger under one of the short edges of the wireless module press connector.
-
Pry up to disconnect the wireless module.
-
-
-
If you're following this guide to clean your fan, this is a good time to do so.
-
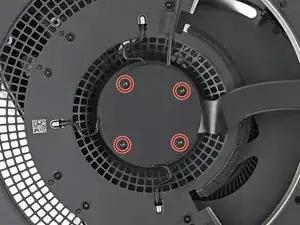
Remove the four screws securing the fan:
-
Two 2.4 mm‑long Torx Plus 3IP screws
-
Two 7.9 mm‑long Torx Plus 5IP screws
-
-
-
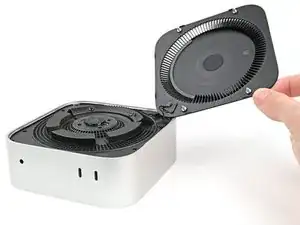
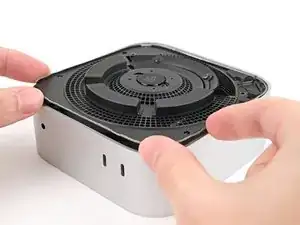
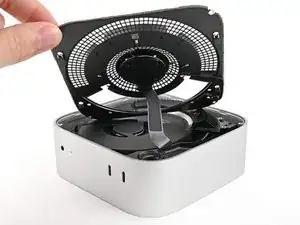
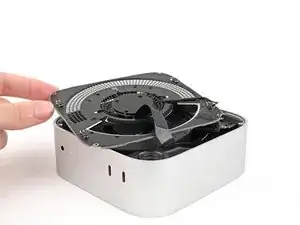
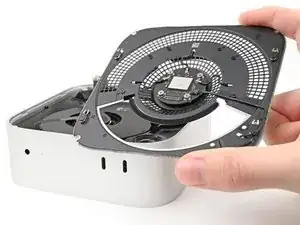
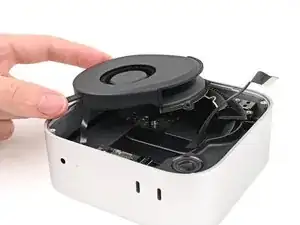
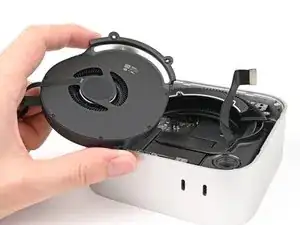
Lift the fan out of its recess in the chassis and flip it over to expose its wire and connector.
-
Let the fan rest on the chassis and heat sink.
-
-
-
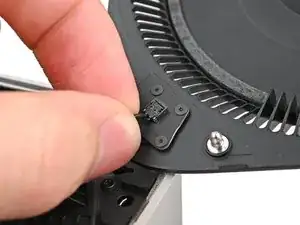
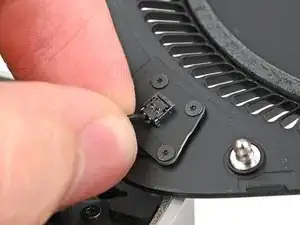
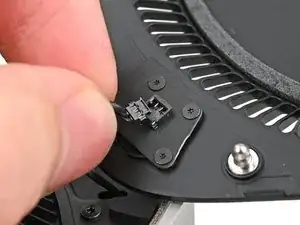
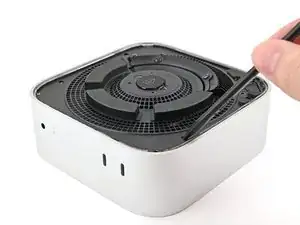
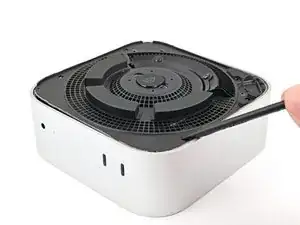
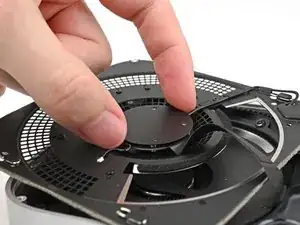
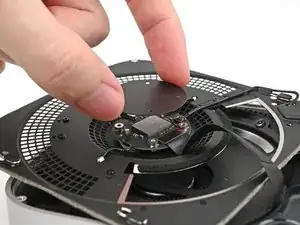
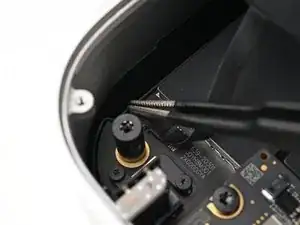
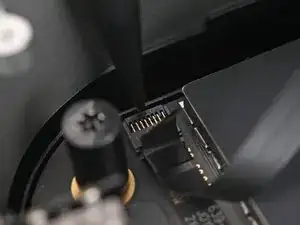
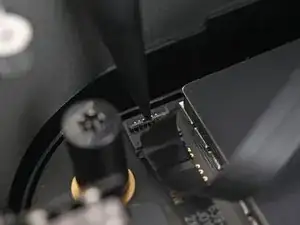
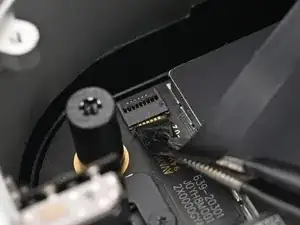
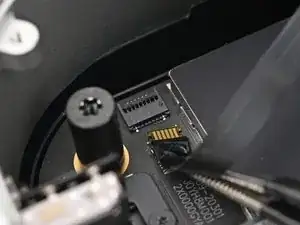
Use the point of a spudger, or your fingernail, to flip up the locking tab on the fan ZIF connector.
-


To reassemble your device, follow these instructions in reverse order.
Take your e-waste to an R2 or e-Stewards certified recycler.
Repair didn’t go as planned? Try some basic troubleshooting, or ask our Mac mini (2024) Answers Community for help.