Introduction

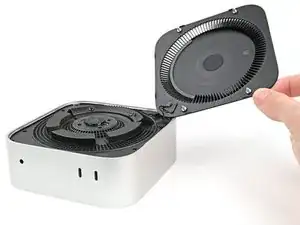
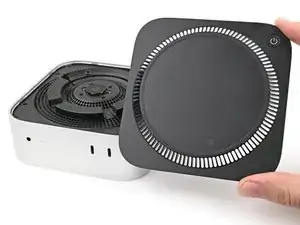
Use this guide to replace the CMOS battery in your Mac mini (2024).

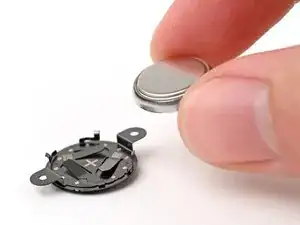
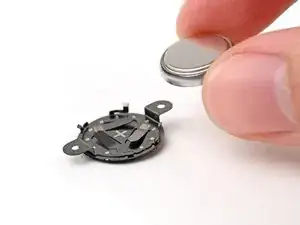
This CMOS battery is a standard 3V BR1632 coin cell battery.

  1. 2AOCDRumFYCwLHDo
    2AOCDRumFYCwLHDo
    oPNVEBC3oT2PmroR
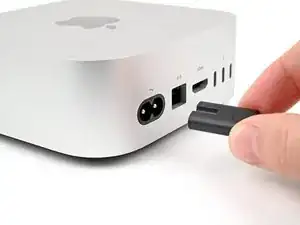
    • Fully shut down your Mac mini and unplug all cables from it.

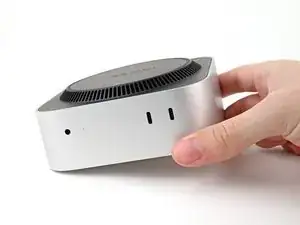
    • Flip over your Mac mini and place it on a clean, flat surface to avoid scratching the chassis.

  2. GAqAsFlbHCjSAv5v
    GAqAsFlbHCjSAv5v
    CRy6ImTIPFvNigGN
    XCXS3xLkfcRUsRMF
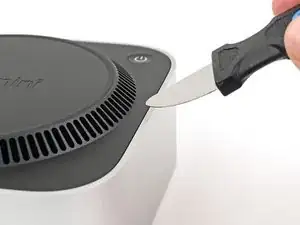
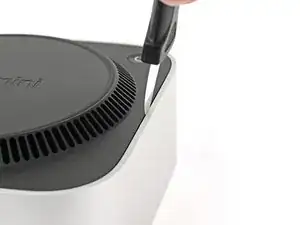
    • Insert a Jimmy into the gap between the bottom cover and the chassis.

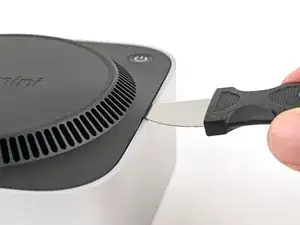
    • Pry up the bottom cover to create a gap.

    • Keep the Jimmy inserted under the bottom cover.

  3. oIn1d3q2dsgFbK4P
    oIn1d3q2dsgFbK4P
    HqjtQvKCBFw2J4PR
    GqIosShyLUtCj1nG
    • Insert an opening pick into the gap created by the Jimmy.

    • Remove the Jimmy.

  4. a1s5oNAhMIPhEdZF
    a1s5oNAhMIPhEdZF
    OjcPUDbawZTxsBPI
    3iNDpG2UcdWeM3Wp
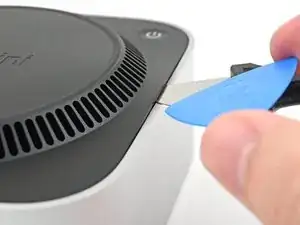
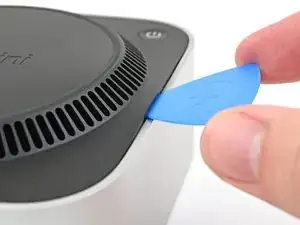
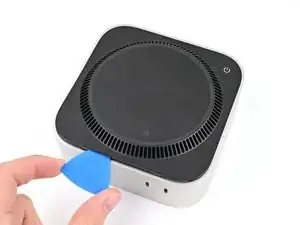
    • Slide the opening pick along the bottom cover until you feel it snag on a clip.

    • There are four clips total—one at each corner of the bottom cover.

    • Twist the pick to lift the clip out of its slot.

  5. cOUhCJYM1rcSehRM
    cOUhCJYM1rcSehRM
    UdUOJBvlO1sVS62f
    RdtnPQiopAujHrbS
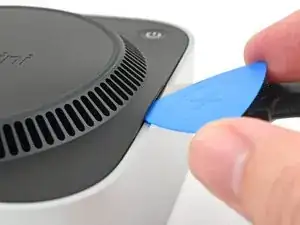
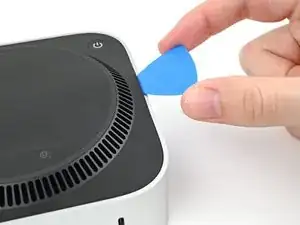
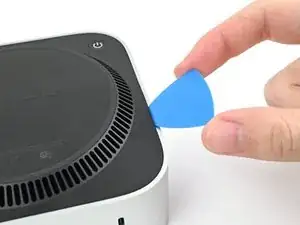
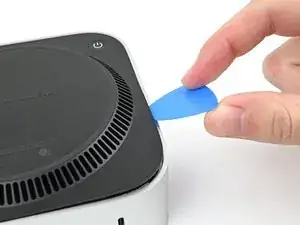
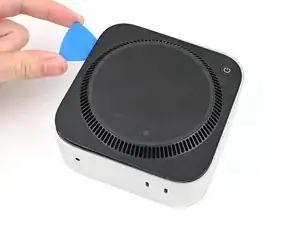
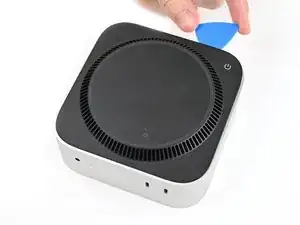
    • Continue sliding and prying with the pick along the perimeter of the bottom cover to release the remaining clips.

    • Don't insert the pick more than an inch near the power button, as you risk damaging the cable.

    • During reassembly, press along the perimeter of the bottom until you hear and feel all four clips click back into place.

  6. vZyG2Wn2rE61iQM2
    vZyG2Wn2rE61iQM2
    hBV4exmuJXURVt5B
    • Don't remove the bottom cover yet, as it's still connected to the Mac mini with a cable.

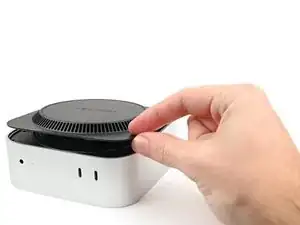
    • Lift the edge of the bottom cover opposite the power button and flip it over to expose the power button cable.

  7. 5CfDOyQWJK5PKgRB
    5CfDOyQWJK5PKgRB
    OMZdwUb1RCYfr43I
    P2UWtvWdIv1Y1FXJ
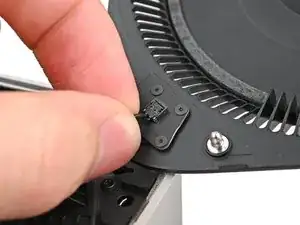
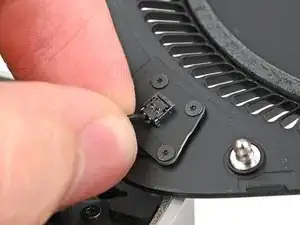
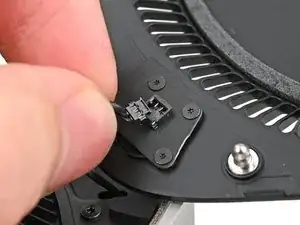
    • Grip the power button cable close to the head and pull it away from its socket to disconnect it.

  8. kIgBGpKoOr1RhIMk
    • Remove the bottom cover.

  9. 6EA6gfGB5gX2bFGZ
    6EA6gfGB5gX2bFGZ
    cj3MXqqRBAUYmJ2S
    • Throughout this repair, keep track of each screw and make sure it goes back exactly where it came from.

    • While the Mac mini uses Torx Plus screws, standard Torx bits work. Make sure to apply constant, downward force to prevent stripping.

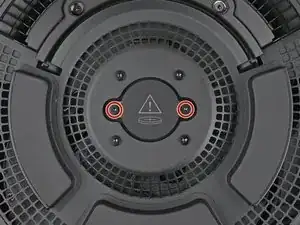
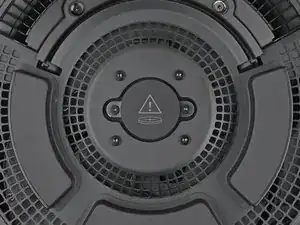
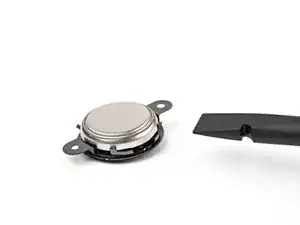
    • Use a Torx Plus 3IP screwdriver to remove the two 2.1 mm‑long screws securing the CMOS battery screws.

  10. WXUjC2Cbg5CykRiC
    WXUjC2Cbg5CykRiC
    rBga1AGPgk2QOOYw
    • Lift the CMOS battery and its housing off the inner plate and remove it.

  11. YEeWYtRbRZJW1XBW
    YEeWYtRbRZJW1XBW
    IuHqjeNrkLNQUHTv
    WeNeoBitrxObMIBP
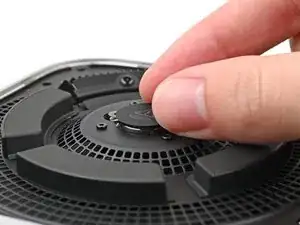
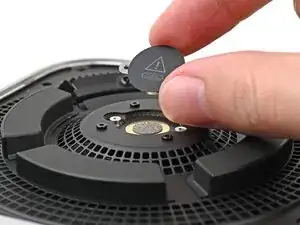
    • Use the flat end of a spudger, or your fingernail, to lift the CMOS battery out of its housing.

    • During reassembly, place the flat, shinier side of the battery into the section of the housing with the plus sign.

Conclusion

To reassemble your device, follow these instructions in reverse order.

Take your e-waste to an R2 or e-Stewards certified recycler.

Repair didn’t go as planned? Try some basic troubleshooting, or ask our Mac mini (2024) Answers Community for help.

Alex Diaz-Kokaisl

Member since: 16/01/22

151895 Reputation

0 comments