Introduction
Use this guide to replace the internal frame in your Mac Studio (2023).
-
-
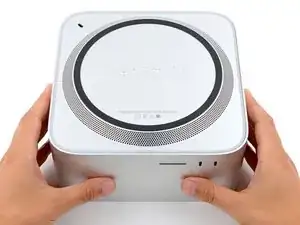
Flip your Mac Studio over and lay it down so the bottom faces up and the SD card slot and two front USB‑C ports are facing you.
-
-
-
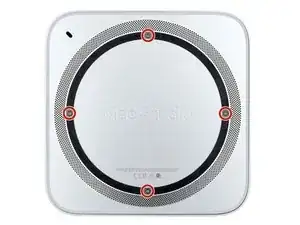
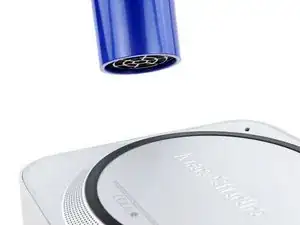
Heat an iOpener and lay it over one of the bottom cover screws for two minutes to soften the adhesive near the screw—this is where you'll insert a spudger in the next step.
-
-
-
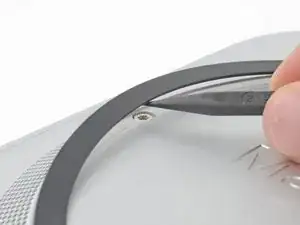
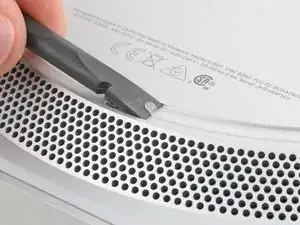
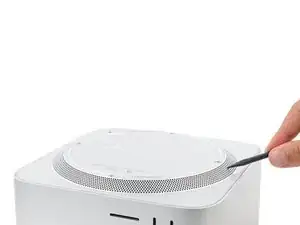
Insert the point of a spudger under the pad's inner edge, near the screw you applied heat to in the previous step.
-
Use the spudger to lift the pad and separate the adhesive.
-
-
-
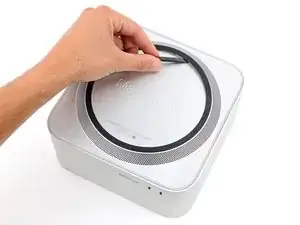
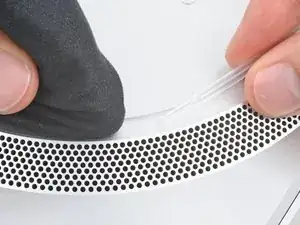
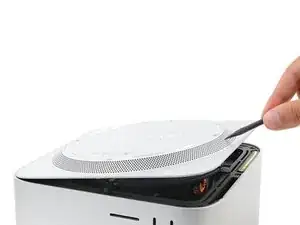
Insert the flat end of a spudger under the pad.
-
Slide the spudger under the entire pad to separate the remaining adhesive.
-
-
-
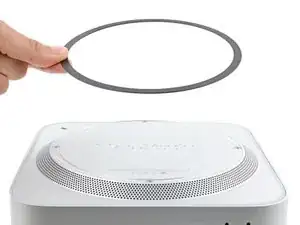
If the adhesive strips are still sticky, you can reuse them.
-
Use the flat end of a spudger and your fingers to scrape up and remove the old adhesive strips.
-
Use isopropyl alcohol and a microfiber cloth to remove the old adhesive residue.
-
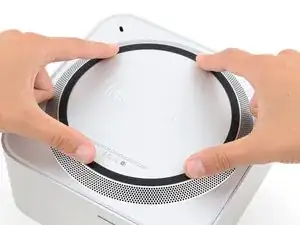
Apply the new adhesive strips to the bottom cover and remove their liners.
-
Firmly press the bottom cover screw pad into its recess to secure it.
-
-
-
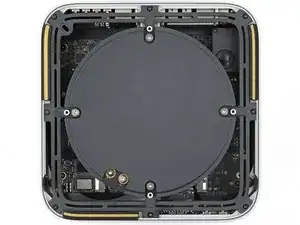
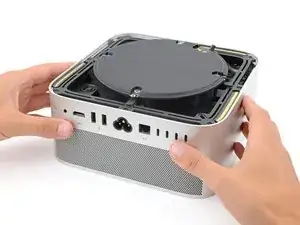
Insert the point of a spudger in one of the bottom cover's ventilation holes and lift the cover until you can grab it with your fingers.
-
Remove the bottom cover.
-
-
-
Use a T10 Torx screwdriver to remove the six screws securing the power supply:
-
Four 6 mm‑long screws
-
Two 7 mm‑long screws with washers
-
-
-
Firmly hold the power supply with one hand and lift up the edge near the power cord port.
-
With your free hand, pinch the head of the power cord port connector to unclip it and pull straight down to disconnect the cable.
-
-
-
Carefully tilt the power supply away from the power cord port so it's at a 90-degree angle.
-
Keep the power supply tilted up for the next step.
-
-
-
With your free hand, pinch the head of the power supply connector to unclip it and pull straight away from the socket to disconnect the cable.
-
-
-
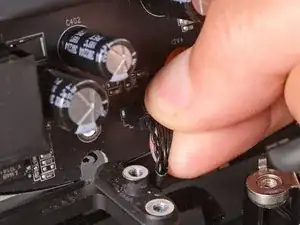
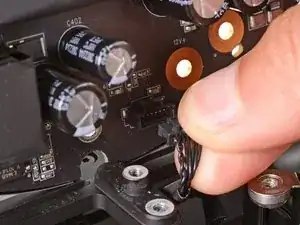
Use a T6 Torx screwdriver to remove the eight screws securing the internal frame:
-
Seven 5 mm‑long screws
-
One 4 mm‑long screw
-
-
-
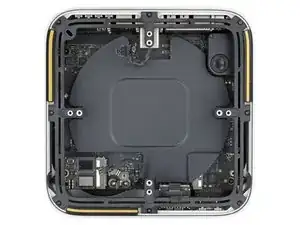
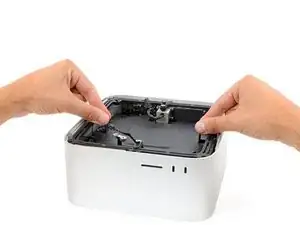
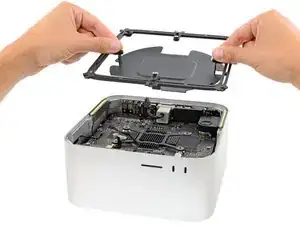
Slowly lift the internal frame straight up and remove it, making sure no cables get snagged.
-


To reassemble your device, follow these instructions in reverse order.
Repair didn’t go as planned? Try some basic troubleshooting, or ask our Answers community for help.