Introduction
Use this guide to replace a damaged, scuffed, or worn-out bottom cover screw pad on your Mac Studio (2023).
-
-
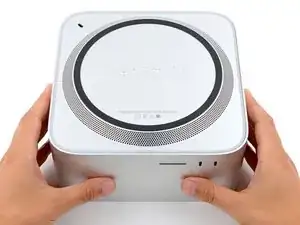
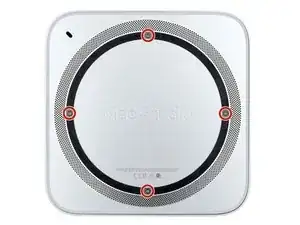
Flip your Mac Studio over and lay it down so the bottom faces up and the SD card slot and two front USB‑C ports are facing you.
-
-
-
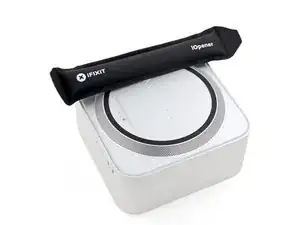
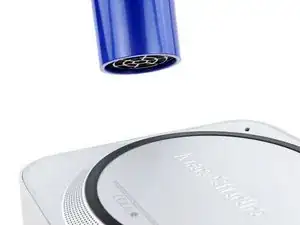
Heat an iOpener and lay it over one of the bottom cover screws for two minutes to soften the adhesive near the screw—this is where you'll insert a spudger in the next step.
-
-
-
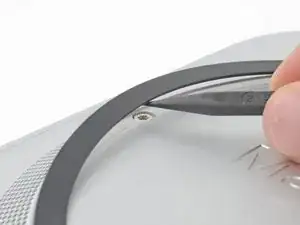
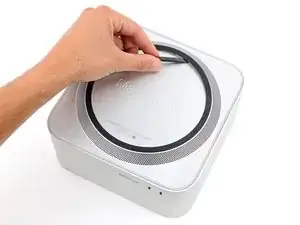
Insert the point of a spudger under the pad's inner edge, near the screw you applied heat to in the previous step.
-
Use the spudger to lift the pad and separate the adhesive.
-
-
-
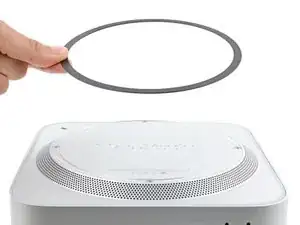
Insert the flat end of a spudger under the pad.
-
Slide the spudger under the entire pad to separate the remaining adhesive.
-
-
-
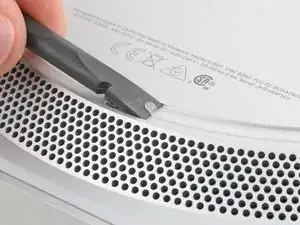
If the adhesive strips are still sticky, you can reuse them.
-
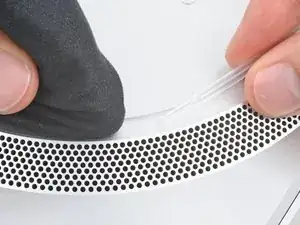
Use the flat end of a spudger and your fingers to scrape up and remove the old adhesive strips.
-
Use isopropyl alcohol and a microfiber cloth to remove the old adhesive residue.
-
Apply the new adhesive strips to the bottom cover and remove their liners.
-
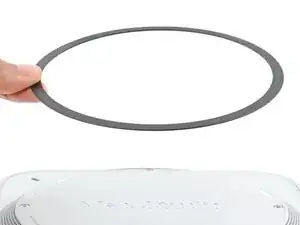
Firmly press the bottom cover screw pad into its recess to secure it.
-


Repair didn’t go as planned? Try some basic troubleshooting, or ask our Answers community for help.