Introduction
-
-
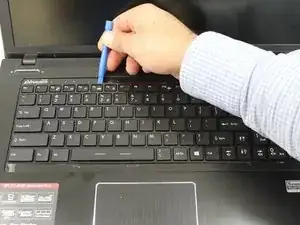
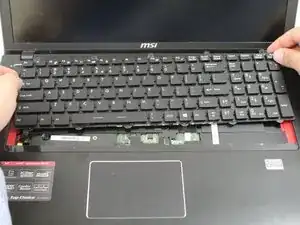
Insert iFixit opening tool as shown in the picture to pry up on the keyboard guard.
-
Remove the keyboard guard.
-
-
-
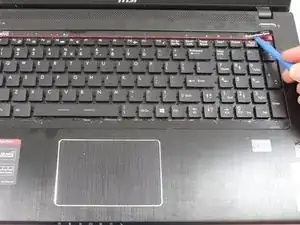
Insert the iFixit tool under the plastic screw cover.
-
Grab the plastic part with your hand and lift it off the casing.
-
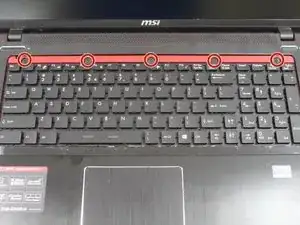
Remove the plastic part to reveal the screws holding the keyboard in place.
-
-
-
Unscrew the five screws located at the top of the keyboard.
-
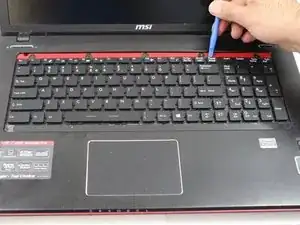
Use the opening tool to lift the keyboard from its position
-


Conclusion
To reassemble your device, follow these instructions in reverse order.
2 comments
What about step 4 detaching the ribbon cable?
yes missing the part of the 2 ribbon cables, one of them (the lighting) is not reachable like this..
you have to take out the battery, and then remove the back cover to reach the ribbon for the lighting
This is totally wrong. DO NOT REMOVE they keyboard guard; it's NOT REMOVABLE!!!! Instead pry off the strip of plastic above the keyboard that says "DYNA AUDIO" and the screws for the keyboard will be revealed. Also there are two additional screws on the bottom of the unit that have to be removed for the keyboard to come off.
Joe Buddy -