Introduction

Use this guide to replace the thermal pad in your MNT Pocket Reform laptop.

If your laptop is overheating, or if your thermal pad is damaged during a repair, you may need to replace your thermal pad.

The thermal pad should be 2 mm thick.

  1. eWFhTOWaQDplyYFY
    eWFhTOWaQDplyYFY
    S1uor3fGeBfYCtcK
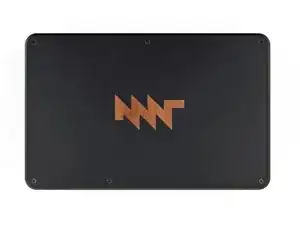
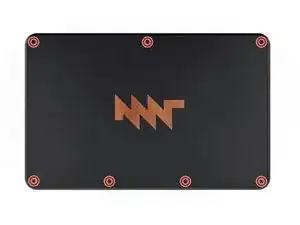
    • Place the laptop on your work surface so the top cover with the MNT logo is facing up.

    • Use a Phillips screwdriver to remove the seven 4.8 mm‑long screws securing the top cover.

  2. 6YHs5OLd3BEILUeX
    6YHs5OLd3BEILUeX
    agCDyuSSx2MZOLKC
    rCXEoWiL5LESwHgd
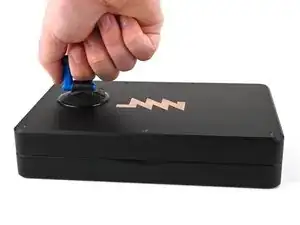
    • The top cover is made of printed circuit board (PCB) material. Press gently but firmly near an edge when applying the suction handle to avoid breaking the cover.

    • Apply a suction handle to the top cover.

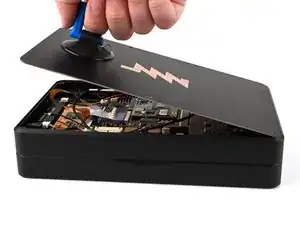
    • Use the suction handle to lift the top cover off of the laptop.

    • Alternatively, you can use a thin prying tool to lift the cover, or tilt the laptop until the cover falls out.

    • There's a thermal pad between the top cover and the processor that may stick to the top cover during removal.

  3. NJWO3CQsS6OPgQyS
    NJWO3CQsS6OPgQyS
    RKEGme31RiIfGOOj
    wC2pwX2EqRdJaOCr
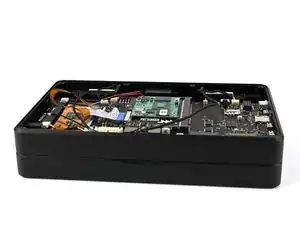
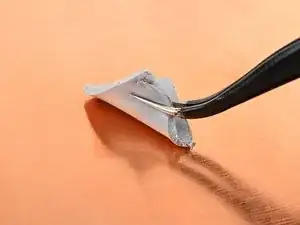
    • Use tweezers or your fingers to peel up the old thermal pad.

    • The thermal pad may be stuck to either the processor or the top cover.

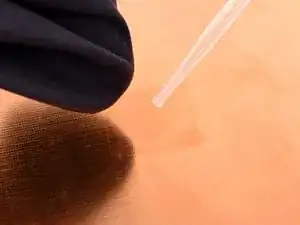
    • Use high concentration (greater than 90%) isopropyl alcohol and a coffee filter or a lint-free cloth to clean the processor and the area of the top cover that will contact the thermal pad.

    • Clean both the processor and the top cover even if it's a new part.

  4. jyqHkehoCCwTwBQH
    jyqHkehoCCwTwBQH
    pP4U4oioAFtiPiEB
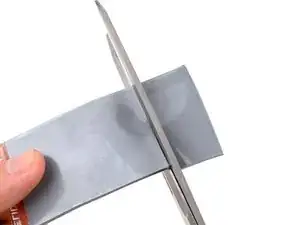
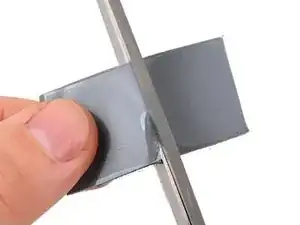
    • Cut the thermal pad to a size of about 2 cm by 2 cm.

  5. YkvFY5XxGXv2sIuF
    YkvFY5XxGXv2sIuF
    KvaSxPVFPg5V3Z1H
    bgHkRRbIrAfPqJHI
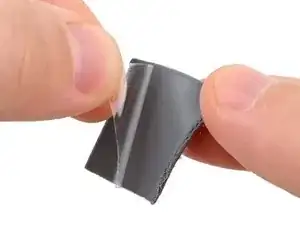
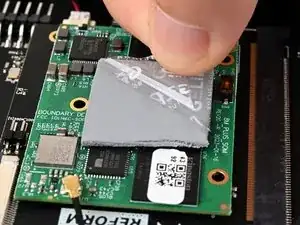
    • Peel the backing off of one side of the thermal pad.

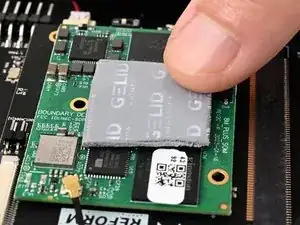
    • Apply the thermal pad to the processor, which is the large chip on the processor module that sits on top of the motherboard.

    • Peel the backing off of the other side of the thermal pad.

Conclusion

To reassemble your device, follow these instructions in reverse order.

Repair didn’t go as planned? Try some basic troubleshooting, or ask our Answers community for help.
Spencer Pennington

Member since: 09/09/23

13296 Reputation

0 comments