Introduction
Tools
-
-
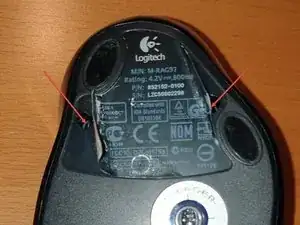
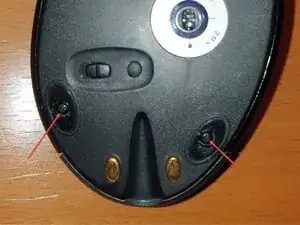
There are four screws hidden on the bottom part of the mouse. Two are below the sticker, the last two are below the bottom pads.
-
-
-
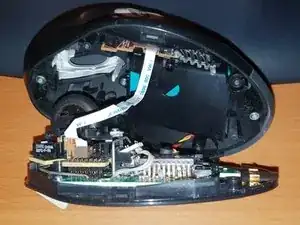
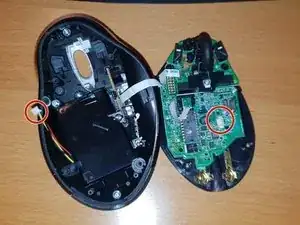
Once the scews removed, carefully open the housing. Some cables hold both pieces together
-
First remove the tricolor battery cable
-
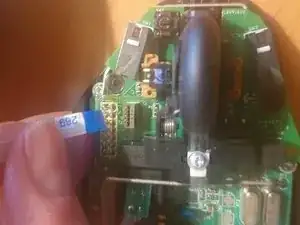
Then carefully remove the ribbon cable
-
-
-
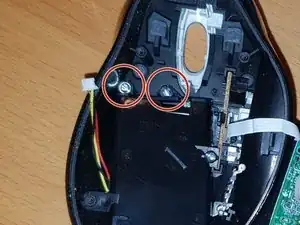
To remove the battery cover, two more screws need to be removed.
-
The battery is then held in place with a sticker within the housing.
-
-
-
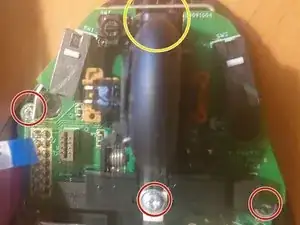
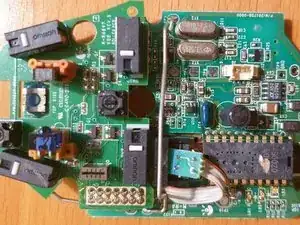
Remove the three screws (red circles) holding the board in place
-
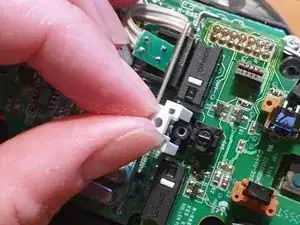
Remove the wheel and the white piece of plastic holding it down
-
A clip (yellow circle) further holds it down
-
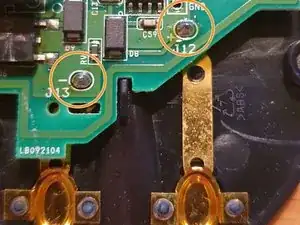
Finally you need to unsolder the charging pads (orange circles)
-
Conclusion
To reassemble your device, follow these instructions in reverse order.
