Introduction
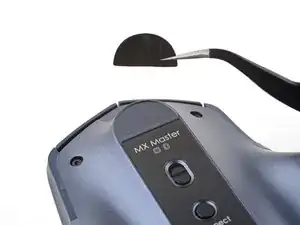
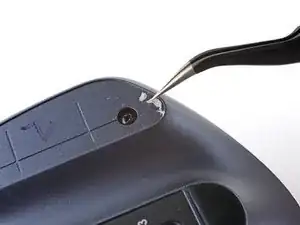
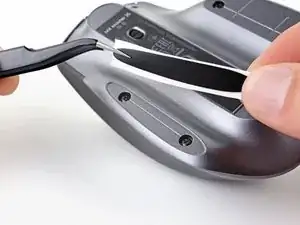
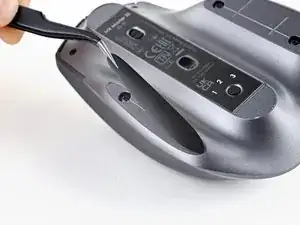
Use this guide to replace worn-out or damaged feet (also known as skates, glides, slides, or pads) on your Logitech MX Master mouse.
While it’s possible to cleanly remove the feet, you may need replacements if one rips or separates from its adhesive pad.
Tools
Parts
-
-
Flip the mouse's power switch into the OFF position, unplug any cables, and flip it over so the feet are facing up.
-
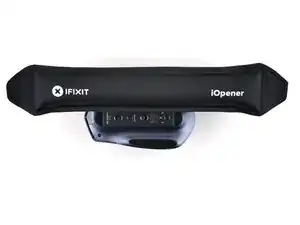
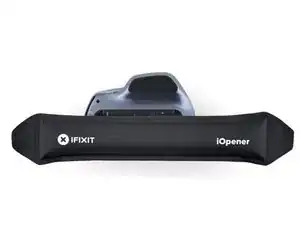
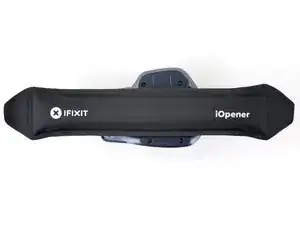
Apply a heated iOpener to the left and right mouse feet for about one minute each.
-
-
-
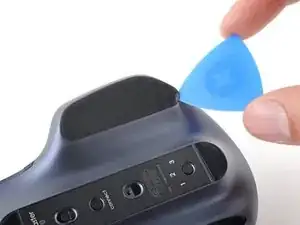
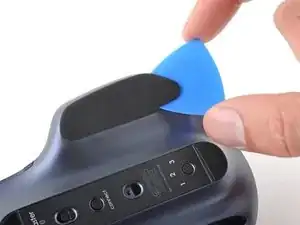
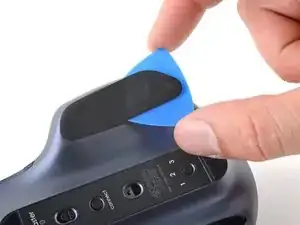
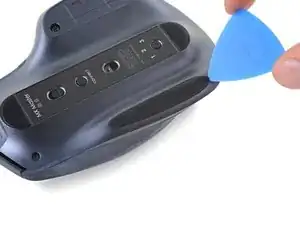
Insert an opening pick between the left foot and the lower case.
-
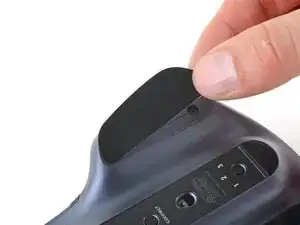
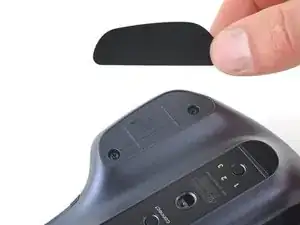
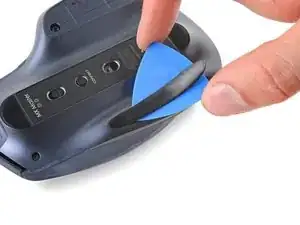
Slide your pick under the foot to separate its adhesive until you can grab it with your fingers.
-
-
-
Insert and slide your opening pick under the right foot to separate its adhesive.
-
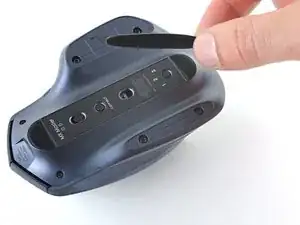
Remove the right mouse foot.
-
-
-
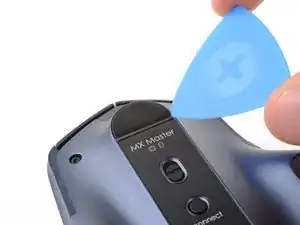
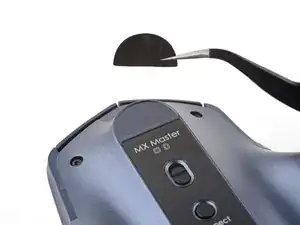
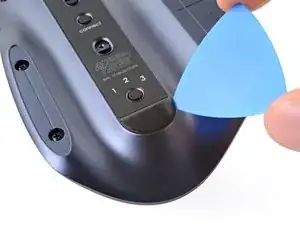
Insert an opening pick between the top foot and the lower case.
-
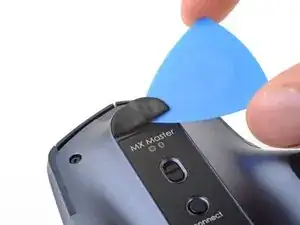
Slide your pick under the foot to separate its adhesive until you can grab it with your fingers.
-
-
-
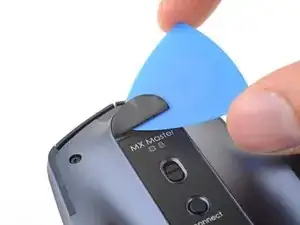
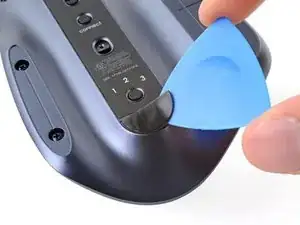
Insert and slide your opening pick under the bottom mouse foot to separate its adhesive.
-
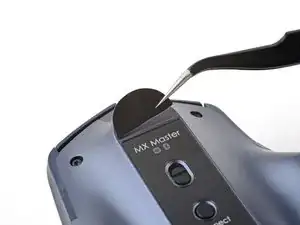
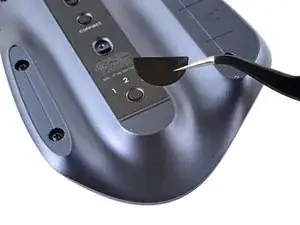
Remove the bottom mouse foot.
-
-
-
Use a pair of tweezers or a spudger to remove any large chunks of leftover adhesive.
-
Thoroughly clean the bottom of the mouse with isopropyl alcohol and a lint-free or microfiber cloth. Allow the surface to dry completely.
-
Peel your new mouse feet away from their adhesive liners and press them firmly into place.
-
Compare your new replacement part to the original part—you may need to transfer remaining components or remove adhesive backings from the new part before you install it.
To reassemble your device, follow these instructions in reverse order.
