Introduction
Use this guide to replace the battery in your Logitech MX Anywhere 2S mouse.
Lithium-ion batteries have a limited lifespan. If your mouse dies quickly, it may be time to replace the battery.
If possible, follow this guide after your battery has fallen below 25% charge. While your MX Anywhere 2S has a relatively small battery, any charged battery is a potential safety hazard.
-
-
Flip the mouse's power switch into the OFF position, unplug any cables, and flip it over so the feet are facing up.
-
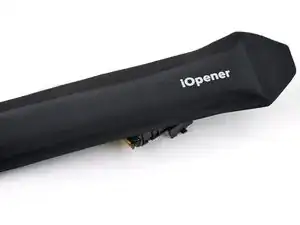
Heat an iOpener and apply it to the mouse feet for about two minutes.
-
-
-
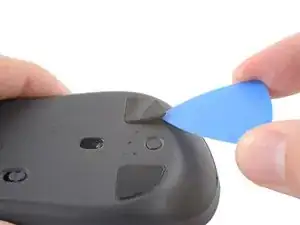
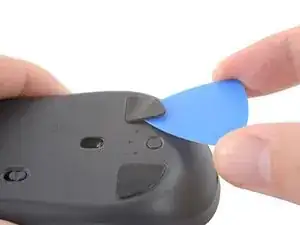
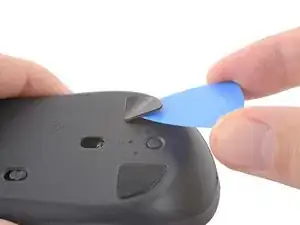
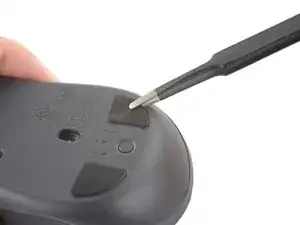
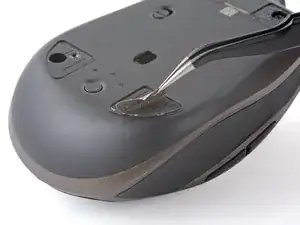
Insert an opening pick between a mouse foot and the lower case.
-
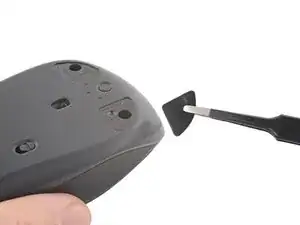
Slide your pick under the foot to separate its adhesive until you can grab it with your fingers.
-
-
-
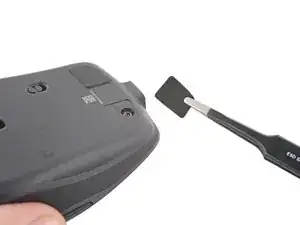
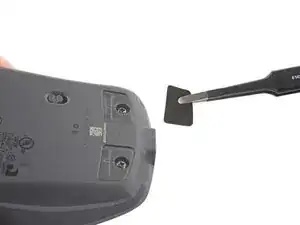
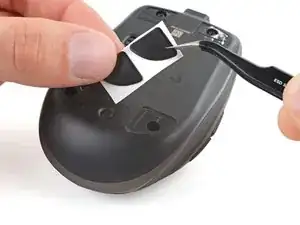
Use a pair of tweezers or a spudger to remove any large chunks of leftover adhesive.
-
Thoroughly clean the bottom of the mouse with isopropyl alcohol and a lint-free of microfiber cloth. Allow the surface to dry completely.
-
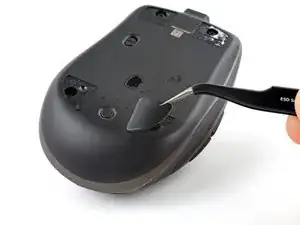
Peel your new mouse feet away from their adhesive liners and press them firmly into place.
-
-
-
Use a Phillips screwdriver to remove the four 5.9 mm-long screws securing the lower case to the upper shell.
-
-
-
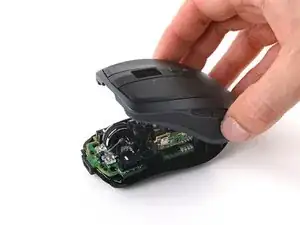
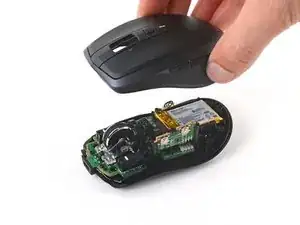
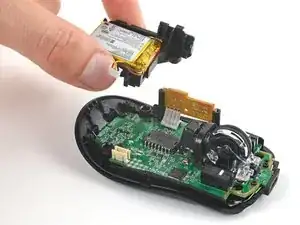
Flip your mouse over and grab the upper shell.
-
Lift the front edge of the upper shell upwards.
-
Lift the upper shell straight off of the mouse.
-
-
-
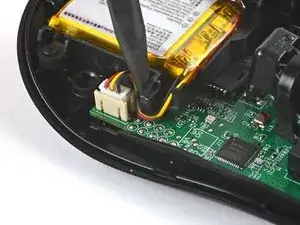
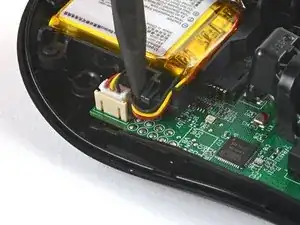
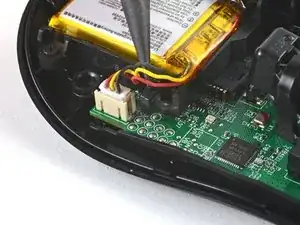
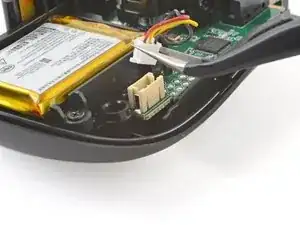
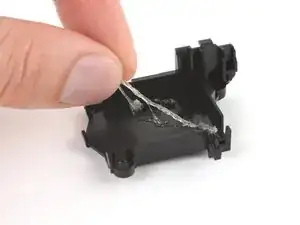
Use the point of your spudger to pull the battery cables out from under the cable guide on the battery housing.
-
-
-
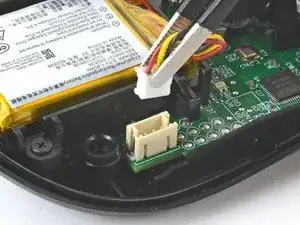
Insert each arm of a pair of pointed tweezers into the cutouts on the side of the battery connector's motherboard socket.
-
Push the connector up, just enough to grip the top of the connector with another pair of tweezers or your fingers.
-
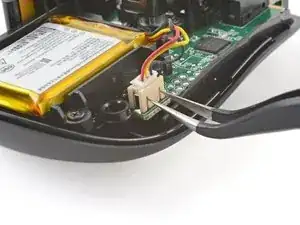
Pull the battery connector completely out of its socket to disconnect it.
-
-
-
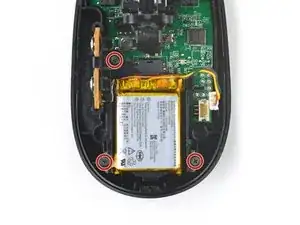
Use a Philips screwdriver to remove the three 4.7 mm-long screws securing the battery housing.
-
-
-
Flip the battery housing over so the battery is facing down.
-
Apply a heated iOpener to the battery housing for about 2 minutes to soften the battery adhesive.
-
-
-
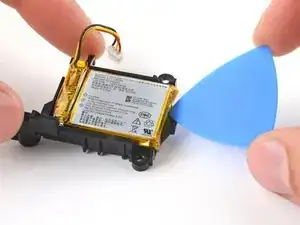
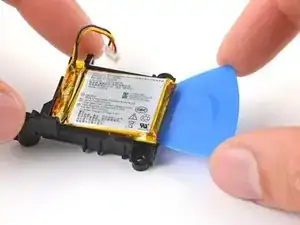
Insert your opening pick between the short edge of the battery and its housing, opposite the cable.
-
Slide your pick under the battery to slice the adhesive.
-
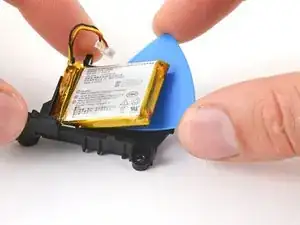
Pull up to peel the battery away from the adhesive.
-
-
-
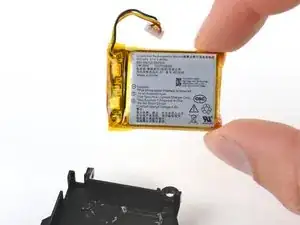
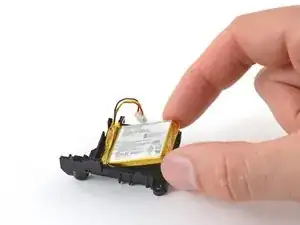
Remove the battery.
-
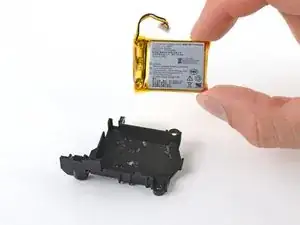
Use a spudger or your fingers to peel any old adhesive off of the battery housing. The old adhesive shouldn't leave any residue.
-
If your new battery doesn't come with preinstalled adhesive, place a couple strips of double-sided tape into the battery housing.
-
Orient your new battery so its cables route through the cutout in the corner of the housing. Press the battery firmly into place to secure it.
-


Compare your new replacement part to the original part—you may need to transfer remaining components or remove adhesive backings from the new part before you install it.
To reassemble your device, follow these instructions in reverse order.
For optimal performance, calibrate your newly installed battery after completing this guide.
Take your e-waste to an R2 or e-Stewards certified recycler.
Repair didn’t go as planned? Try some basic troubleshooting, or ask our Answers community for help.

One comment
Whats the battery dimensions? That 600mAh battery is exorbitantly high in price when you can get the same 3.7v LiPo for around 6 USD
Jay G -