Introduction
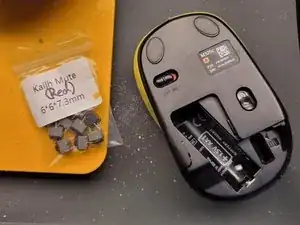
Simple guide on how to disassemble and replace the mouse buttons on the M325c to Kailh Red mute mouse switches. Basic soldering and desoldering skills required for the replacement.
-
-
Take the back cover and battery off
-
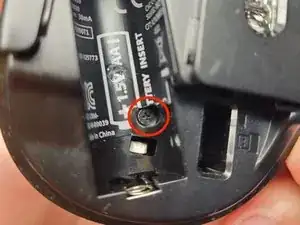
Use an exacto knife or just peel away the sticker to reveal the screw hole circled in the photo
-
Unscrew the screw
-
Use your fingernail or something similar to wedge the bottom of the housing apart
-
Apply horizontal pressure and press from the mouse wheel to slide the top and bottom housing apart.
-
-
-
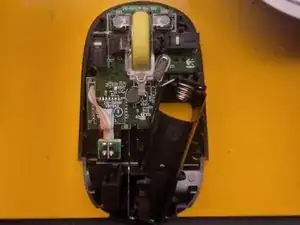
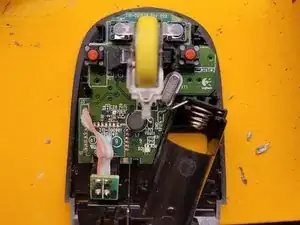
You should now just have the PCB attached to the bottom housing.
-
There are two clips shown in the second photo that hold the PCB to the bottom housing
-
Use your fingernails or something similar to pry the clips away from the PCB.
-
After this step, the mouse wheel should detach from the PCB on its own.
-
The PCB may still be attached to the housing from the battery coil wires. Carefully remove them from the housing.
-
-
-
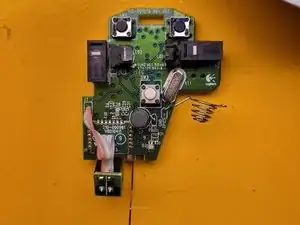
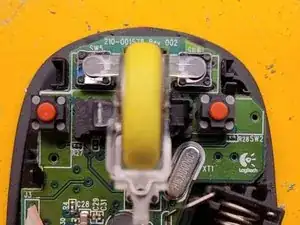
At this stage, you should have the PCB separated from the housing.
-
Desolder the two mouse switches as labeled on the second photo.
-
Solder the new switches onto the PCB
-
-
-
Attach the PCB back to the bottom housing, with extra caution when handling the battery coil wires.
-
Attach the mouse wheel to the PCB and bottom housing.
-
Attach the top housing back to the bottom housing by sliding the top pieces of the housing together.
-
Screw the screw from the battery compartment.
-


You're set!