Introduction

Follow this guide to replace the scroll wheel on a Logitech M185 wireless mouse:

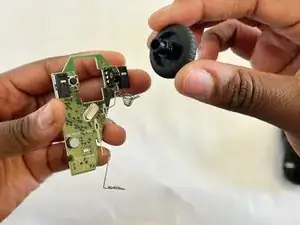
The scroll wheel is one of the most important parts of the mouse, controlling the scrolling function while web browsing. Often, due to dust or other buildup, the scroll wheel stops functioning, leading people to discard their mouse. This guide will allow you to bring your mouse back to life and use it for many more years.

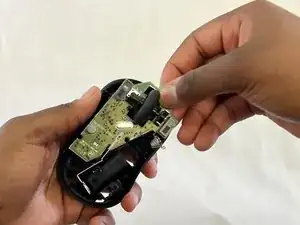
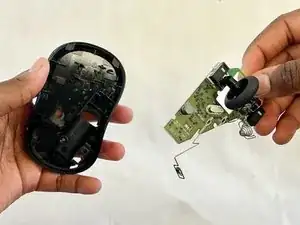
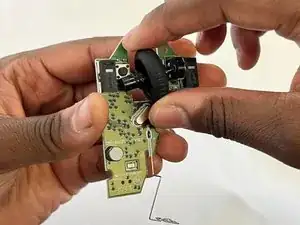
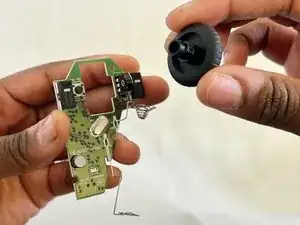
This repair requires removing the motherboard from the mouse to access the scroll wheel. Avoid touching the motherboard directly. If possible, use ESD-safe gloves while handling the board and/or hold it only by the edges to prevent damage.
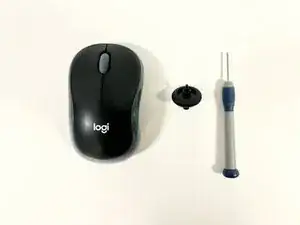
  1. KoYPa3Gm6EhkFORw
    KoYPa3Gm6EhkFORw
    IZrLwfoJlUUr6PbB
    FchbYQHSPQPrQIiC
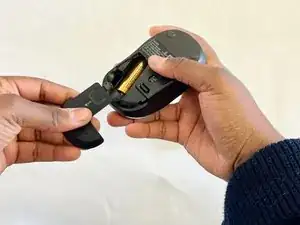
    • Turn your mouse over so the bottom is facing up.

    • Slide the battery compartment door off to reveal the battery.

  2. dBqGfiR22SQQlkkA
    • Remove the battery.

    • Use a Phillips #00 screwdriver to remove the single screw in the battery compartment.

    • The screw may be hard to find at first, but it is directly under the battery.

  3. lUdpSCT1l1QRj6SX
    lUdpSCT1l1QRj6SX
    Q6JnWCMpafnDSVNo
    tVjoYeMjXMlBNfaV
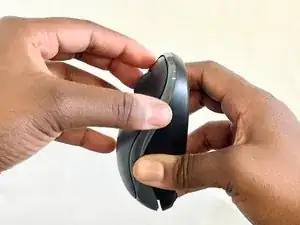
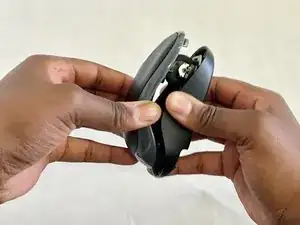
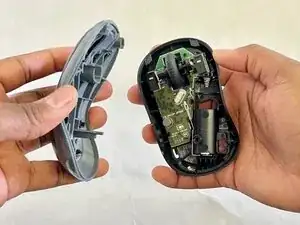
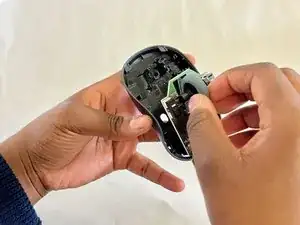
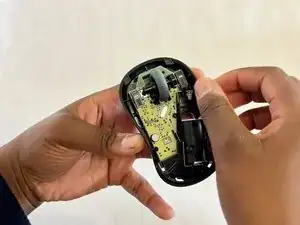
    • Place one hand on the bottom of the mouse and the other on the top. Gently remove the top of the mouse.

  4. MsWEO53uFZ4uTMdt
    MsWEO53uFZ4uTMdt
    OeEs2HhYEtN2Y2gJ
    • Use a spudger and gently pry the motherboard up, to remove it from the mouse.

    • Any damage done to the board could affect the functionality of the mouse. Show EXTRA care when touching the board. Handle it along the edges only and wear ESD safe gloves if possible.

  5. LcO4eaxUpmPTRKIa
    LcO4eaxUpmPTRKIa
    jnUJSt1vQGQ5I2NX
    • Carefully remove the scroll wheel from the motherboard.

  6. XfNDE5rEE3IXJKK2
    • Insert the new scroll wheel.

  7. 6xvYdXo4ZVGFRHdp
    6xvYdXo4ZVGFRHdp
    ypfj4OpRYIWFqFvB
    BDGMBYrgtO5bcAxk
    • Replace the motherboard.

    • Gently but firmly press down on it until it is securely in place.

    • You will hear a click or snap, indicating it is in place.

  8. 5XHPfYfMLErYN1T2
    5XHPfYfMLErYN1T2
    kkT4GlpjExOysXUm
    BaoTGK1xeoHj2Z2j
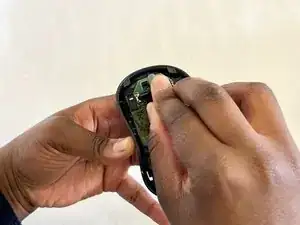
    • Put the top of the mouse back onto the bottom and press them together so they connect.

    • Make sure the edges of the top and bottom of the mouse align so there is a secure connection.

    • Use a Phillips #00 screwdriver to replace the single screw in the battery compartment.

    • Replace the battery and battery cover.

  9. S3j4ehQR4dwfPUDs
    • Plug your mouse into a computer using the USB connector to ensure the scroll wheel is working.

Conclusion

To reassemble your device, follow these instructions in reverse order.

Osame Osayande

Member since: 05/03/24

169 Reputation

0 comments