Introduction

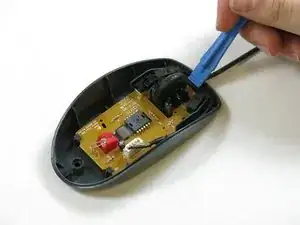
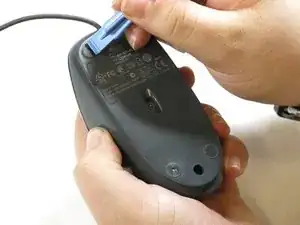
This guide will detail how to disassemble a Logitech M100 mouse and replace its USB cable. This process is relatively universal, so it can be applied to a number of similar mice.

  1. fAOptUZoE4TcTxun
    fAOptUZoE4TcTxun
    wVrk2fHtpGo4rfTP
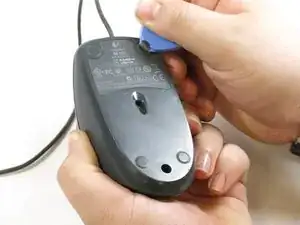
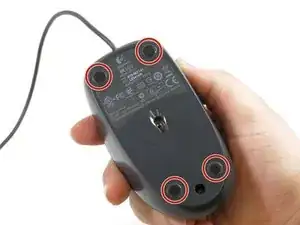
    • Not all variants of this mouse require the mouse feet to be taken off for disassembly, but their removal is detailed anyway.

    • Carefully remove the feet of the mouse with an opening pick.

    • Keep track of the mouse feet, as you'll be reapplying them at the end of the guide.

  2. DuFr3ZmfLox11tdc
    DuFr3ZmfLox11tdc
    iJGRCv5NjXaGuBOT
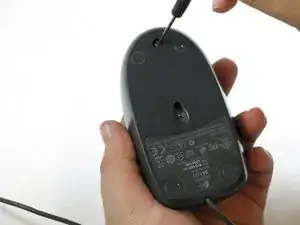
    • Use a Phillips #0 screwdriver to remove the 10mm screws on the bottom of the mouse.

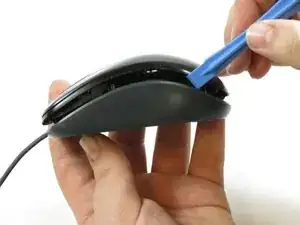
    • Once all screws are removed, use the plastic opening tool to gently pry the mouse apart. This shouldn't take much force.

  3. KEpCAungkNZ3KHFr
    KEpCAungkNZ3KHFr
    RYTcWpxRFYuiV4Gv
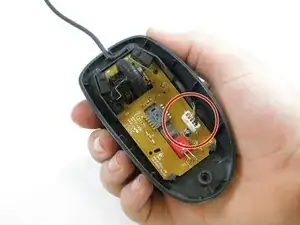
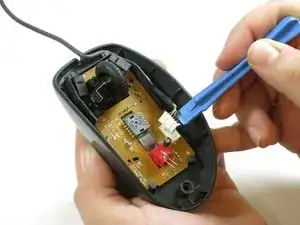
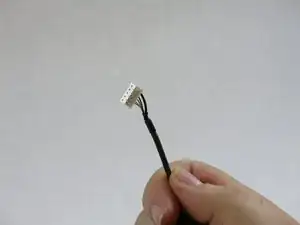
    • Once the mouse is opened, locate the USB cable's 5-pin connector, which is plugged directly into the mouse's mainboard.

    • Take note of the position and route that the USB cable takes before removal. The replacement cable must follow the same route when inserted.

    • Using a plastic opening tool, gently remove the 5-pin connector from the mainboard.

    Interessante mas muito básico.

    Interessante seria se explicasse o significado das cores

    Cabo Verde(Green) -

    Cabo Branco(White) -

    Cabo Vermelho(Red) - (Julgo ser 5v+)

    Cabo Preto Fino(thin Back) - (Julgo ser terra (GND)

    Cabo Preto Grosso(thick Back) - (Julgo ser massa Chassi)

    É bem mais interessante aprender e saber do que ir comprar já feito.

    Mais a mais, temos por vezes a necessidade de o rato tenha cabo curto e não longo (encurtar o cabo)

    CarlosAulasEVT@gmail

    Carlos Sousa -

  4. 4juTBg3NNuOSx64U
    4juTBg3NNuOSx64U
    aBRWgP5BVYSQUHyF
    • Take the replacement USB cable and connect it to the mainboard.

  5. OiRQLPCAyjVt2jUD
    OiRQLPCAyjVt2jUD
    eFyTKGkEIiBuLcxi
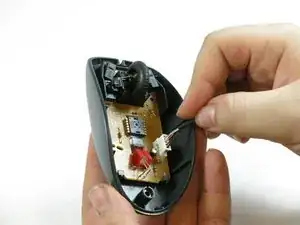
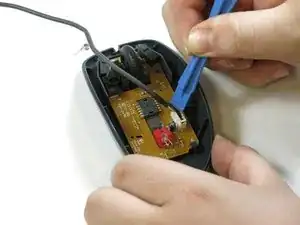
    • Ensure that the 5-pin connector is fully seated into its slot on the mainboard. You may want to use a spudger to apply pressure onto it.

    • Using a plastic opening tool, route the cable through the case in the same way that was noted in Step 3.

  6. CFXJnjBYOWRSw6PY
    • After re-assembling the mouse, don't forget to reattach the mouse feet onto their correct locations on the bottom of the mouse.

Conclusion

To reassemble, follow the steps in reverse order.

Jake Janicke

Member since: 26/10/17

161 Reputation

One comment

Removing the mouse feet is completely unnecessary, as there are no screws underneath the feet.
Andy Joonseo Bae -