Introduction

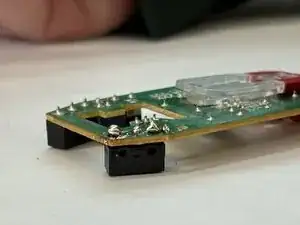
Common causes of a faulty mouse button are frequent use, clicking too hard, and dust getting into the switches. The purpose of this guide is to detail how to replace the switches on your Logitech M100 Mouse with the goal of prolonging the life of your mouse.

This guide does not require specialized knowledge except a basic understanding of a soldering iron. Soldering material is metal with a low melting point. Be cautious of the iron and solder's heat when replacing the mouse clicker, as it very hot and can burn skin. It's also important to work in a well ventilated area as the solder can emit fumes that are not good to breath. For more information about soldering, take a look at the How to Solder and Desolder Connections guide.

  1. gtYVfFZwbpY6n1kw
    • Disconnect the mouse from any devices before attempting to remove any parts or starting the repair.

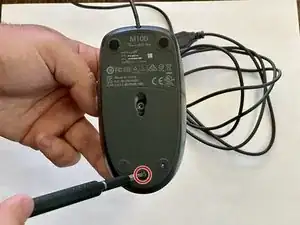
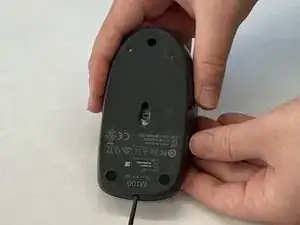
    • Flip your mouse over so the bottom is facing up.

  2. ZRxxmQiY1gZTV1Ck
    • Use a small Phillips #00 screwdriver to remove the single screw at the bottom of the mouse.

  3. taBAZRpoPw4vd6Kr
    taBAZRpoPw4vd6Kr
    yNSuOGYUHSBfKdXi
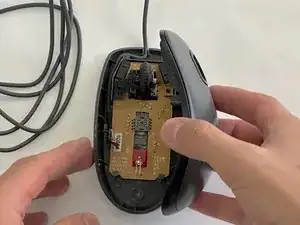
    • Turn your mouse over so it is facing right side up.

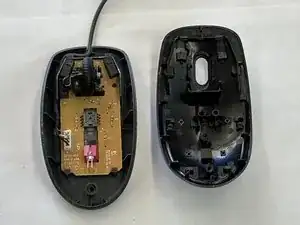
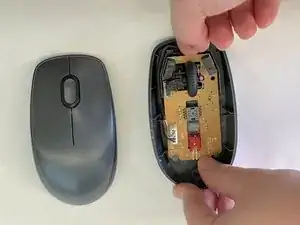
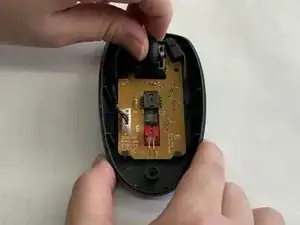
    • Use a spudger or your hands to carefully separate the top from the bottom housing.

    • It's important to remove the top housing while leaving the bottom in place, as the scroll wheel and other internal components may fall out otherwise.

  4. ChNKjQ1vUfgsD1hk
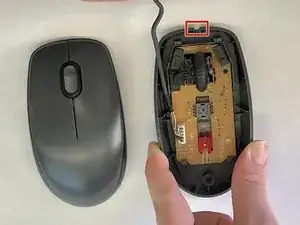
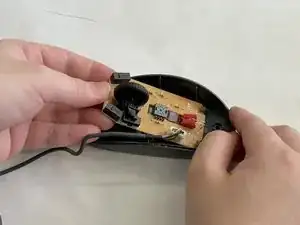
    • Remove the external cable from the slot at the front of the mouse.

  5. qF1hHPYDnHvU1Rfy
    qF1hHPYDnHvU1Rfy
    dAIrCQ1rAPwFUvOb
    iMlu2XXCoeb6rWrP
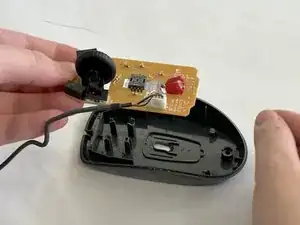
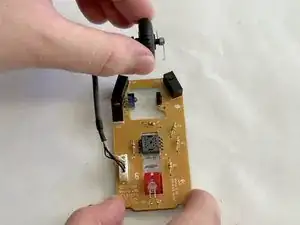
    • Remove the circuit board from the mouse by pushing down at the back and lifting up at the front.

  6. TPHfMMMbNJAFBMZw
    TPHfMMMbNJAFBMZw
    YwKEGUWV4TYun3hp
    • Lift the scroll wheel from the board.

    • There should be a total of four parts that make up the scroll wheel.

  7. eL11EdVkiugFnogl
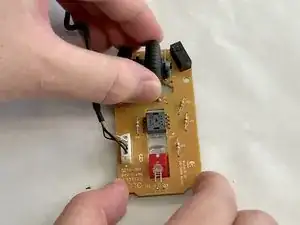
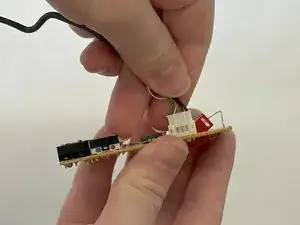
    • Pull the USB cable away from the connector in the same direction as the individual wires to remove it from the motherboard.

    • This step may prove difficult with just your hands. Use a spudger if you need to.

    • Pull evenly on the full width of the cable so that no individual wires are overly strained.

  8. UapfaVSxwQkWrKBZ
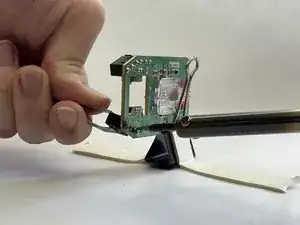
    • Find a suitable method to hold the circuit board in place so you don't have to hold it in your hands.

    • Use a small vice to keep it in place or helping hands for this next step.

  9. IeuXi6PRrdvlgHYO
    IeuXi6PRrdvlgHYO
    EQWSSRGQi2guqOc5
    DVVjYO6vtBCW2fbB
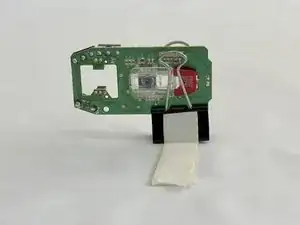
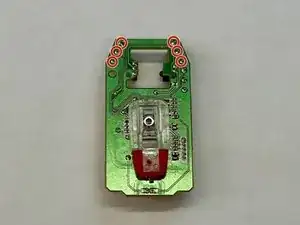
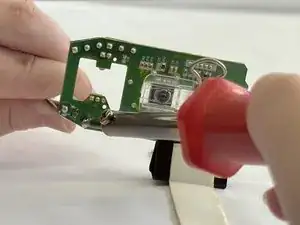
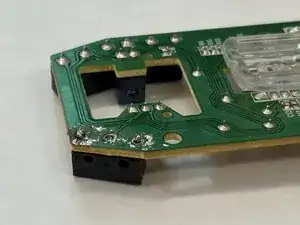
    • Use a soldering iron to heat the solder points securing both switches, and remove the switches using tweezers.

    • The soldering iron and the solder holding the switch in place will be very hot and can burn you.

  10. UMYNlK3ZUBmDDFOw
    UMYNlK3ZUBmDDFOw
    1mdISR6GrHT4UhXT
    OftSgTOtWyZHK1ow
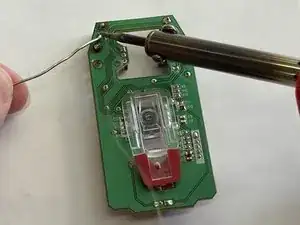
    • Replace each switch and solder it to the circuit board.

    • The soldering wire may conduct heat up to the hand holding it.

    • Be sure to work in a well ventilated space as the solder may emit smoke.

    • You can use tape to hold the switch in place while soldering.

  11. FsvJ4TWR5EYqpmpm
    FsvJ4TWR5EYqpmpm
    YpA2OrTHERcXE1re
    • Reassemble the mouse by following steps 2-7 in reverse order.

Conclusion

Congratulations, you have now replaced the clickers on your mouse and can continue using it!
Diego De La Fuente

Member since: 05/03/24

211 Reputation

0 comments