Introduction
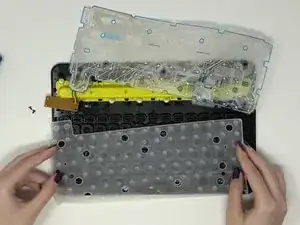
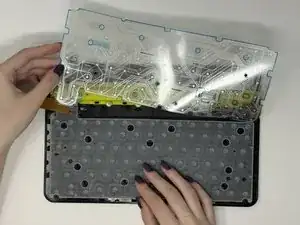
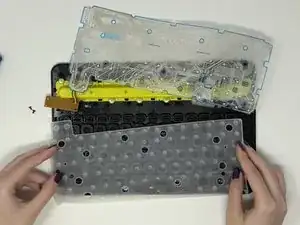
This guide will show you how to replace the rubber dome sheet in a Logitech K480 keyboard. A rubber dome switch is used in keyboards instead of the metal springs in standard mechanical switches. It provides resistance and tactility when pressing the keys. It's used in flat, low-profile keyboards because of its compact nature. Over time, a rubber dome experiences wear and tear and may need to be replaced. If your keys lack tactility when pressed, are registering your presses wrong, or the rubber dome is damaged in general, yours may need to be replaced.
Tools
-
-
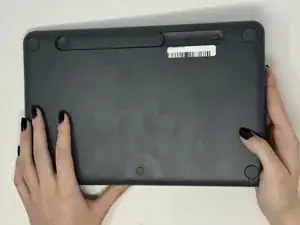
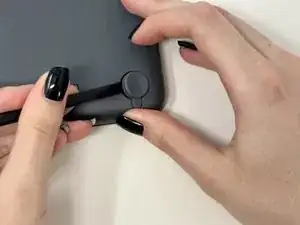
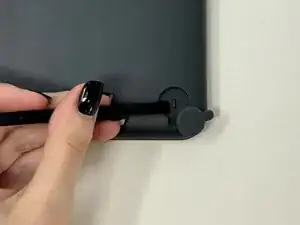
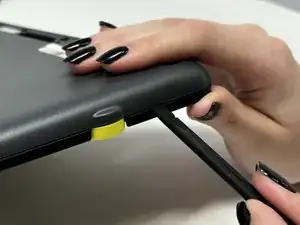
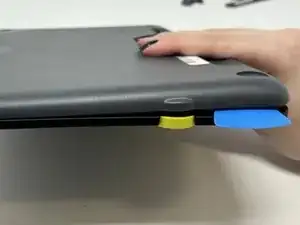
Starting by the dial, slide the spudger between the front and back panels until it lifts and snaps.
-
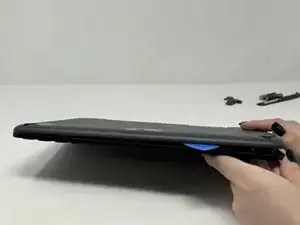
Slide a blue pick in to keep the pieces apart while you work on other areas.
-
Continue prying along the edges until you have enough opened that you can pull both pieces apart gently with your hands.
-
-
-
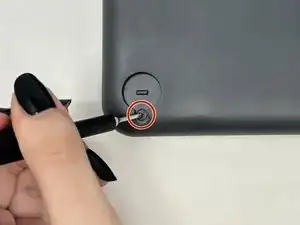
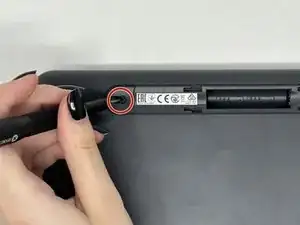
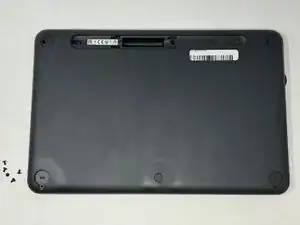
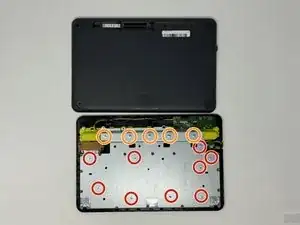
Remove the eight 3 mm screws using a Phillips #00 screwdriver
-
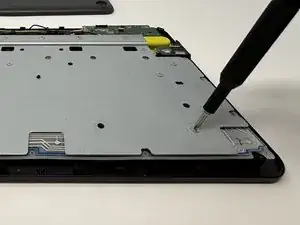
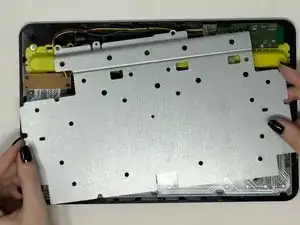
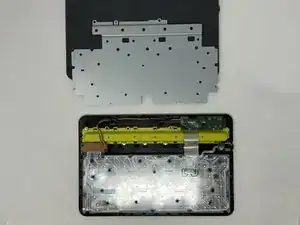
Remove the five 2 mm silver screws from the metal plate using a Phillips #00 screwdriver.
-
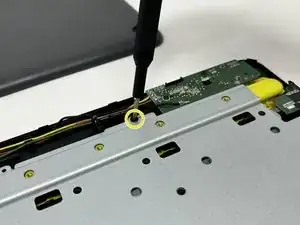
Remove the single 4 mm black screw by the motherboard using a Phillips #00 screwdriver.
-
-
-
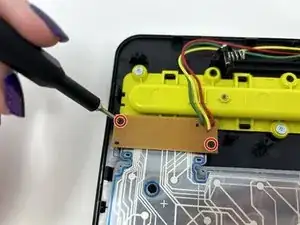
Remove the two black 4 mm screws from the Bluetooth motherboard with a Phillips #00 screwdriver.
-
To reassemble your device, follow these instructions in reverse order.
