Introduction

  1. BpLEuxwteaADLG26
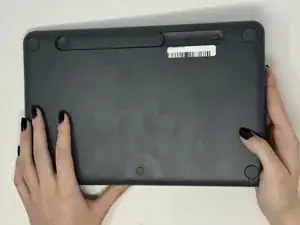
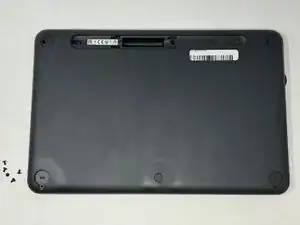
    • Flip the keyboard over.

  2. pwbFBpLQoRl5PEli
    pwbFBpLQoRl5PEli
    N5wHwoHwaCPpQI5f
    gAD5YBiuHFPHSELC
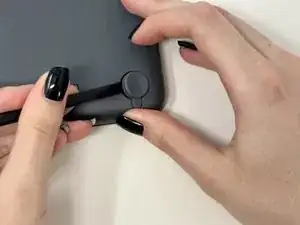
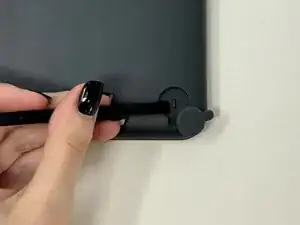
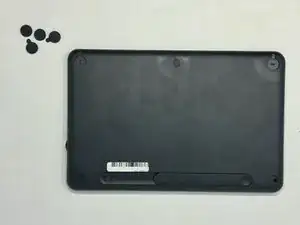
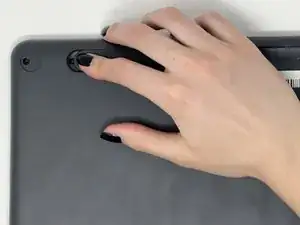
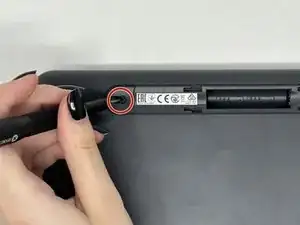
    • Remove the four rubber feet with a spudger.

  3. EHGHVYrkodlBAMSv
    EHGHVYrkodlBAMSv
    BZtAHFh5tjpk4dSB
    6SXfX4VJE1I1C4kM
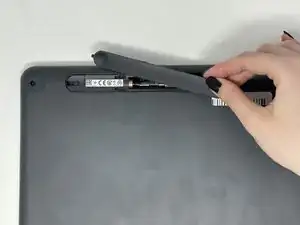
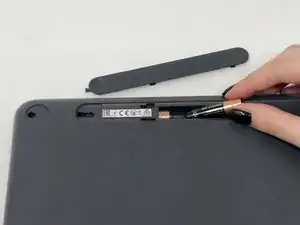
    • Slide open battery panel.

    • Remove the batteries.

  4. 2r2LLrL6FI1majVF
    2r2LLrL6FI1majVF
    IbT6XagSQQBRXCJh
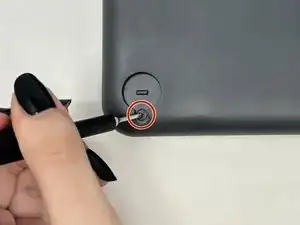
    • Remove the three 4 mm screws under the rubber feet using a Phillips #0 screwdriver.

  5. YtHgLEpq5qUQqDVD
    YtHgLEpq5qUQqDVD
    TBmejwWsvyfqkNkh
    • Remove the two 4 mm screws from beneath the battery cover using a Phillips #0 screwdriver.

  6. hOOAVNdTiNDGJoPk
    hOOAVNdTiNDGJoPk
    erKNIBlL4cuQCnBT
    IlCi332qfVVKVyXY
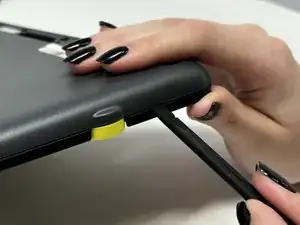
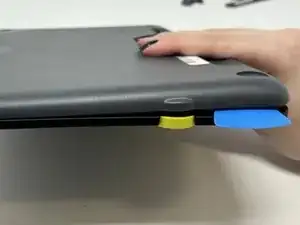
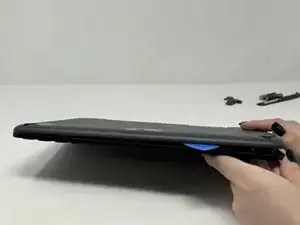
    • Starting by the dial, slide the spudger between the front and back panels until it lifts and snaps.

    • Slide a blue pick in to keep the pieces apart while you work on other areas.

    • Continue prying along the edges until you have enough opened that you can pull both pieces apart gently with your hands.

    • The loud snaps are the clips that hold the pieces together. They're not breaking and you do not need to be alarmed.

  7. WBFnmT2dojemG3fg
    WBFnmT2dojemG3fg
    BduOkhCIIOWpTUGb
    fWLE6ImmFNQNcQJn
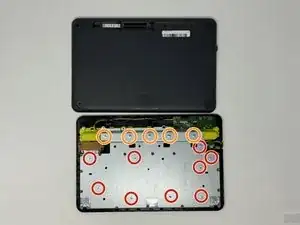
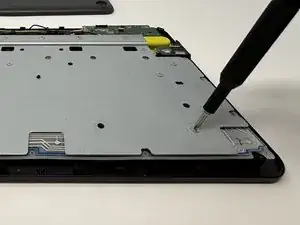
    • Remove the eight 3 mm screws using a Phillips #00 screwdriver

    • Remove the five 2 mm silver screws from the metal plate using a Phillips #00 screwdriver.

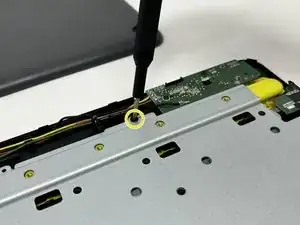
    • Remove the single 4 mm black screw by the motherboard using a Phillips #00 screwdriver.

  8. NZthIFhmqe1eo4ni
    NZthIFhmqe1eo4ni
    4FKamppkyCwJenoN
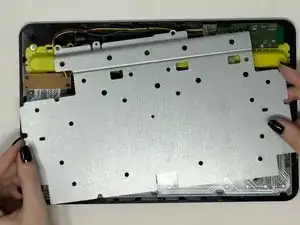
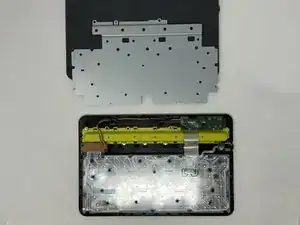
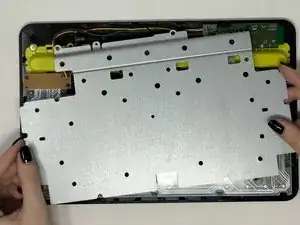
    • Lift up and remove the metal plate.

Conclusion

To reassemble your device, follow these instructions in reverse order.
Kristen Gismondi

Member since: 12/11/14

88929 Reputation

0 comments