Introduction
These days, aside from high-end models, most computers come with relatively low storage capacity (typically 256GB or 512GB) which can quickly fill up due to the large space requirements of modern programs and games. That is the case on the Lenovo IdeaPad Gaming 3 15ARH-334 so you may be inclined to upgrade it especially since there is an option to use either 2242 or 2280 format unlike some laptops.
In this guide, you'll (hopefully) learn how to that exactly that step-by-step.
Tools
-
-
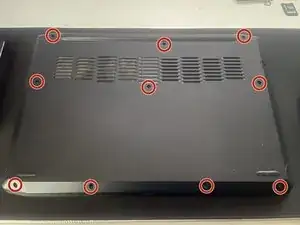
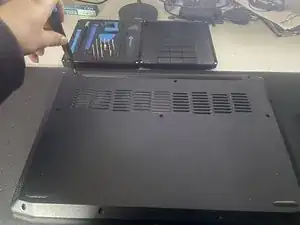
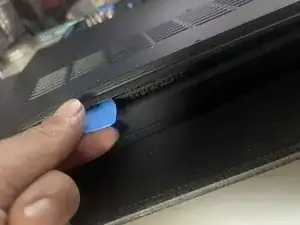
Using an openning pick or just any credit card or something like it try to open get an openning. In this case going at an almost 45º angle on the corners or the back side proved the easiest for me.
-
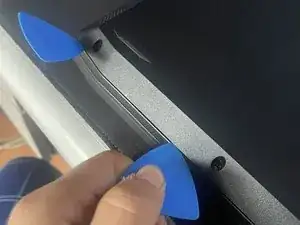
After you have an openning using another openning pick or the same slide along the borders until the back pannel is loose and then remove it
-
-
-
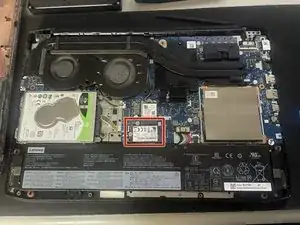
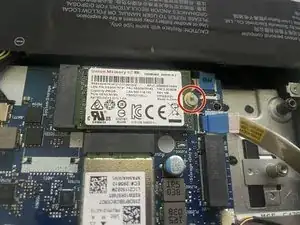
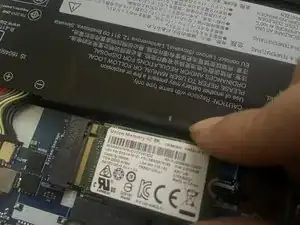
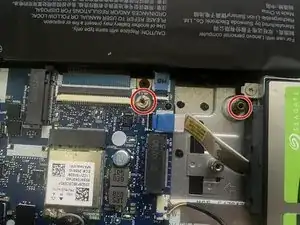
When you open the laptop you'll be able to see the pre-installed 2242 SSD on the left side. This is the one we will removing and where we are gonna put the upgrade.
-
-
-
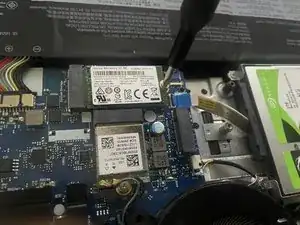
To remove the SSD you need to remove the screw and the disk will pop up. At this point you can remove it and be ready to put another one in
-
-
-
To insert the new SSD line up the notch on the SSD with the one on the connector and place it at the same angle as when the old one popped up, push it down until its flat and scew it in.
-
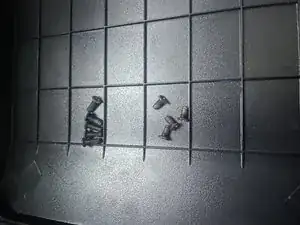
To finish it all off put the cover on, making sure you push it down so it clicks and is properly closed, add the screws again and you're done.
