
Introduction
Replacing the display on a Lenovo Chromebook 100e 2nd Gen is a simple repair that can fix common problems such as a broken, unresponsive, or malfunctioning screen. Whether your gadget has experienced physical damage, is exhibiting distorted pictures, or has become completely unusable due to screen failure, this guide will assist you in restoring its functioning.
For this repair, no complex skills, such as soldering, are required—only some basic tools and a steady hand. While the operation is very simple, you must exercise caution while handling small, sensitive parts like cables and connections, so take your time and do not rush.
Before You Begin:
- Prepare a clean flat surface to work on
- Create an organization compartment to seperate the tools, screws, and parts
- Gather the required tools
This article will help you safely disassemble your chromebook, replace the display, and reassemble your device to return it back to normal.
-
-
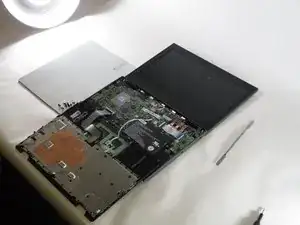
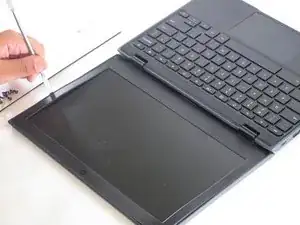
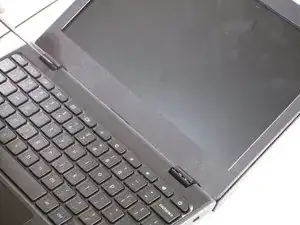
Open the laptop and lay it flat.
-
Go along the edge of the keyboard with an opening tool until it pops loose.
-
-
-
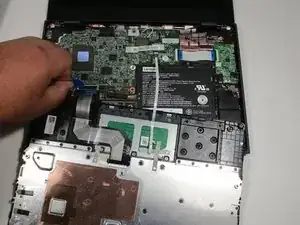
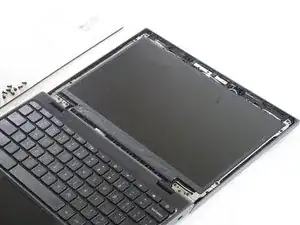
Lift the keyboard connectors up using an opening pick.
-
Remove the connectors from their sockets.
-
-
-
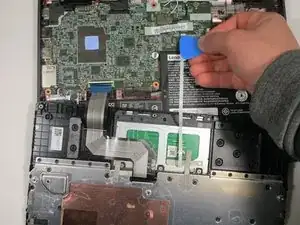
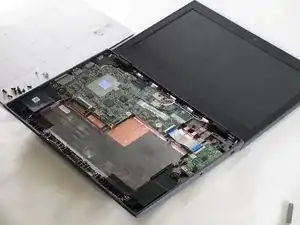
Using an opening pick, push on the connection where the wires are connected to the motherboard.
-
-
-
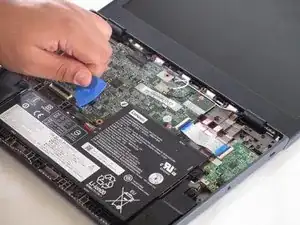
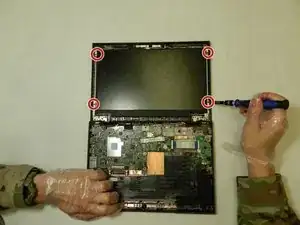
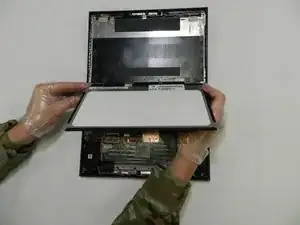
Using a spudger, go along the edge of the screen and pop the connections between the cover and the back side out.
-
-
-
Remove the four 3.4 mm screws holding the screen in place using the Phillips #00 screwdriver.
-
-
-
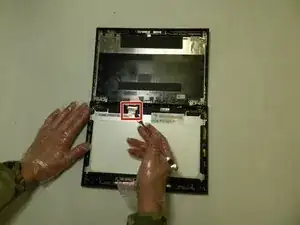
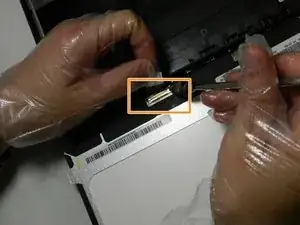
Peel back the protective tape over the display cable using the spudger.
-
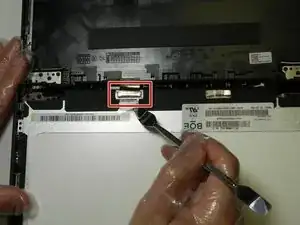
Gently lift the black bar latch holding the cable in place, until the cable becomes loose.
-
Pull the cable free and remove the display.
-
-
-
You should have successfully replaced the display on your Lenovo 100e Chromebook 2nd Gen. Before finishing, make sure to check off this list:
-
Thank you for viewing this guide to help you with the dispaly replacement of your Lenovo 100e Chromebook 2nd Gen
-


To reassemble your device, follow these instructions in reverse order.