Introduction

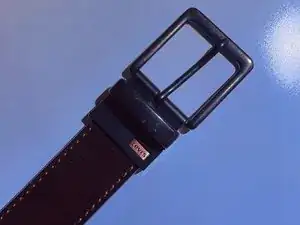
In this project proposal, I aim to guide readers through replacing Levi’s leather belt strap. Many people may discard a belt due to a worn or damaged strap, unaware that it can be easily replaced. By offering a step-by-step tutorial, I want to empower readers to save money and extend the life of their belts through simple DIY techniques.

  1. drxgH1eQlSJWbHLB
    drxgH1eQlSJWbHLB
    uiVYypNUkW4mq4vb
    • Begin by turning the belt buckle around to reveal the screws at the back of the belt.

  2. aDZ3XXiIYKMHfXWj
    aDZ3XXiIYKMHfXWj
    PSTPAXJoMn2VpbWS
    6BmidrEnBSdxuL6S
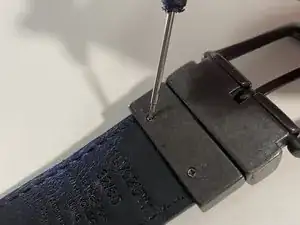
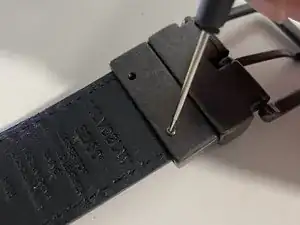
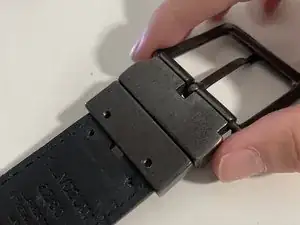
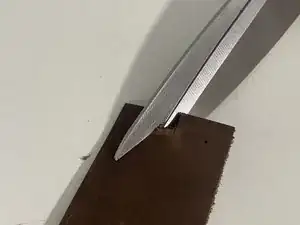
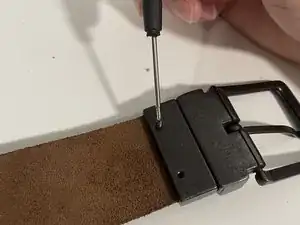
    • Take a small screwdriver and begin unscrewing the two screws on both sides of the belt buckle.

    • The screws are M2.5x5 Cross Slot Tip Screws for leather accessories.

  3. Xxff3OBmVLQO6VrI
    Xxff3OBmVLQO6VrI
    KvHaZQZhtJEqYKbA
    M4BCOEWM2mxFPv3O
    • Remove the unscrewed belt buckle away from the old leather strap.

  4. kZKThoPYEneGQpwg
    kZKThoPYEneGQpwg
    Q3Q5jnwwcxEHNyPd
    oiHEHZZRoP2iVygI
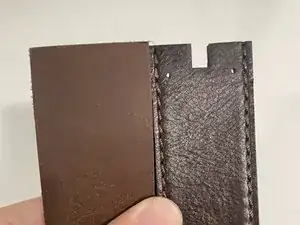
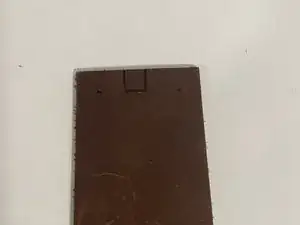
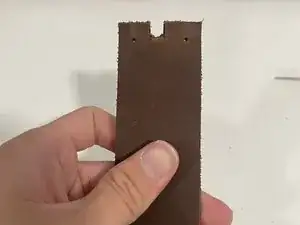
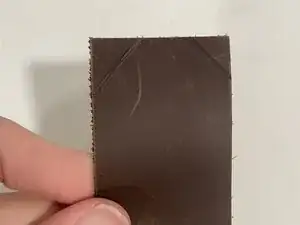
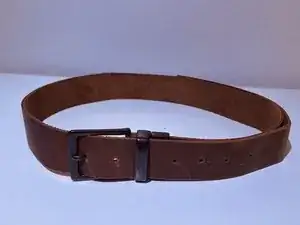
    • Take new leather belt strap and align it with the old leather strap.

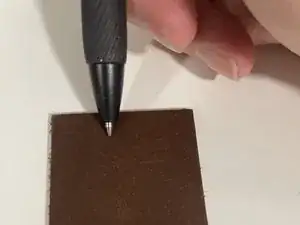
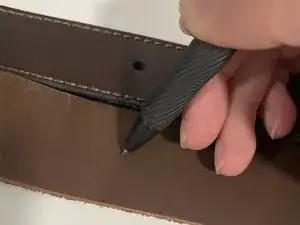
    • Take a pen and approximately mark the areas where the cuts will be made.

  5. V6nQQoQIH4UZCeZX
    V6nQQoQIH4UZCeZX
    cBSD31Hxra1P12DQ
    • Take the pen.

    • Draw two circles where the screws will be screwed in.

  6. o3d1JVtwDmOLJCIa
    o3d1JVtwDmOLJCIa
    W3JpSqqEyusSNJfA
    YMkXNhZYCH2rNUkK
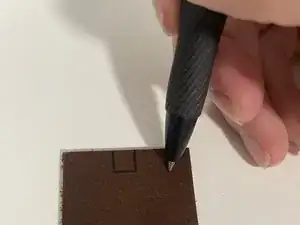
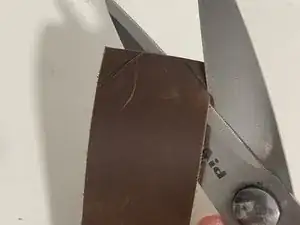
    • Take the new leather belt strap with markings made.

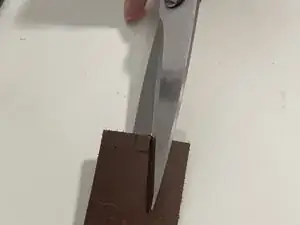
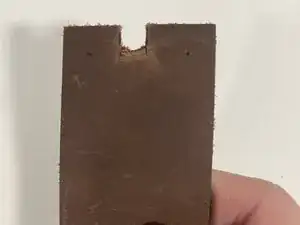
    • Use a scissor to cut out the square mark on the new leather belt strap.

  7. SyFwPDhsvI3lsMEh
    SyFwPDhsvI3lsMEh
    hFpSwZWFYXc1MYJL
    NcfWyJnIbJuBFLQA
    • Take a small screwdriver and puncture the two small circles on the new leather belt strap.

    • Make sure that the holes are punctured through.

    • If the screwdriver is not sharp enough to puncture the hole, you may use a small sharp object such as a hand held needle.

  8. cATZvVIksIOdMuFF
    cATZvVIksIOdMuFF
    cLVlmWLpPb25evkN
    D1YeVgLx6J5nXXSU
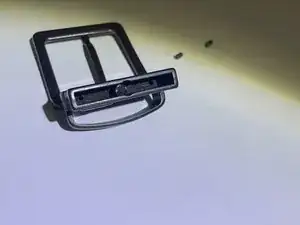
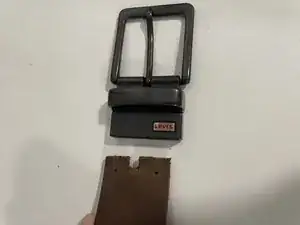
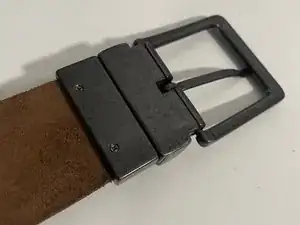
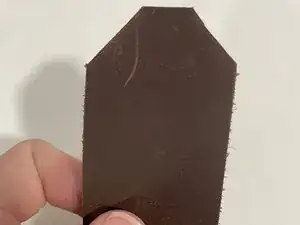
    • Now, take the front side of the belt buckle and insert it into the front side of the new leather belt strap.

    • If the belt buckle does not fit in, make the markings bigger by cutting away excess leather.

  9. pGul5EB346RhKp1Z
    pGul5EB346RhKp1Z
    KaTWlDOIXlPPLMKY
    6YMYaTNYkImlqPJS
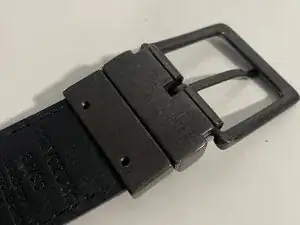
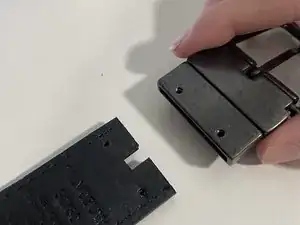
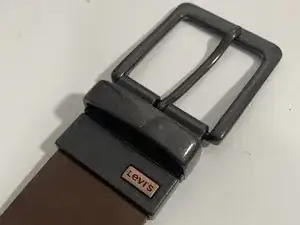
    • Turn the belt buckle to the back.

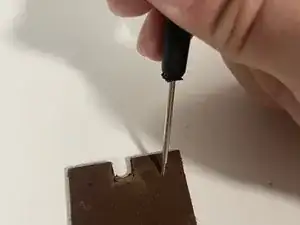
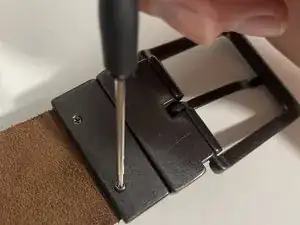
    • Take the small screwdriver and the screws.

    • Begin screwing back the screws onto the belt buckle.

    • Make sure the screws are tightly screwed in.

    • The screws are M2.5x5 Cross Slot Tip Screws for leather accessories.

  10. pWwMEXyBp1TWkiAc
    pWwMEXyBp1TWkiAc
    QrhHoC6RrlCkZI6b
    OwkstThj5RgyBKid
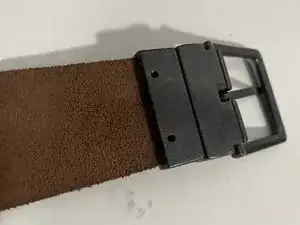
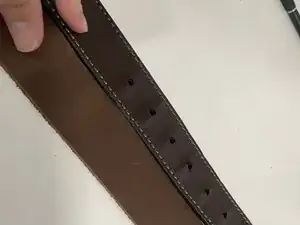
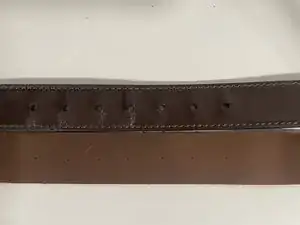
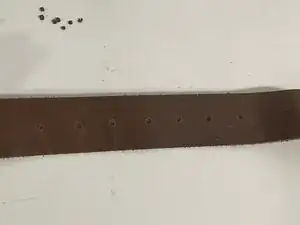
    • Now take the old and new leather belt strap

    • Align both leather belt straps side by side. (The old leather belt strap will be used as a reference)

    • Use a pen to draw circles that are an equal distance apart.

    • Start by drawing the same number of circles that are on the old belt strap.

  11. adGOEjhmPXCo3QiB
    adGOEjhmPXCo3QiB
    BENgnrUDYvXPNKFs
    2ABkwKREHmGCAKBR
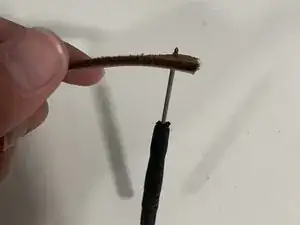
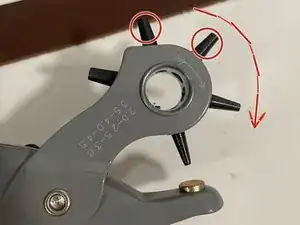
    • Take the revolving leather puncher.

    • Rotate the setting clockwise to the third or fourth-largest setting. (This will ensure that the buckle's prong will fit through the holes)

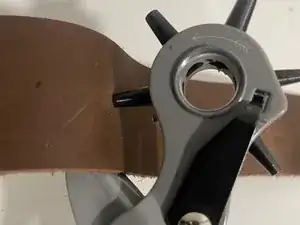
    • Now insert the leather puncher and align it with the circle.

    • To punch a hole through the leather, squeeze the handle thoroughly until the leather punch clicks.

  12. CRpFxFFIIZeQYVTh
    CRpFxFFIIZeQYVTh
    neItfiMObMLEAlFs
    dloyhLGKvIZ1NqFv
    • THIS STEP IS OPTIONAL

    • Use the pen to draw detail marking to the end of the new leather belt strap.

    • Take the kitchen scissors and cut the leather belt according to the detail.

  13. EjIc2WgyieNIXJmx
    • FINISH PRODUCT

    • If the new belt is too loose, consider adding additional holes to the belt.

Conclusion

To reassemble your device, follow these instructions in reverse order.

Dat Lam

Member since: 26/03/24

217 Reputation

0 comments