Introduction
Use this guide to replace the vent valve plunger in your LG WM3050CW Washing Machine.
The vent valve plunger vents moist air out the back of the washer. The plunger may stick open, which would allow excess liquid to slosh out and drip down the back of the washer.
Tools
-
-
Turn off the main water supply
-
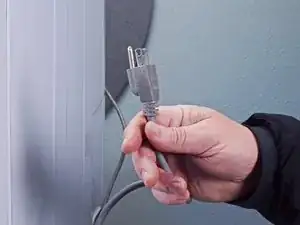
Unplug your washer
-
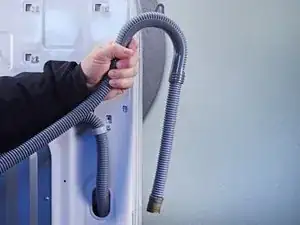
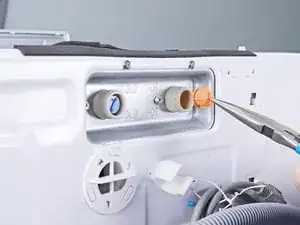
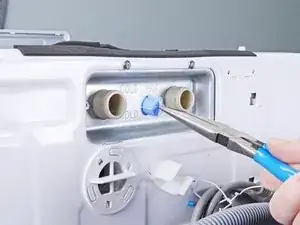
Disconnect all water connections at the rear of your washer
-
-
-
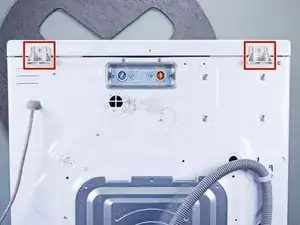
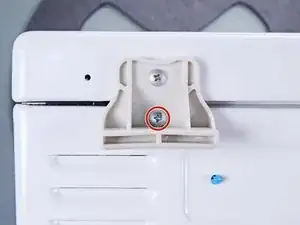
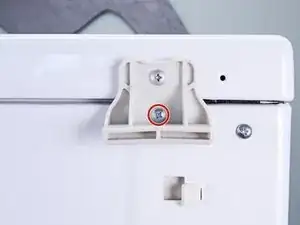
Use a Phillips driver to remove the two bottom 16.5 mm-long screws securing the top panel brackets.
-
-
-
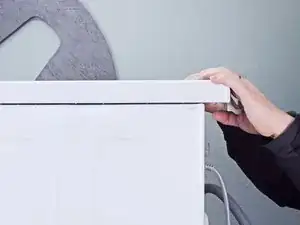
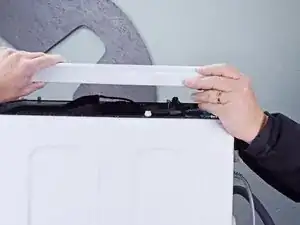
Tilt the top panel upward to completely disconnect it from the chassis.
-
Remove the top panel.
-
-
-
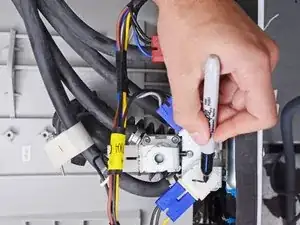
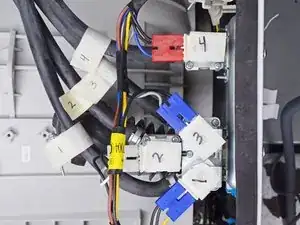
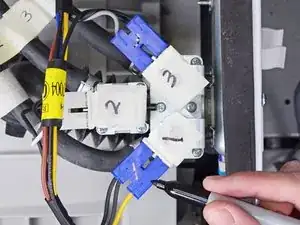
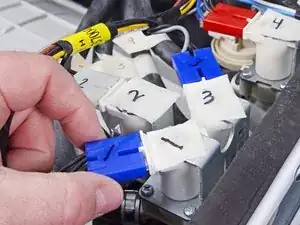
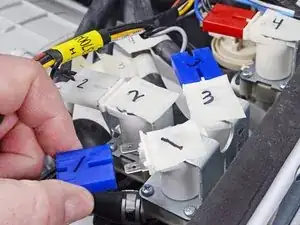
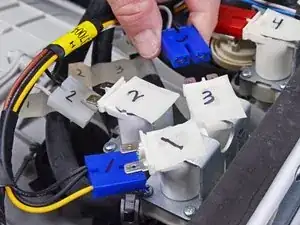
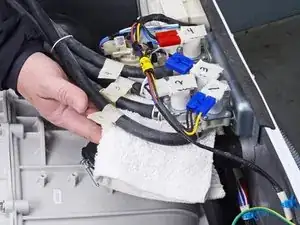
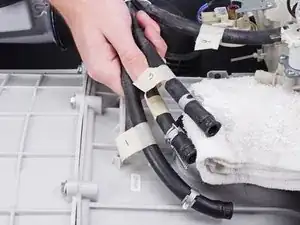
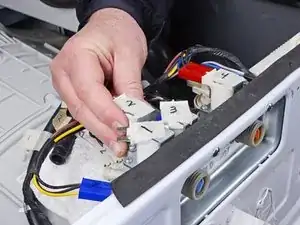
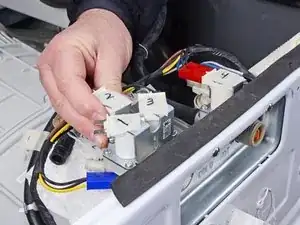
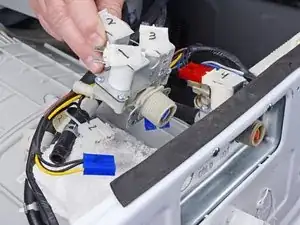
To prevent confusion, label each valve and its corresponding hose.
-
Repeat the labelling procedure for each valve and its corresponding connector.
-
-
-
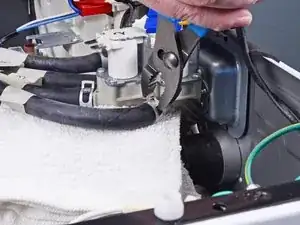
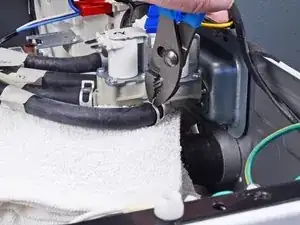
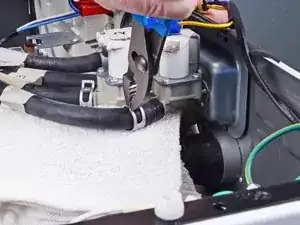
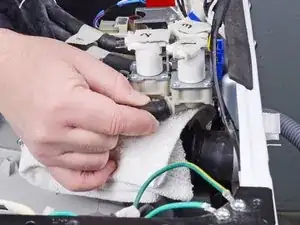
Use slip joint pliers to pinch the inlet valve hose clamp and pull it away from the inlet valve assembly.
-
-
-
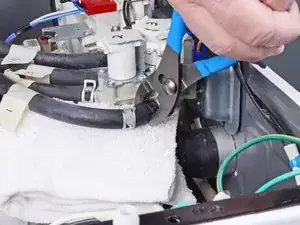
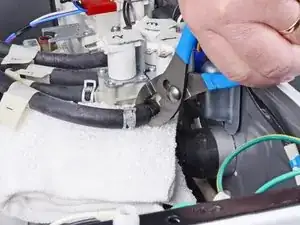
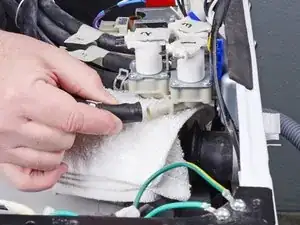
Use slip joint pliers to rotate the inlet valve hose back and forth around its connection and loosen it.
-
-
-
Repeat the previous three steps for each remaining hose attached to the inlet valve assembly.
-
-
-
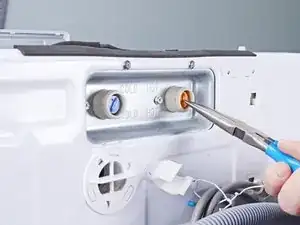
Use needle nose pliers to pull the inlet valve filters straight out of the inlets in the chassis.
-
Remove the filters.
-
-
-
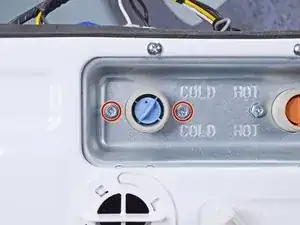
Use a Phillips driver to remove the two 14.4 mm‑long screws securing the inlet valve assembly.
-
-
-
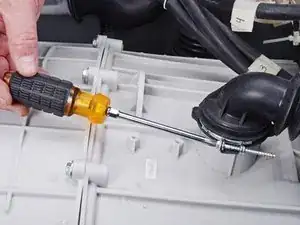
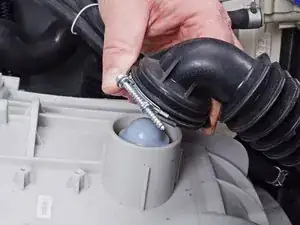
Use a Phillips drive to loosen the screw securing the vent hose.
-
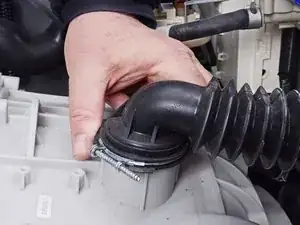
Lift the vent hose straight off the drum to expose the vent valve plunger.
-
-
-
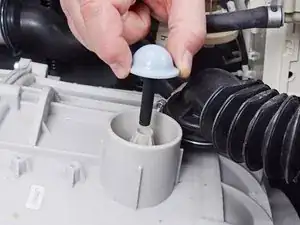
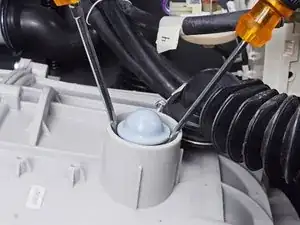
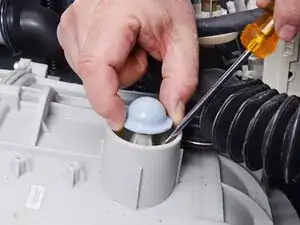
Use two flathead screwdrivers, or similar tools, to pry the vent valve plunger up enough to grip it with your fingers.
-
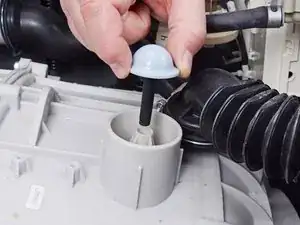
Pull the plunger straight up to remove it.
-
To reassemble your device, follow these instructions in reverse order.
Take your e-waste to an R2 or e-Stewards certified recycler.
Repair didn’t go as planned? Ask our Answers community for help.
