Introduction
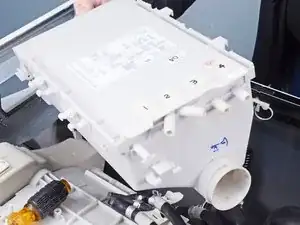
Use this guide to replace the detergent dispenser in your LG WM3050CW Washing Machine.
The detergent dispenser houses the detergent drawer. It has no moving parts and is unlikely to break.
Tools
Parts
-
-
Turn off the main water supply
-
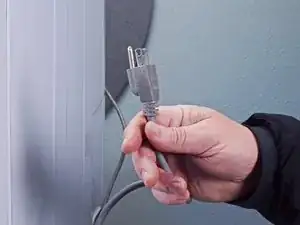
Unplug your washer
-
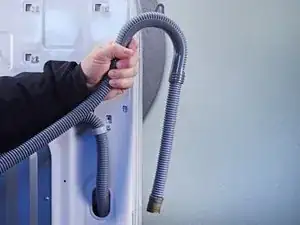
Disconnect all water connections at the rear of your washer
-
-
-
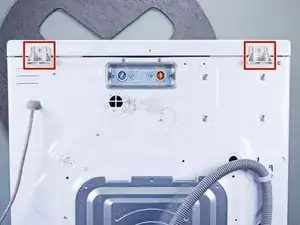
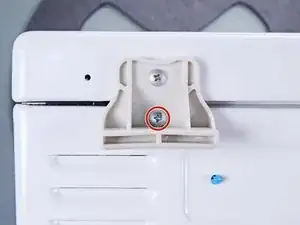
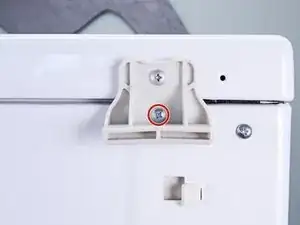
Use a Phillips driver to remove the two bottom 16.5 mm-long screws securing the top panel brackets.
-
-
-
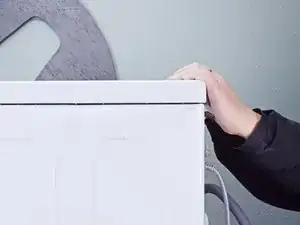
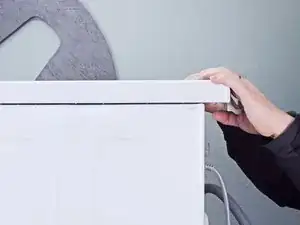
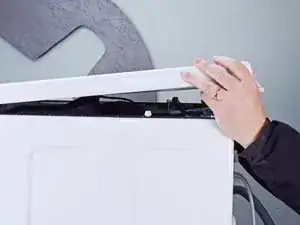
Tilt the top panel upward to completely disconnect it from the chassis.
-
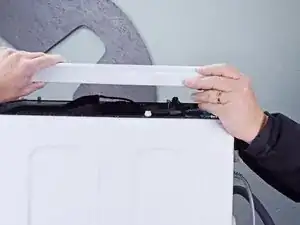
Remove the top panel.
-
-
-
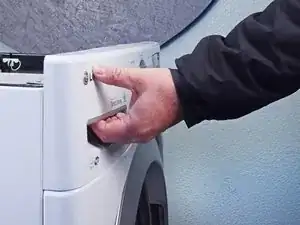
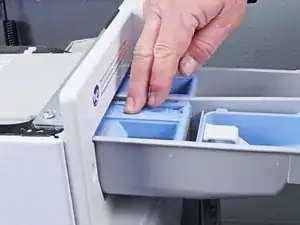
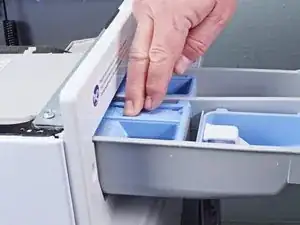
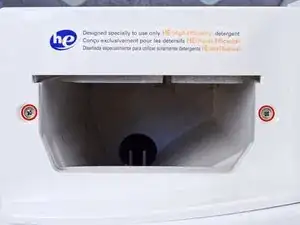
Press down on the "Push" button to disengage the clips securing the detergent drawer.
-
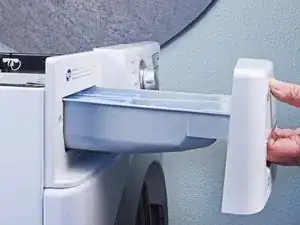
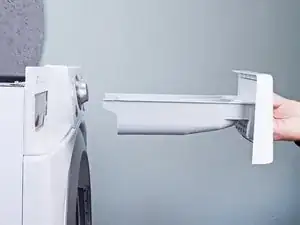
Pull the drawer out of its slot on the chassis and remove it.
-
-
-
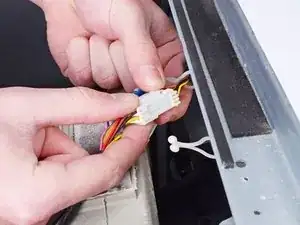
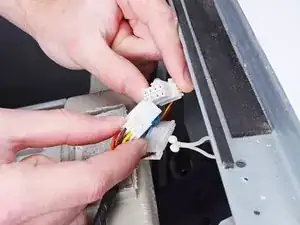
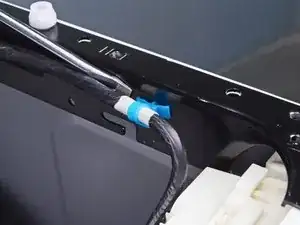
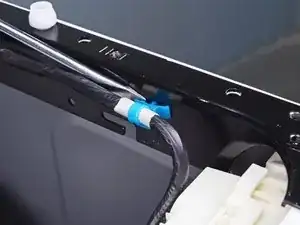
Insert a flathead screwdriver between the chassis and the plastic clip securing the control panel cable.
-
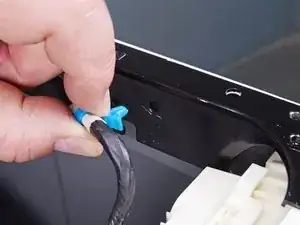
Compress the clip and slide it out of the chassis to remove it.
-
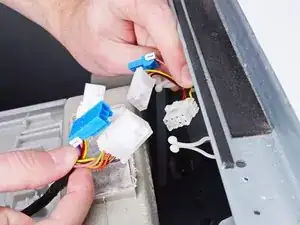
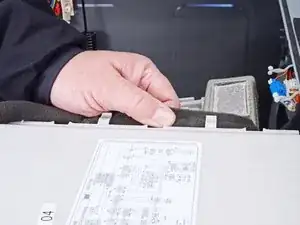
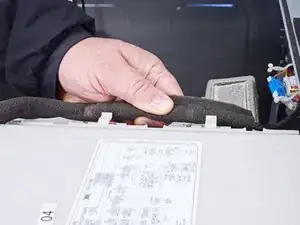
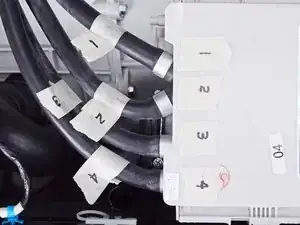
Move the cables out of the way of the detergent dispenser hoses before you continue.
-
-
-
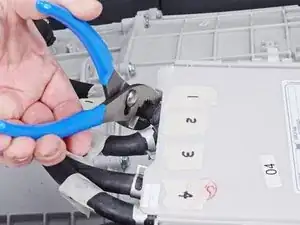
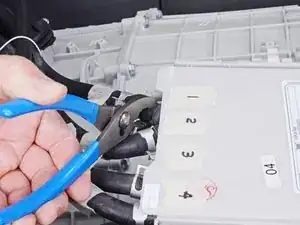
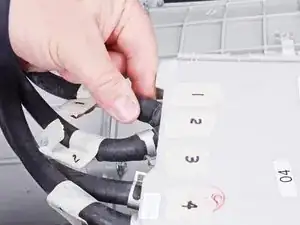
Use slip joint pliers to pinch the detergent dispenser hose clamp and pull it away from the assembly.
-
-
-
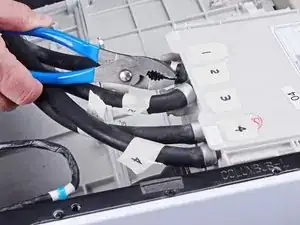
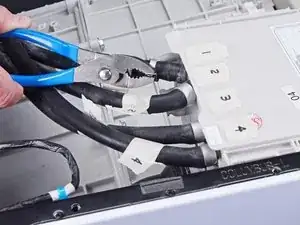
Use slip joint pliers to gently rotate the detergent dispenser hose back and forth around its connection and loosen it.
-
-
-
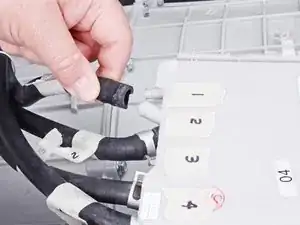
Pull the detergent dispenser hose straight off its connection on the assembly.
-
Repeat the loosening and removal procedure for each hose.
-
-
-
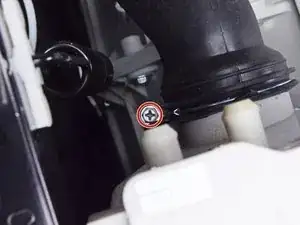
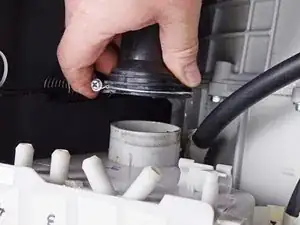
Use a Phillips driver to loosen the screw securing the bellows to the detergent dispenser.
-
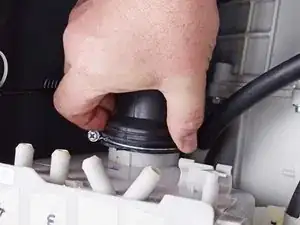
Pull the bellows straight off its connection on the dispenser to disconnect it.
-
-
-
Use a Phillips driver to remove the two 26.3 mm‑long screws securing the detergent dispenser.
-
-
-
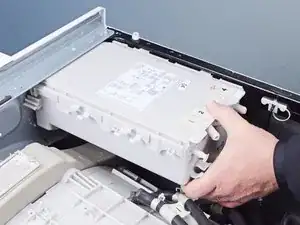
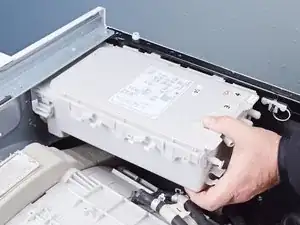
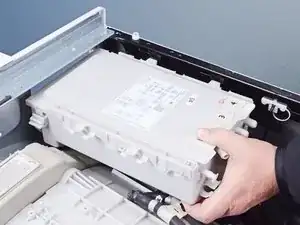
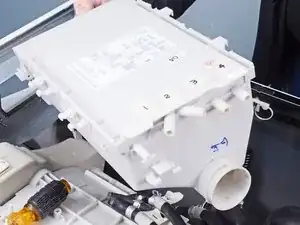
Slide the detergent dispenser toward the back of the device to unclip it from the chassis.
-
Pull the dispenser toward the left edge of the device to completely separate it from the chassis.
-
To reassemble your device, follow these instructions in reverse order.
Take your e-waste to an R2 or e-Stewards certified recycler.
Repair didn’t go as planned? Ask our Answers community for help.
