Introduction

Use this guide to replace the control panel in your LG WM3050CW Washing Machine.

  1. IWjgsUtZOIuShVqa
    IWjgsUtZOIuShVqa
    cmisDLhhQ1ZspJJT
    • Before you begin your repair, perform the following:

    • Turn off the main water supply

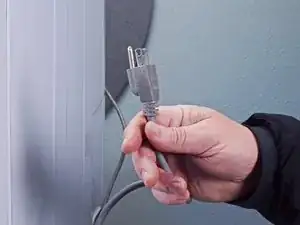
    • Unplug your washer

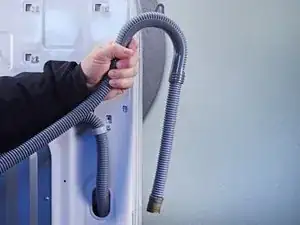
    • Disconnect all water connections at the rear of your washer

  2. a1CEVEuZVuhsJs3v
    a1CEVEuZVuhsJs3v
    s1Dx6pURHR66tbUG
    WMesicEUoODuO1DI
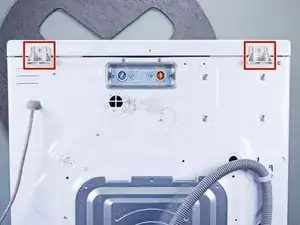
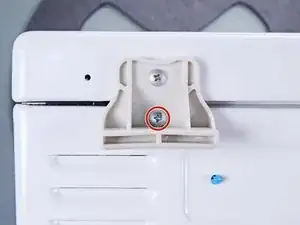
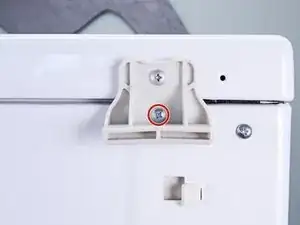
    • Use a Phillips driver to remove the two bottom 16.5 mm-long screws securing the top panel brackets.

  3. MXS5aiRAHxRbjTgD
    MXS5aiRAHxRbjTgD
    BqIF6FiMQVaOIZZQ
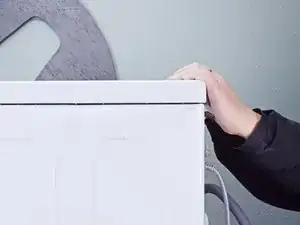
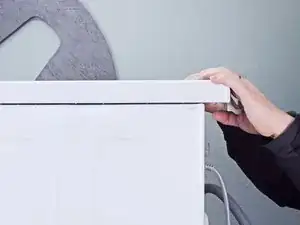
    • Slide the top panel 1-2 inches towards the rear of the device to disconnect its clips.

  4. vk2XTwmpQAn5SSnW
    vk2XTwmpQAn5SSnW
    mKqTwIkkot2M6aDA
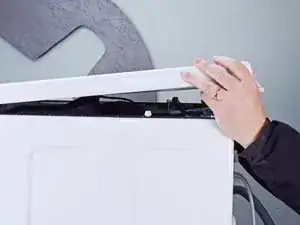
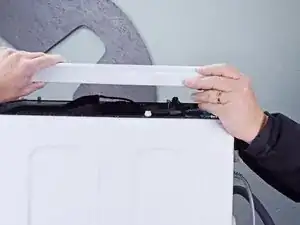
    • Tilt the top panel upward to completely disconnect it from the chassis.

    • Remove the top panel.

  5. 4sgimkxaXD3ejSwK
    4sgimkxaXD3ejSwK
    bkCBDPSK6YgGYTcr
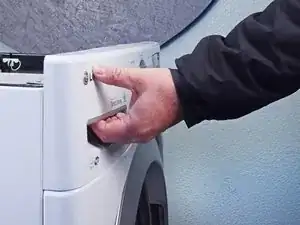
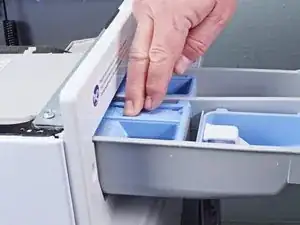
    • Pull the detergent drawer away from the chassis as far as it will go.

  6. P6jShSDIRVTufbKa
    P6jShSDIRVTufbKa
    XRPBgqFyjRWpSKkn
    oCBTknIPcxBXF3VM
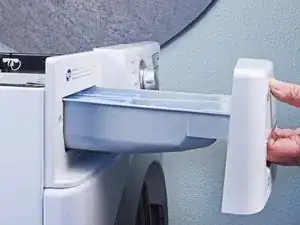
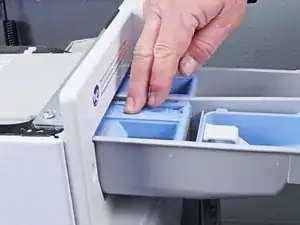
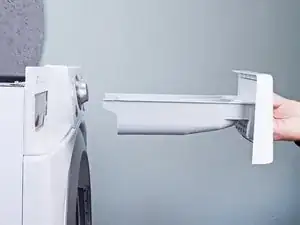
    • Press down on the "Push" button to disengage the clips securing the detergent drawer.

    • Pull the drawer out of its slot on the chassis and remove it.

  7. ZggChMox2CHdQQKT
    ZggChMox2CHdQQKT
    WevyfGPPM3VaJVqy
    6etGaxcS1KQCdwr1
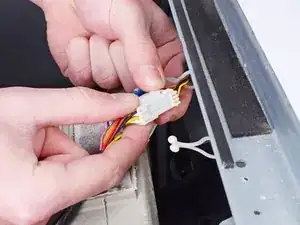
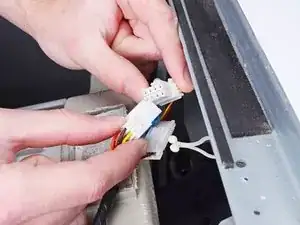
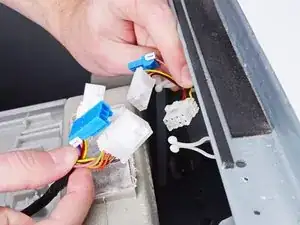
    • Disconnect the three harness connectors for the control panel.

    • Always grip cables by their connectors and not the wires themselves.

  8. wyfktcrXysd6MEbF
    wyfktcrXysd6MEbF
    xVcjUMUvZQ1KywIX
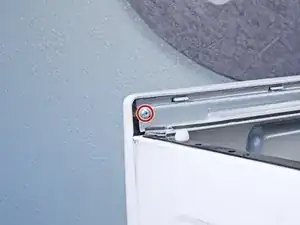
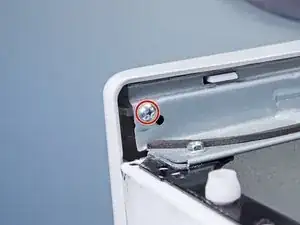
    • Use a Phillips driver to remove the 16.4 mm-long screw securing the control panel.

  9. HtPUiKkN5cVYWnLd
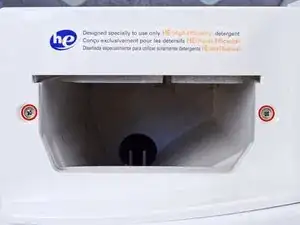
    • Use a Phillips driver to remove the two 26.3 mm‑long screws securing the detergent dispenser.

  10. NjYZQqTADGvZuhyI
    NjYZQqTADGvZuhyI
    JIrrrvJmMJUppOF5
    GQ3x4wTaWu3iwVOS
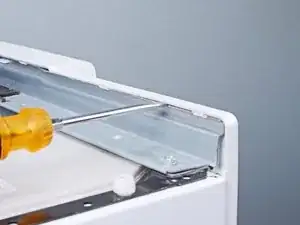
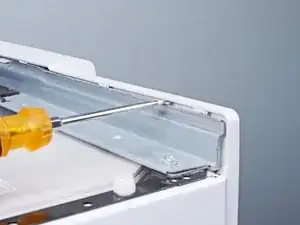
    • Insert a flathead screwdriver between the chassis and the top left corner of the control panel.

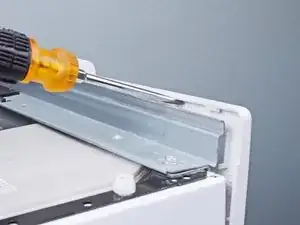
    • Twist the screwdriver to release the clips securing the control panel.

    • Repeat this procedure for the remaining clips along the control panel.

  11. sOFWfj6q1QcVriGT
    sOFWfj6q1QcVriGT
    jASuxq6RmJTE5JZB
    Do5pLK3NYMAwl1sB
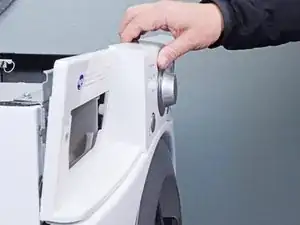
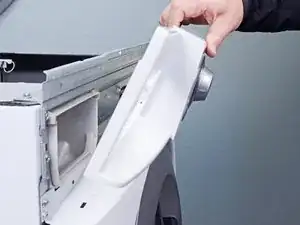
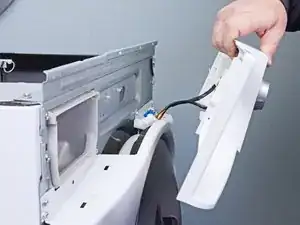
    • Lift the control panel upward to completely separate it from the chassis.

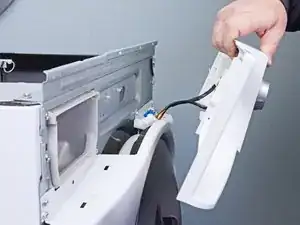
    • Pull the control panel away from the chassis, making sure to thread the cables through its slot in the chassis.

    • Remove the control panel.

Conclusion

To reassemble your device, follow these instructions in reverse order.
Bill Gilbert

Member since: 30/06/22

35117 Reputation

0 comments