Introduction

Use this guide to replace the vent valve plunger in your LG front load washing machine.

The vent valve plunger vents moist air out the back of the washer. The plunger may stick open, which would allow excess liquid to slosh out and drip down the back of the washer.

This guide will work for most LG front load washing machines. This guide is written with a model WM3050CW washer. If you have a different model, you may encounter some minor disassembly differences, but the overall repair process will be the same.

  1. IWjgsUtZOIuShVqa
    IWjgsUtZOIuShVqa
    cmisDLhhQ1ZspJJT
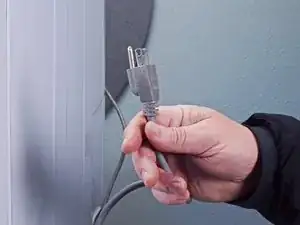
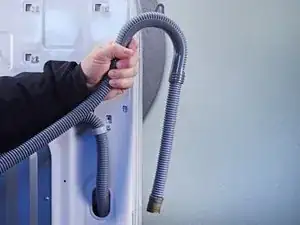
    • Before you begin your repair, perform the following:

    • Turn off the main water supply

    • Unplug your washer

    • Disconnect all water connections at the rear of your washer

  2. a1CEVEuZVuhsJs3v
    a1CEVEuZVuhsJs3v
    s1Dx6pURHR66tbUG
    WMesicEUoODuO1DI
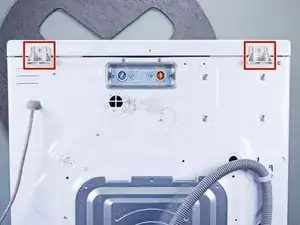
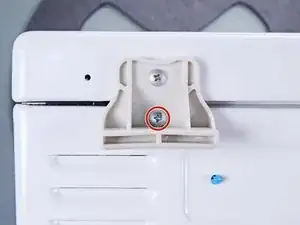
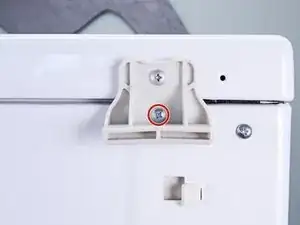
    • Remove the screw(s) securing the top panel brackets to the back panel.

    • You don't need to remove the screws securing the brackets to the top panel.

  3. MXS5aiRAHxRbjTgD
    MXS5aiRAHxRbjTgD
    BqIF6FiMQVaOIZZQ
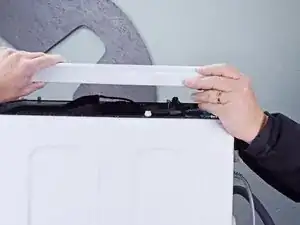
    • Slide the top panel towards the rear of the device to disconnect its clips.

  4. vk2XTwmpQAn5SSnW
    vk2XTwmpQAn5SSnW
    mKqTwIkkot2M6aDA
    • Tilt the top panel upward to completely disconnect it from the chassis.

    • Remove the top panel.

  5. YmDu6AfoV1NYVQm6
    YmDu6AfoV1NYVQm6
    xxLGQKGaUUSOYUWl
    XgSbDEwlL3Lkdm2E
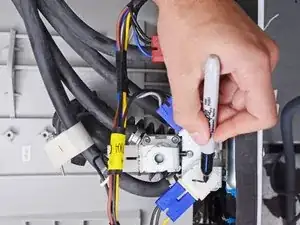
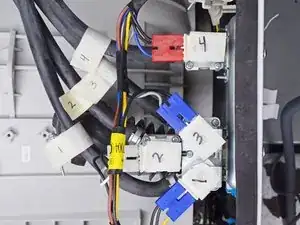
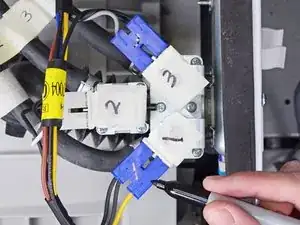
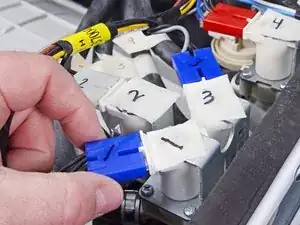
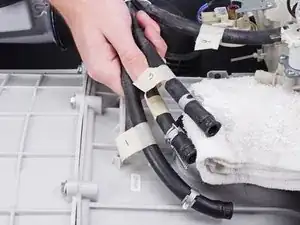
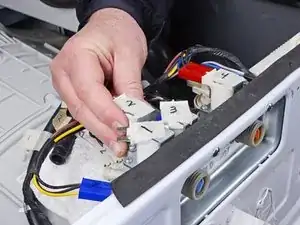
    • To prevent confusion, label each valve and its corresponding hose.

    • You can use masking tape or mark the components themselves.

    • Repeat the labelling procedure for each valve and its corresponding connector.

  6. vBPDbBQfLlJPUqqZ
    vBPDbBQfLlJPUqqZ
    3Ax33YjUtkJgCB2X
    buqncoT2KUAIByBX
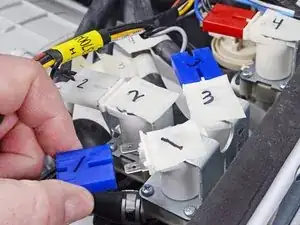
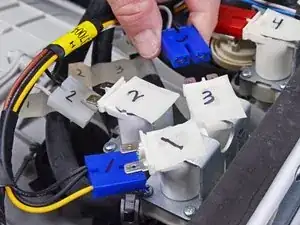
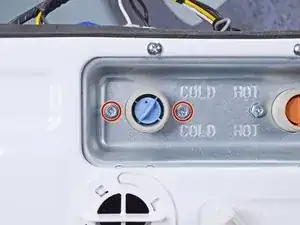
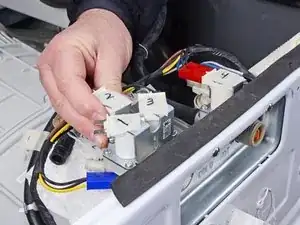
    • Disconnect the connectors from the inlet valve.

    • Always grip cables by their connectors and not the wires themselves.

  7. l5WZ6ZkxLijMhUOS
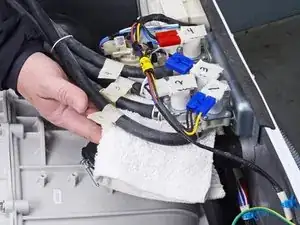
    • Place a dry rag under the inlet valve to soak up any lingering water.

  8. oDCL66fDAVU2ZKpE
    oDCL66fDAVU2ZKpE
    2POXUTCFBwVlXcy5
    yW2XgPwJjkDhiwwW
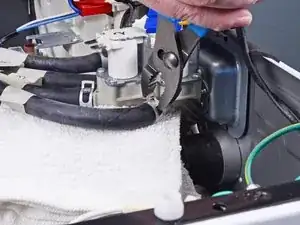
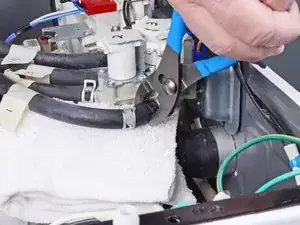
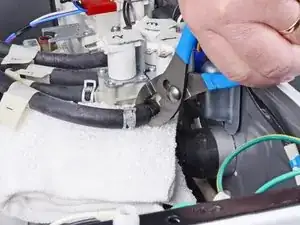
    • Use slip joint pliers to pinch the inlet valve hose clamp and pull it away from the inlet valve assembly.

  9. lRpGAliGJuYDC1RD
    lRpGAliGJuYDC1RD
    WqUhDMcVbqnokTEF
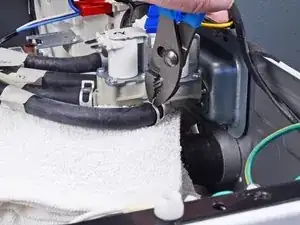
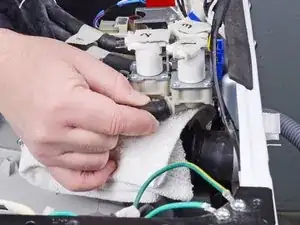
    • Use slip joint pliers to rotate the inlet valve hose back and forth around its connection and loosen it.

  10. lCqiX3bSox1fyd3M
    lCqiX3bSox1fyd3M
    u4LsfA3SlBXueCVB
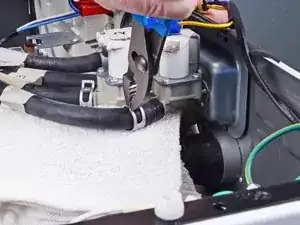
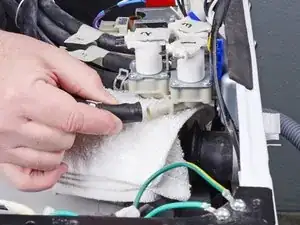
    • Pull the inlet valve hose straight off its connection on the inlet valve assembly.

  11. LjTZoRjCAuTwJH4A
    • Repeat the previous three steps for each remaining hose attached to the inlet valve assembly.

  12. fQNWWDJ3y51tHBOC
    fQNWWDJ3y51tHBOC
    J1aSRrodkJiSmkkJ
    NODu2dk4TvEZXNBC
    • If your replacement part comes with filters pre-installed, skip this step.

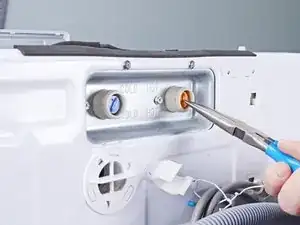
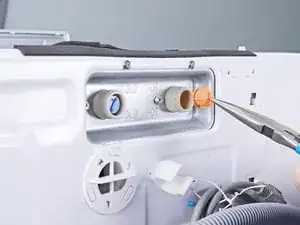
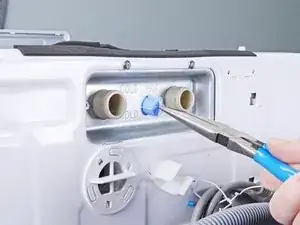
    • Use needle nose pliers to pull the inlet valve filters straight out of the inlets in the chassis.

    • Remove the filters.

  13. kKneNp1TxYyVLSY2
    • Remove the screws securing the inlet valve assembly.

  14. AcKVIlKMXKke1I12
    AcKVIlKMXKke1I12
    UMKiRTYM2ZTIwGWr
    stSWkjkjGpQsVAfY
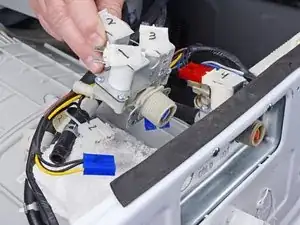
    • Pull the inlet valve assembly straight out of its slot in the chassis to remove it.

  15. QbXGXDFRiN2Wh2FH
    QbXGXDFRiN2Wh2FH
    WGQfupQ6cMeEx5N4
    5cyHOPqhkyNCfDdy
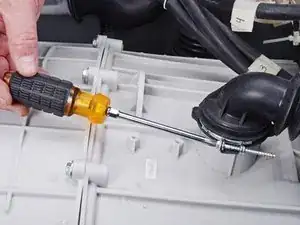
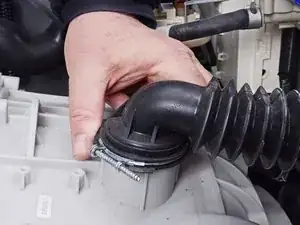
    • Loosen the fastener securing the vent hose.

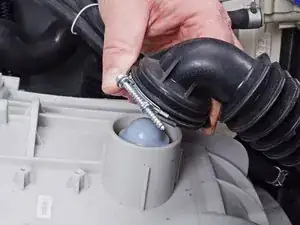
    • Lift the vent hose straight off the drum to expose the vent valve plunger.

  16. mT64KIBZWWTPwWet
    mT64KIBZWWTPwWet
    UUBrL1Ab2dxCbvP6
    AuSxVEhGi3dklpBU
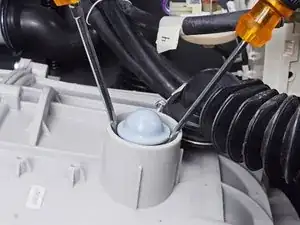
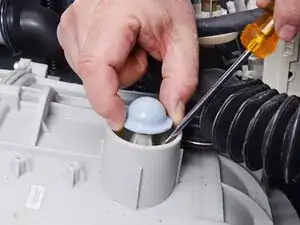
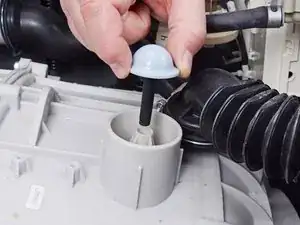
    • Use two flathead screwdrivers, or similar tools, to pry the vent valve plunger up enough to grip it with your fingers.

    • Pull the plunger straight up to remove it.

Conclusion

To reassemble your device, follow these instructions in reverse order.

Take your e-waste to an R2 or e-Stewards certified recycler.

Repair didn’t go as planned? Ask our Answers community for help.
Bill Gilbert

Member since: 30/06/22

35117 Reputation

0 comments