Introduction

Use this guide to replace the main board in your LG front load washing machine.

This is the main circuit board for the washer. It doesn't contain any buttons or dials—if your washer buttons or dials are broken, you'll need to replace the control panel instead.

This guide will work for most LG front load washing machines. This guide is written with a model WM3050CW washer. If you have a different model, you may encounter some minor disassembly differences, but the overall repair process will be the same.

  1. IWjgsUtZOIuShVqa
    IWjgsUtZOIuShVqa
    cmisDLhhQ1ZspJJT
    • Before you begin your repair, perform the following:

    • Turn off the main water supply
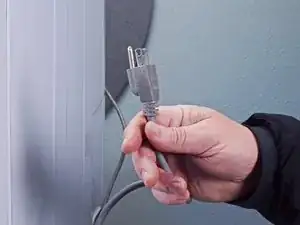
    • Unplug your washer

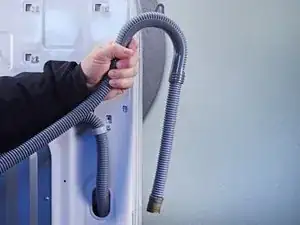
    • Disconnect all water connections at the rear of your washer

  2. a1CEVEuZVuhsJs3v
    a1CEVEuZVuhsJs3v
    s1Dx6pURHR66tbUG
    WMesicEUoODuO1DI
    • Remove the screw(s) securing the top panel brackets to the back panel.

    • You don't need to remove the screws securing the brackets to the top panel.

  3. MXS5aiRAHxRbjTgD
    MXS5aiRAHxRbjTgD
    BqIF6FiMQVaOIZZQ
    • Slide the top panel towards the rear of the device to disconnect its clips.

  4. vk2XTwmpQAn5SSnW
    vk2XTwmpQAn5SSnW
    mKqTwIkkot2M6aDA
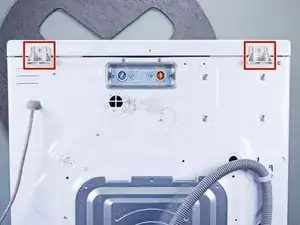
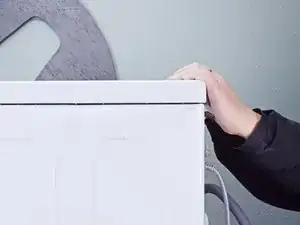
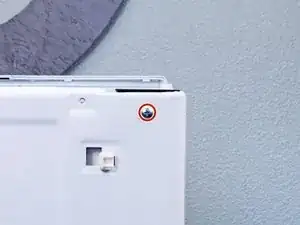
    • Tilt the top panel upward to completely disconnect it from the chassis.

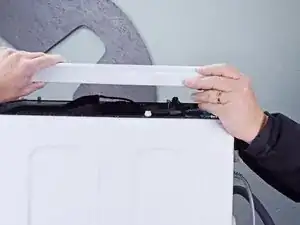
    • Remove the top panel.

  5. QLTZrI42WOBdwHWN
    QLTZrI42WOBdwHWN
    6cD5dCtXDy4NMnW1
    • Depending on your device, your pressure sensor might have a wire harness. If so, disconnect each wire on the harness.

    • Disconnect the connector from the pressure sensor.

    • Always grip cables by their connectors and not the wires themselves.

  6. GgRn1YvRwCFfHTAS
    GgRn1YvRwCFfHTAS
    HkQsJlY1XiPxvPQB
    • Disconnect the hose from the pressure sensor.

  7. BPHklmvOscVDfLuy
    • Remove the screw(s) securing the pressure sensor.

  8. B5BKBYww3koxoPuL
    B5BKBYww3koxoPuL
    fS5iJsGmY3I2kKQi
    QKatyRgXYpniT3MB
    • Unclip the pressure sensor from the chassis or other components.

  9. xF322kOYSsvVCHnZ
    xF322kOYSsvVCHnZ
    xa1gToxlvf4hFYYC
    • Lift the pressure sensor away chassis and remove it.

  10. qLWjcFUdDLCcxjNA
    qLWjcFUdDLCcxjNA
    Y6bQVXncAUeBVBEF
    ayZElOjGxhSIYJ15
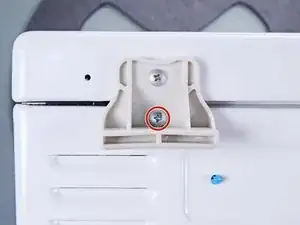
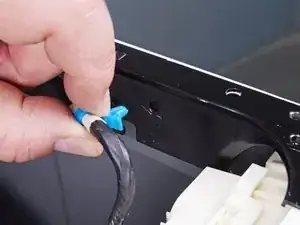
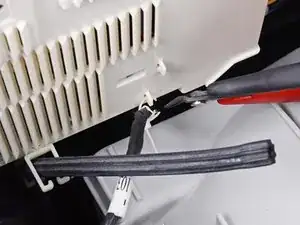
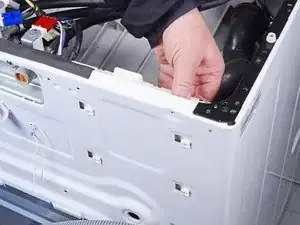
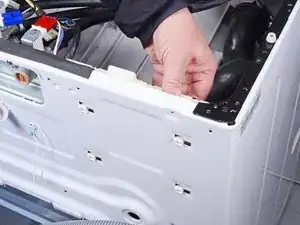
    • Disconnect any cables or fasteners secured to the control panel cover.

    • Repeat this procedure for any bundled cables that keep the cover from opening.

  11. ZIGcX4YTw1RLpdXi
    ZIGcX4YTw1RLpdXi
    CtmhjAvBcGaNT3Y5
    wWYqjIRfJnPBJ6Bv
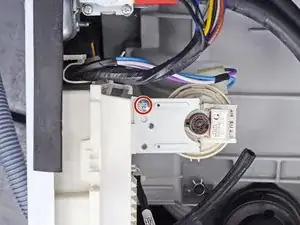
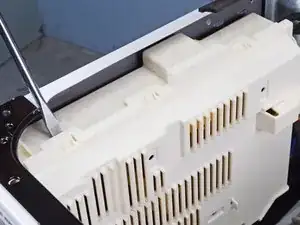
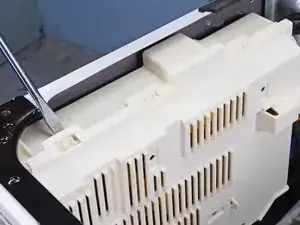
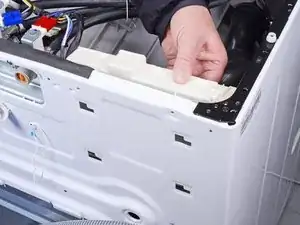
    • Use a flathead screwdriver or a prying tool, to unclip the main board cover.

    • Remove the main board cover.

  12. MhIjtJIQFLvpqGeD
    MhIjtJIQFLvpqGeD
    MAsY2bg5nnft4QJK
    • Remove the screw(s) securing the main board to the back side of the washer.

  13. GuAsMYkjk6WMraG1
    GuAsMYkjk6WMraG1
    lXpltWrGO1MekMXr
    Yuf1VkNkp3ZR4iG3
    • Slide the main board out of its slot in the chassis.

  14. YS1wNFAGmIMCbFiC
    YS1wNFAGmIMCbFiC
    WjGJJGIvoXfyZMvx
    3nlHPDTx6HLekkCS
    • Label each connector and its spot on the main board. During reassembly, reattach each connector to its proper spot.

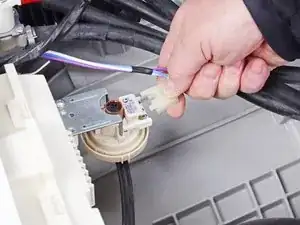
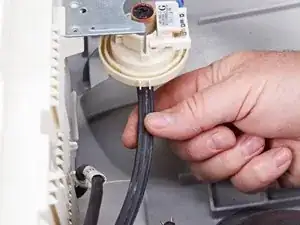
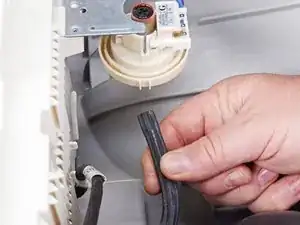
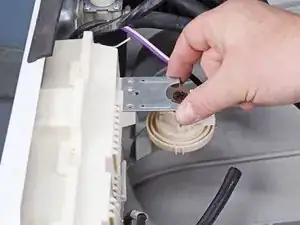
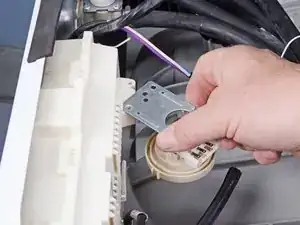
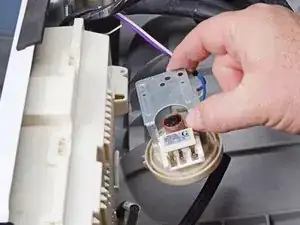
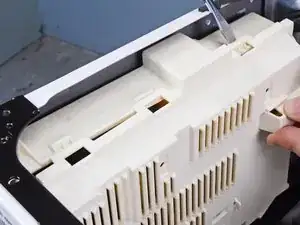
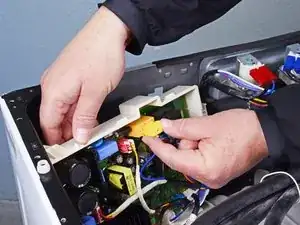
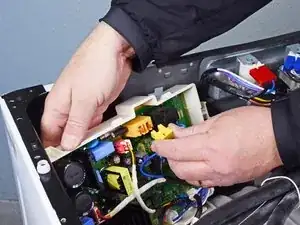
    • Lift the main board out of the chassis to access each of the connectors.

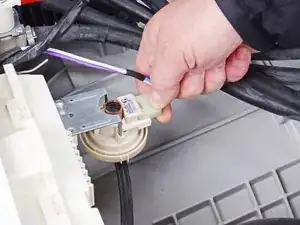
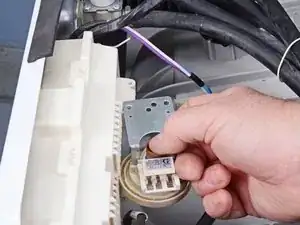
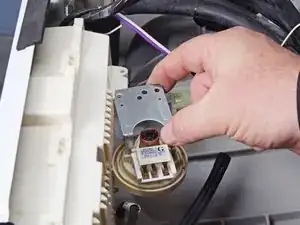
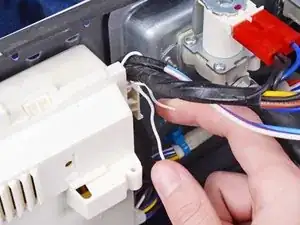
    • Disconnect each connector from the main board.

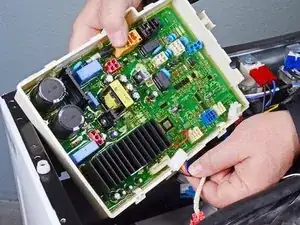
    • Remove the main board.

Conclusion

To reassemble your device, follow these instructions in reverse order.

Take your e-waste to an R2 or e-Stewards certified recycler.

Repair didn’t go as planned? Ask our Answers community for help.

Bill Gilbert

Member since: 30/06/22

35117 Reputation

One comment

Thank you for the instructions. Can power to the front control panel be tested without connecting the pressure sensor and water lines.

albert -