Introduction

Use this guide to replace the door latch in your LG front load washing machine.

The door latch is electronically actuated. If your washer's door won't latch, you may need to replace this part.

This guide will work for most LG front-load washing machines. This guide is written with a model WM3050CW washer. If you have a different model, you may encounter some minor disassembly differences, but the overall repair process will be the same.

The metal ring holding the rubber boot can be difficult to reinstall. You can buy this tool to make the reinstallation easier, or ask additional people to help.

  1. IWjgsUtZOIuShVqa
    IWjgsUtZOIuShVqa
    cmisDLhhQ1ZspJJT
    • Before you begin your repair, perform the following:

    • Turn off the main water supply

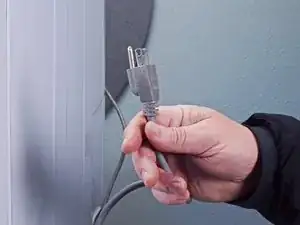
    • Unplug your washer

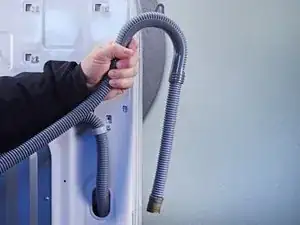
    • Disconnect all water connections at the rear of your washer

  2. ZvM2u52FqRgQOnTI
    ZvM2u52FqRgQOnTI
    DMXk5xrADmFnnHAN
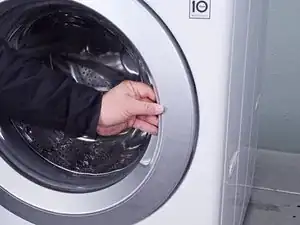
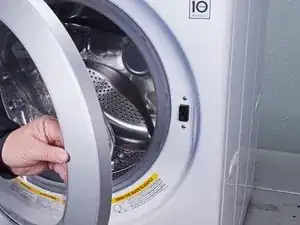
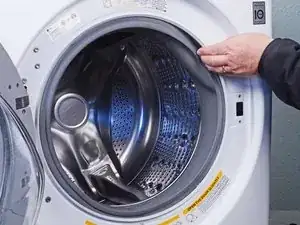
    • Open the front door completely.

  3. QniovEVEGRPqLfbK
    QniovEVEGRPqLfbK
    hvHEuSRRPaMkFgf5
    SXxpxPpGIRS52CJG
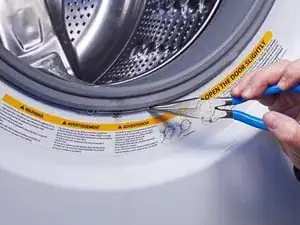
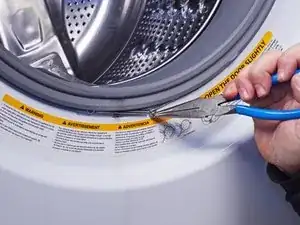
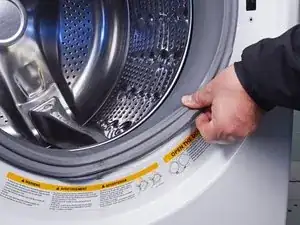
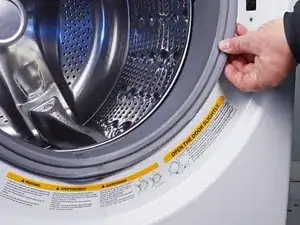
    • Use needle nose pliers to grip the spring end of the metal ring at the bottom of the rubber boot.

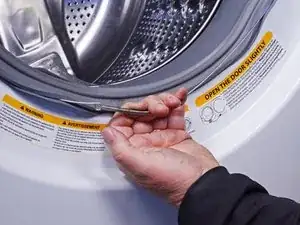
    • Pull the ring away from the chassis to separate it from the boot.

    Bicycle tire levers can help pry the spring/ring away from the rubber boot.

    Reuser -

    Yes, especially plastic ones as they will be less likely to damage the finish on the dryer.

    Bill Gilbert -

  4. VOm6QIytI5x1WCrK
    VOm6QIytI5x1WCrK
    wnor2RFx3Ea1IRQr
    5SSPRdaEiaapbrLM
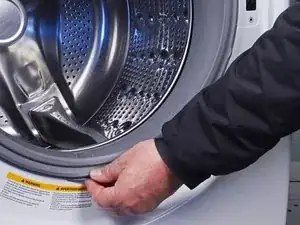
    • Use your hand to completely pull the ring off the boot.

    • During reassembly, perform the following:

    • Insert one end of the ring into its groove along the boot's perimeter.

    • Use pliers to slowly stretch the ring around the boot's perimeter until it's completely nested in its groove.

    • Be sure the spring is centered at the bottom of the boot when you reinstall it.

    • This procedure will take significant force.

  5. YRXPh3TFBFEPH2rb
    YRXPh3TFBFEPH2rb
    J5KrDKZmMc6RfKTF
    Ur1k2jZRKJDVbTFB
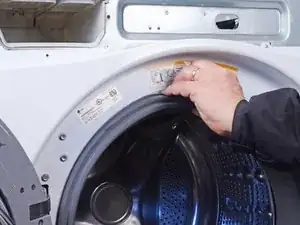
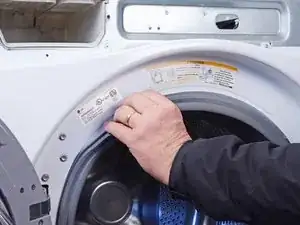
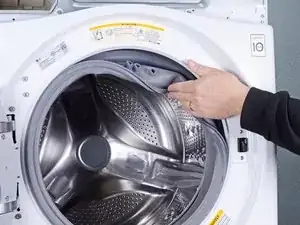
    • Use your fingers to pull the boot off its lip in the front panel.

  6. pTdZEbqtiVrquT2b
    pTdZEbqtiVrquT2b
    jQX6HOfWeFFMC6m3
    w2ijNCW6tsEOOkyq
    • Work your fingers around the boot's perimeter until it's completely separated from the panel.

  7. DnMkEYAgvHsVHsZV
    DnMkEYAgvHsVHsZV
    PPKWsMpLRwfKFFOK
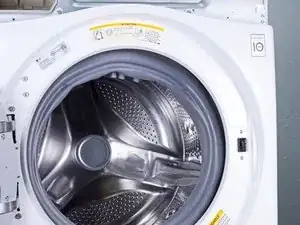
    • Use your hands to fold the boot into the drum.

  8. auKABCqjZaX5uPTS
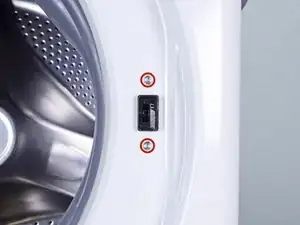
    • Remove the screw(s) securing the door latch.

  9. MLvHI4EcEDYAQSrB
    MLvHI4EcEDYAQSrB
    wc2Yn4jED61hkHwq
    1kmttXymmMsPcPCB
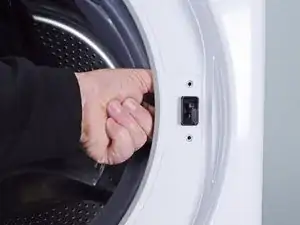
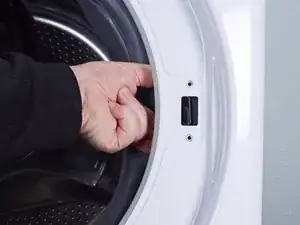
    • Reach between the boot and the chassis to grip the door latch.

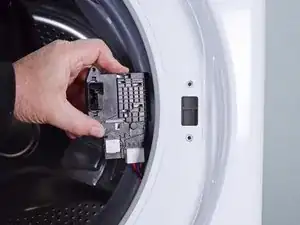
    • Pull the door latch out of its slot in the chassis to expose it.

    • Don't try to fully remove the door latch yet. It's still connected to a cable harness.

  10. yMskVNlHN33KLnIB
    yMskVNlHN33KLnIB
    fkRDLYTjJfrAKVkF
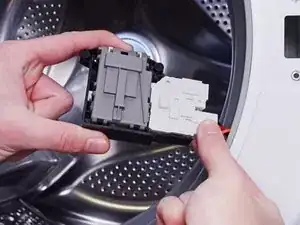
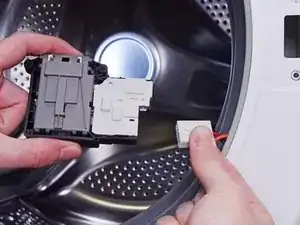
    • Disconnect the cable harness from the door latch.

    • Always grip cables by their connectors and not the wires themselves.

    • Remove the door latch.

Conclusion

To reassemble your device, follow these instructions in reverse order.

Take your e-waste to an R2 or e-Stewards certified recycler.

Repair didn’t go as planned? Ask our Answers community for help.
Bill Gilbert

Member since: 30/06/22

35117 Reputation

0 comments