Introduction
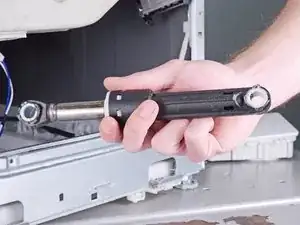
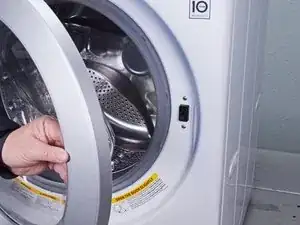
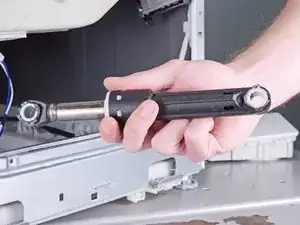
Use this guide to replace the dampers in your LG front load washing machine.
The dampers support the drum while reducing the vibration transmitted to the chassis. If a damper is worn out or broken, the washer can become unbalanced during a wash cycle, resulting in excessive machine wobble and component damage.
This guide will work for most LG front load washing machines. This guide is written with a model WM3050CW washer. If you have a different model, you may encounter some minor disassembly differences, but the overall repair process will be the same.
The metal ring holding the rubber boot can be difficult to reinstall. You can buy this tool to make the reinstallation easier, or ask additional people to help.
Tools
-
-
Turn off the main water supply
-
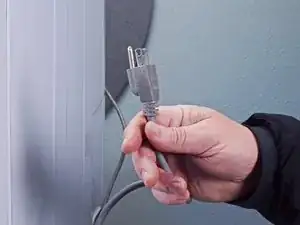
Unplug your washer
-
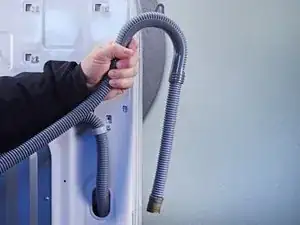
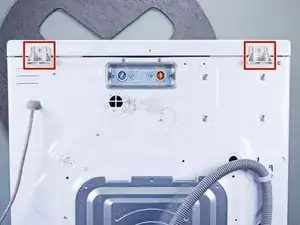
Disconnect all water connections at the rear of your washer
-
-
-
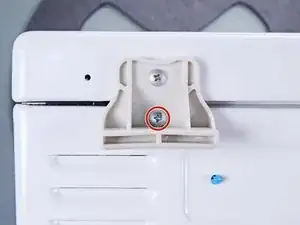
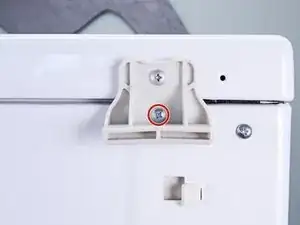
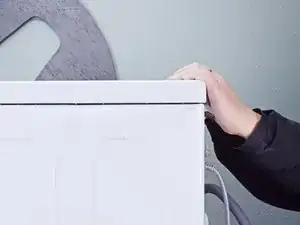
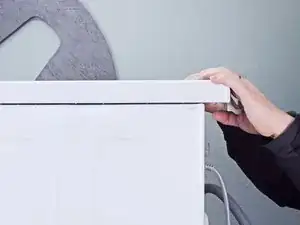
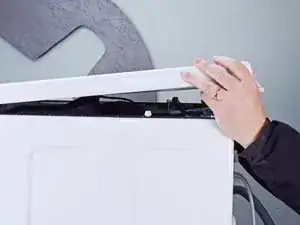
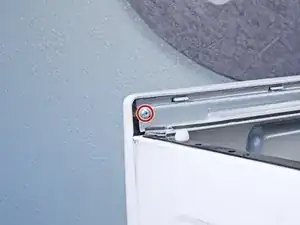
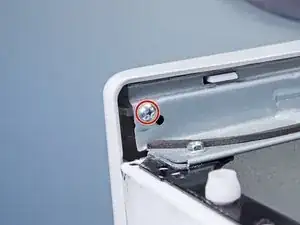
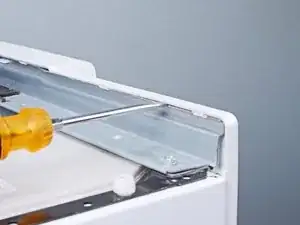
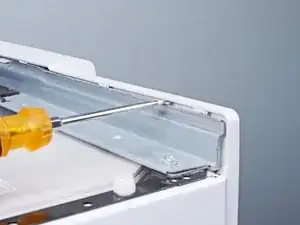
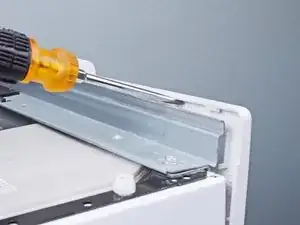
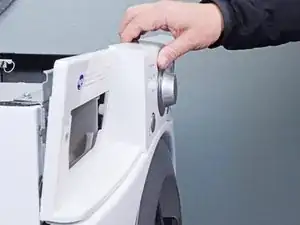
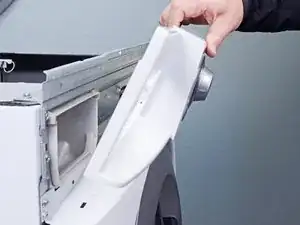
Tilt the top panel upward to completely disconnect it from the chassis.
-
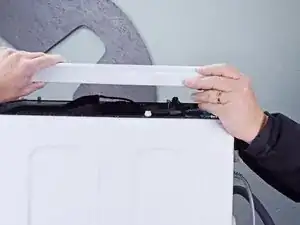
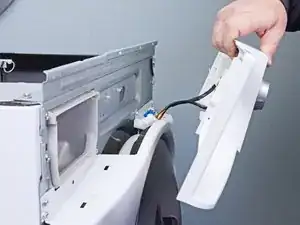
Remove the top panel.
-
-
-
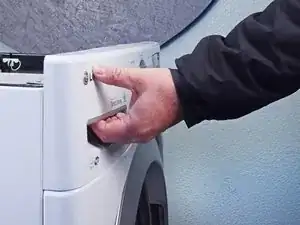
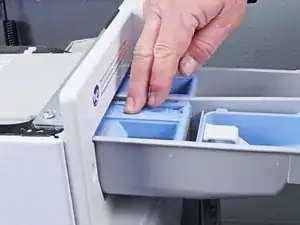
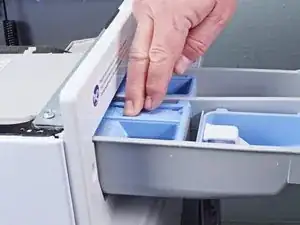
Press down on the "Push" button to disengage the clips securing the detergent drawer.
-
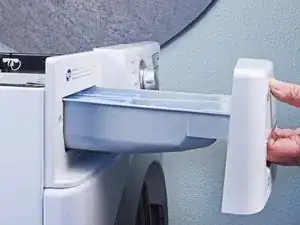
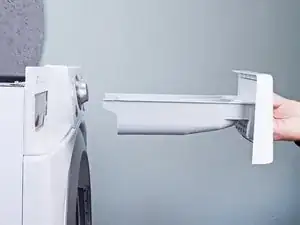
Pull the drawer out of its slot on the chassis and remove it.
-
-
-
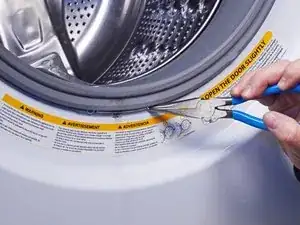
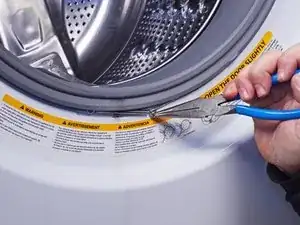
Use needle nose pliers to grip the spring end of the metal ring at the bottom of the rubber boot.
-
Pull the ring away from the chassis to separate it from the boot.
-
-
-
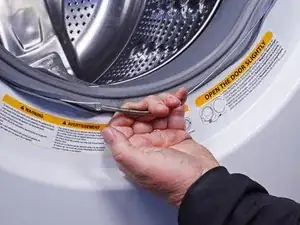
Use your hand to completely pull the ring off the boot.
-
Insert one end of the ring into its groove along the boot's perimeter.
-
Use pliers to slowly stretch the ring around the boot's perimeter until it's completely nested in its groove.
-
-
-
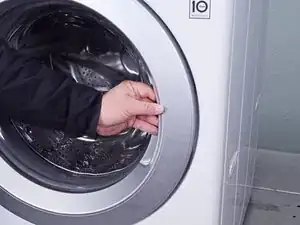
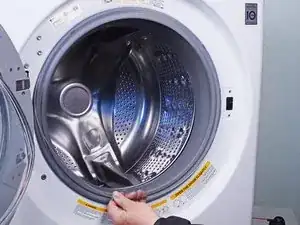
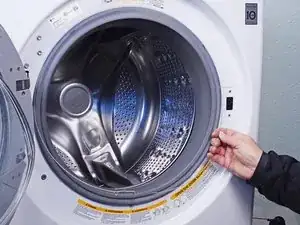
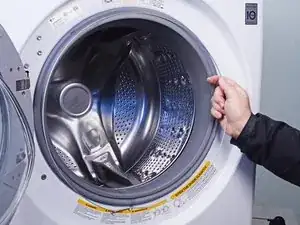
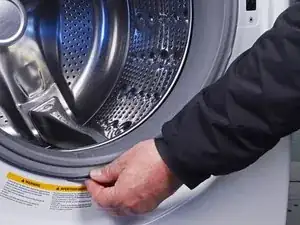
Slide your fingers around the lip of the boot until it's completely separated from the panel.
-
-
-
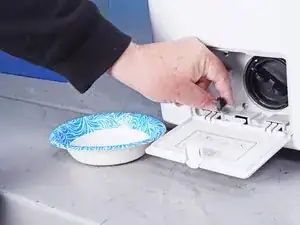
Place a bowl next to the machine.
-
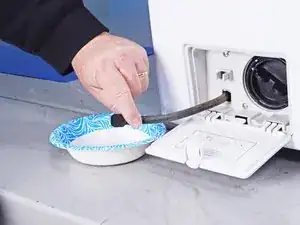
Pull the drain filter hose out of its slot in the chassis enough to lay over the bowl.
-
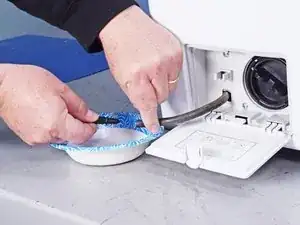
Remove the plug at the end of the drain filter hose to release excess water into the bowl.
-
-
-
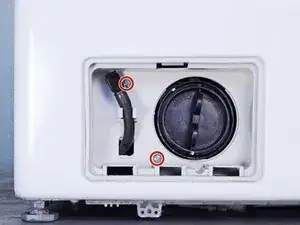
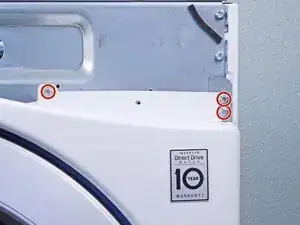
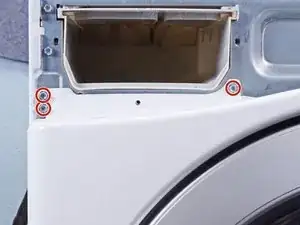
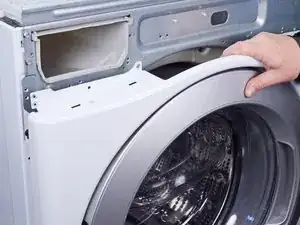
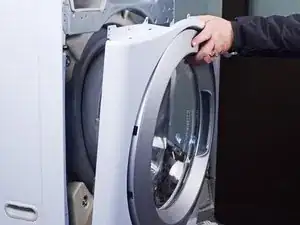
Lift the front panel upward to separate it from its clips on the bottom of the chassis.
-
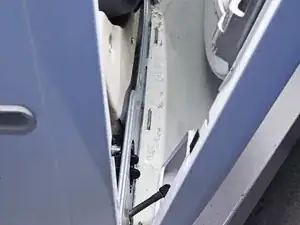
Pull the front panel away from the chassis to completely separate the front panel.
-
-
-
Slide the damper out of its slot in the chassis to disconnect it.
-
Remove the damper.
-
Repeat the last two steps for each damper you want to replace.
-
To reassemble your device, follow these instructions in reverse order.
Take your e-waste to an R2 or e-Stewards certified recycler.
Repair didn’t go as planned? Ask our Answers community for help.
