Introduction
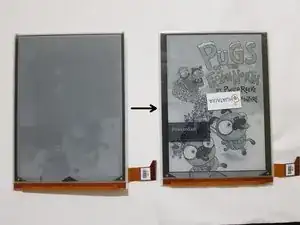
This guide shows how to remove/replace the EPD panel (including frontlight) on a Kobo Glo HD.
This guide applies to the Kobo Glo HD (model N437).
This guide does not apply to the Kobo Touch 2.0, and regular Kobo Glo and Touch models.
You will need to perform the display replacement in a room with little to no dust, as dust and/or scratches on the back of the EPD panel can result in artefacting and/or dead pixels.
As the display assembly and EPD panel are held on using adhesive, removing the display assembly from the bezel may result in a cracked bezel if you’re not careful, and removing the EPD panel from the display assembly may damage it.
Please exercise caution to not bend and/or puncture the battery in the process.
For best results when aligning the display, ensure that it’s displaying an image with a white background or border.
-
-
If you haven't done so already, power off your eReader by holding down the power button for 3 seconds until the display refreshes to indicate that it has powered off.
-
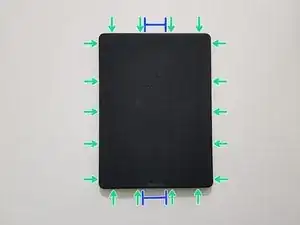
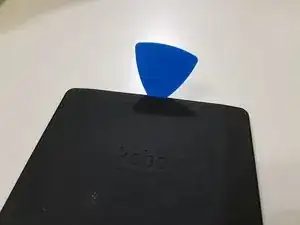
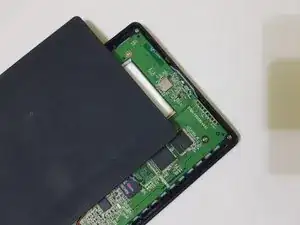
Start by inserting the pick into the area around the power button or Micro USB port.
-
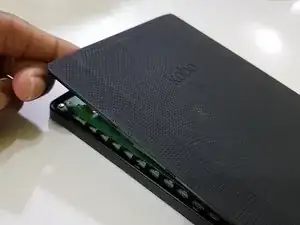
Then, slide the pick around to undo these clips.
-
-
-
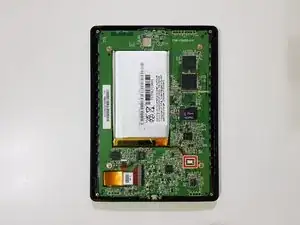
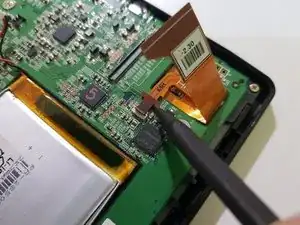
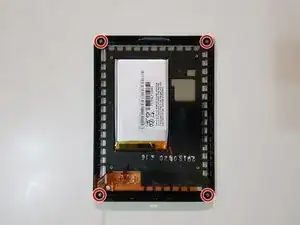
Using the pointed end of your spudger, while holding your eReader using your other hand or a weight, disconnect the battery.
-
-
-
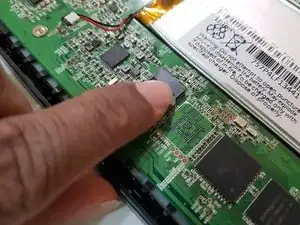
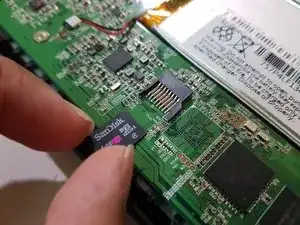
If your eReader has a memory card instead of a storage chip, remove the memory card.
-
Image needed in position 1: innards after disconnecting the battery
-
-
-
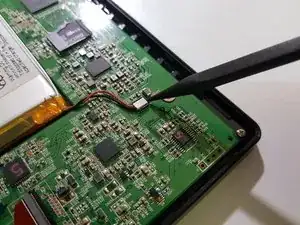
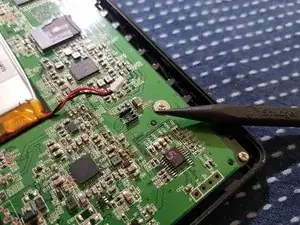
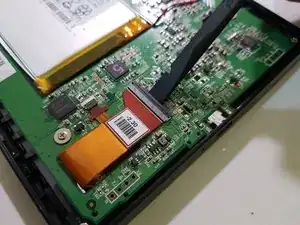
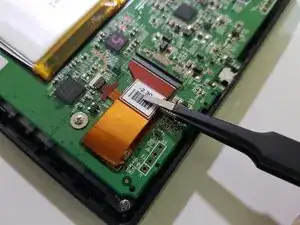
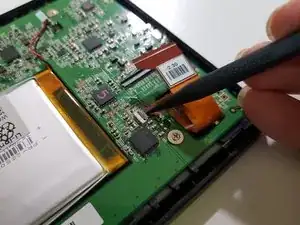
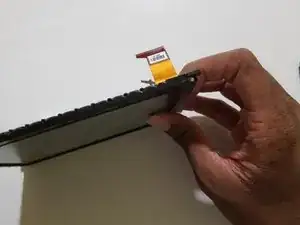
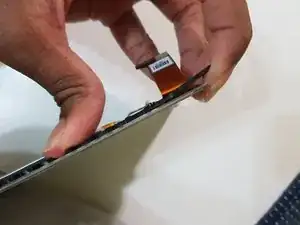
Using the pointed end of your spudger, disconnect the frontlight.
-
Image needed: innards after disconnecting the battery, removing the start-up memory card, and disconnecting the display
-
-
-
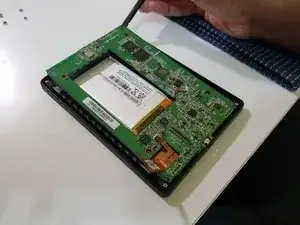
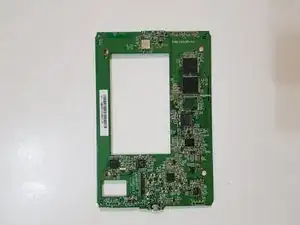
Use the flat end of your spudger to lift the top of the mainboard, and your fingers to slowly pull out the bottom.
-
Image needed: me pulling out the mainboard
-
-
-
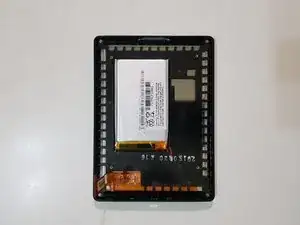
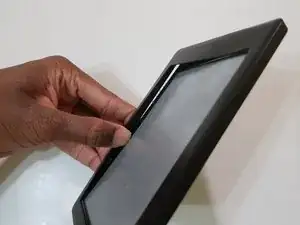
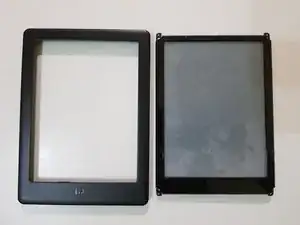
Press down on the display to slowly free the display assembly from the bezel.
-
This may take 5-15 minutes.
-
-
-
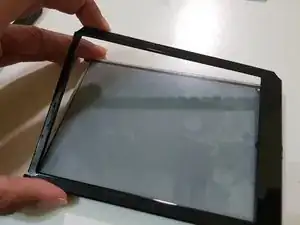
Press down on the display while using your fingernail in between the infrared light guide and mid-frame in order to separate the former from the latter and EPD panel that's still attached to it.
-
The infrared light guide has been removed.
-
-
-
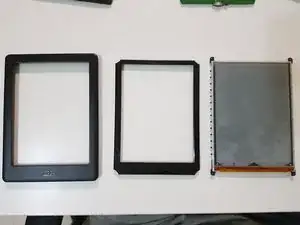
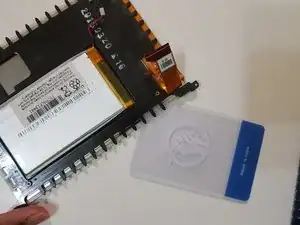
Use your thumb and finger on the rear-facing side of the mid-frame to pry apart part of the mid-frame, enough for you to slip your plastic card into.
-
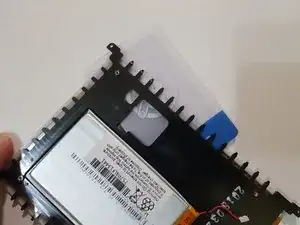
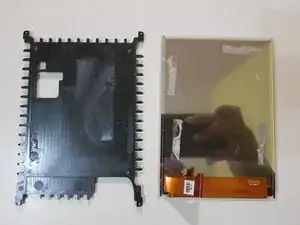
Slip the card in between the EPD panel and mid-frame, and pull it around the perimeter and push it in and out, in order to break adhesive holding the former in place.
-
You may need to use your thumb and finger to bend the mid-frame and break some of the adhesive.
-
-
-
(Placeholder for details on preparing the EPD panel, lightly cleaning the back of it, adding double-sided tape)
-
Without the tape, the back of the EPD panel may get scratched by the midframe, and the infrared light guide won't sit flush with the bezel.
-
-
-
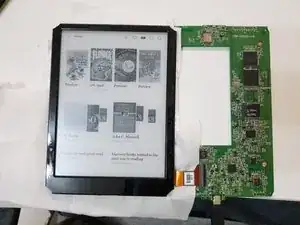
Optionally, you can insert the memory card back onto the mainboard, and connect your eReader to an external power source in order to test the replacement EPD panel for any artefacts and/or dead pixels.
-
You should instead have the display panel loosely attached to the mid-frame, without the infrared light guide and front bezel attached at this stage.
-
Connect a USB cable from a USB power adaptor or external battery to your eReader, and it should automatically power on.
-
Without the infrared light guide, you will not be able to navigate menus on your eReader and open a book or Pocket article, but you will still be able to use the power button to take it in and out of sleep mode, and power off.
-


To reassemble your device, follow these instructions in reverse order.

3 comments
Thank you for the detailed guide! I don't know why this didn't show up on glo hd's page. Google found it for me.
Much much appreciated your work
One more point, is it reaaaally important to tape the display to the mid frame?
I don't know why this didn't show up on glo hd's page. Google found it for me.
I'll try to check the category settings. I remembered that the Glo HD page was messed up and I saw Kobo Aura tutorials listed under the Kobo Glo page.
Much much appreciated your work
Thanks! I'm actually busy working on other projects at the moment, and don't have the time to continue working on iFixit and Wikipedia articles, but I hope to find the time to continue doing so.
One more point, is it reaaaally important to tape the display to the mid frame?
Yes, I believe it is.
I actually didn't tape the display to the mid-frame on mine, as I don't actually have the tape I need, but as a result, the infrared light guide had sunken in after reassembly, and doesn't sit flush with the bezel like it would do with the tape in place. Other than that, it works.
Mine does have a dead pixel near the bottom right corner of the screen, but that was just from me incorrectly installing the display the first time around while writing the guide.
Hi!
Thanks for this very clear guide! I was wondering if i wanted to test if the infrared light is working what is the minimal units and cables that have to be connected?
Thank you very much!