Introduction
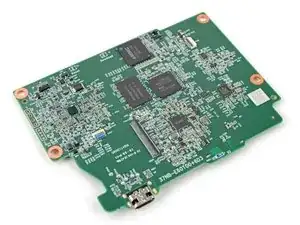
Use this guide to replace the motherboard in your Kobo Clara BW eReader.
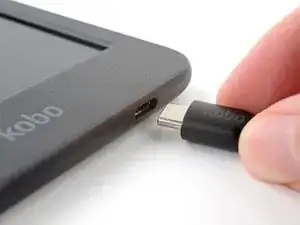
The charging port is soldered to the motherboard, so you'll need to replace the entire motherboard if you want to replace the port.
Following this guide will remove your eReader's IP (Ingress Protection) rating, making it susceptible to water damage.
After this repair, follow this guide to calibrate your eReader to your replacement motherboard. If you don't, you might experience "ghosting" or visual artifacts of the E ink.
Kobo supports their eReaders with a warranty. If your device is still under warranty, Kobo may be able to help. Before starting a repair, review your warranty information or check support documentation.
-
-
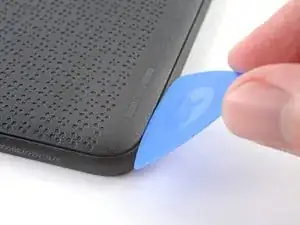
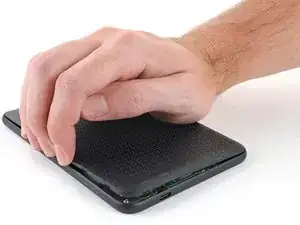
Lay your eReader down so the back cover is facing up.
-
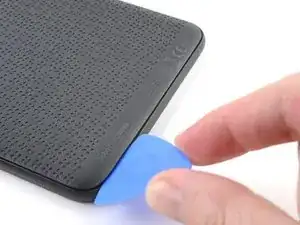
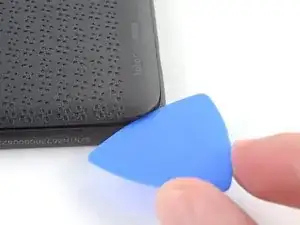
Insert the flat edge of an opening pick between the frame and the bottom left corner of the back cover.
-
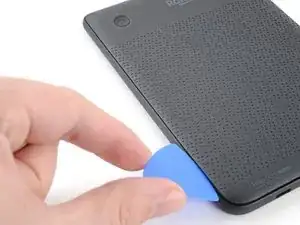
Push the pick downwards at a slight angle until it slides under the back cover.
-
-
-
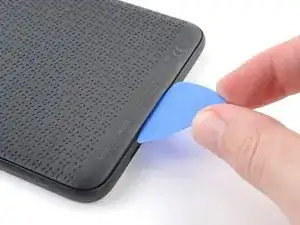
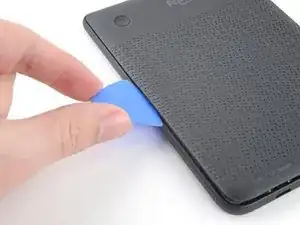
Remove the pick and reinsert it under the bottom left corner.
-
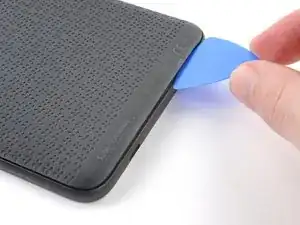
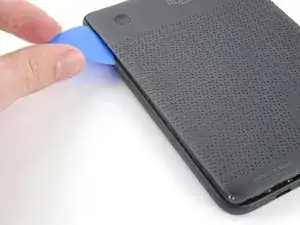
Angle the pick flat under the back cover and rotate it around the bottom left corner to release its clips.
-
-
-
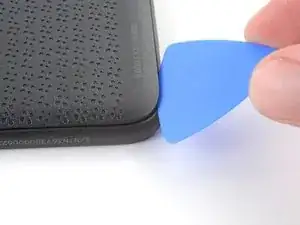
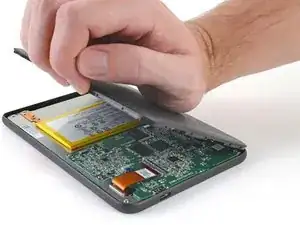
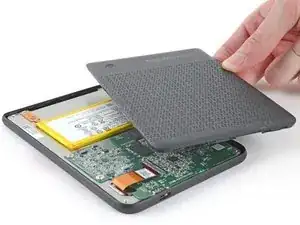
Grip the left edge of the back cover and lift it away from the eReader to release the remaining clips.
-
Remove the back cover.
-
-
-
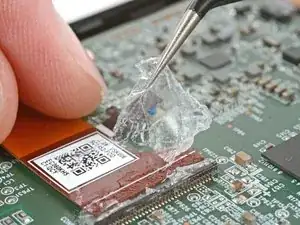
The coating is brittle and can flake into many small pieces. Heating the coating helps, but working with it is still a time-consuming process.
-
The ZIF connector locking tabs are coated in a gel that can jam the hinge and keep the locking tab from completely unlocking. Make sure the tabs are completely upright before disconnecting any cables.
-
Depending on your repair, you might have to remove the coating from ZIF connectors and their cables.
-
-
-
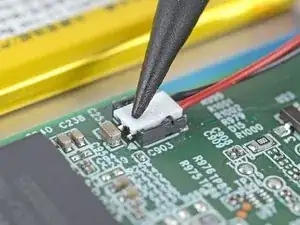
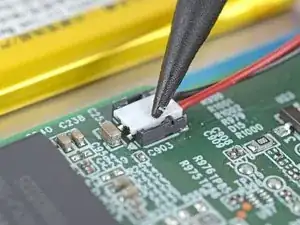
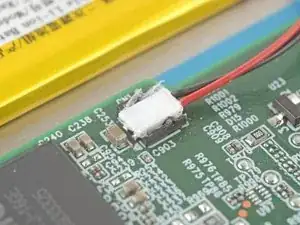
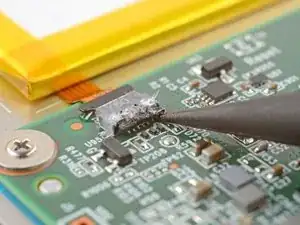
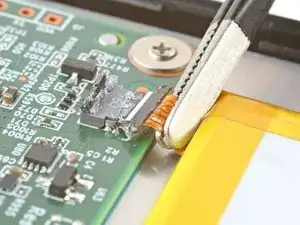
Use the tip of a spudger to scrape up the coating along the white battery connector head—enough so you can grab clumps of it with pointed tweezers.
-
-
-
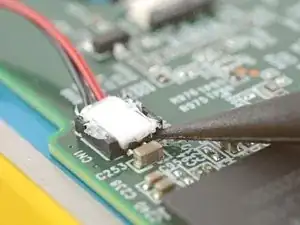
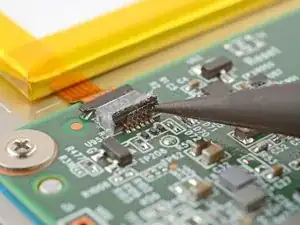
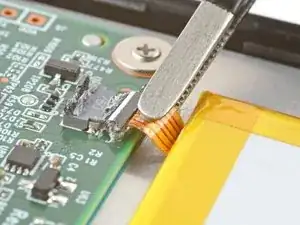
Use pointed tweezers to peel off all of the coating around the battery connector head and its socket.
-
-
-
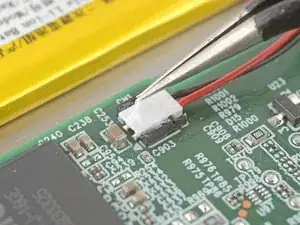
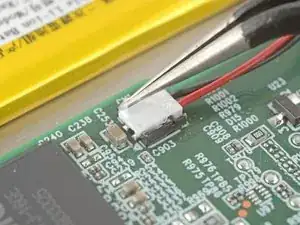
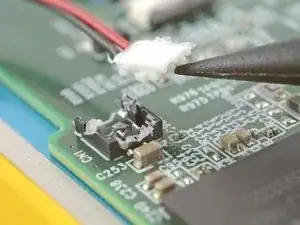
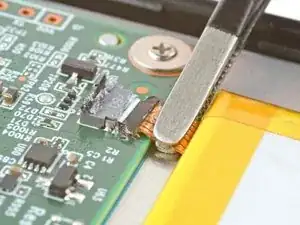
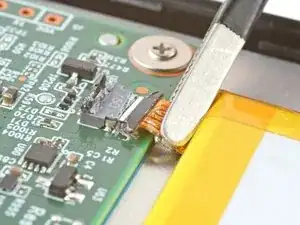
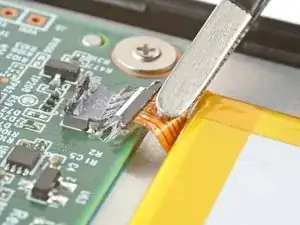
Insert the point of a spudger under the edge of the battery connector head opposite of the cable.
-
Lift up the connector with the spudger to separate the rest of the coating and disconnect the battery.
-
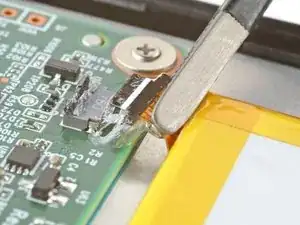
Inspect the connector head and its socket for any remaining coating that could prevent a good connection.
-
Peel off the coating, heating the area when the coating becomes too brittle.
-
-
-
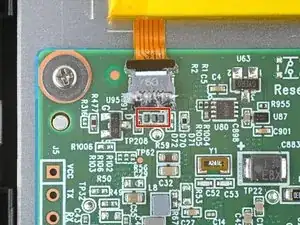
Insert the tip of a spudger under the right side of the ZIF connector's black locking tab.
-
Lift up the locking tab with the spudger to unlock it.
-
-
-
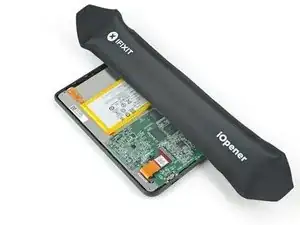
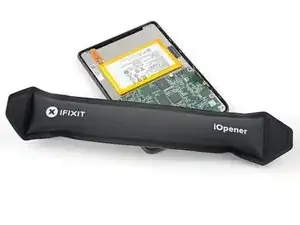
Apply a heated iOpener to the power button ZIF connector for 90 seconds to soften the coating.
-
-
-
Grip the power button cable close to the head and pull it away from its ZIF connector slowly and steadily to separate the coating.
-
Keep pulling on the cable until it comes completely out of its socket.
-
Inspect the head of the cable and the ZIF connector for any remaining coating that could prevent a good connection.
-
Peel off the coating—heating the cable and the ZIF connector when the coating becomes too brittle.
-
-
-
Use the flat end of a spudger to lift up the locking tab on the digitizer cable ZIF connector.
-
-
-
Apply a heated iOpener to the digitizer cable ZIF connector for 90 seconds to soften the coating.
-
-
-
Use blunt nose tweezers to grip the digitizer cable close to the head and pull it away from its ZIF connector slowly and steadily to separate the coating.
-
Keep pulling on the cable until it comes completely out of its socket.
-
Inspect the head of the cable and the ZIF connector for any remaining coating that could prevent a good connection.
-
Peel off the coating—heating the cable and the ZIF connector when the coating becomes too brittle.
-
-
-
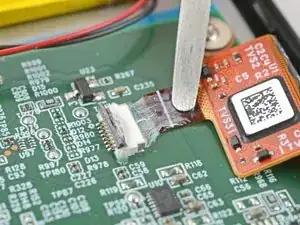
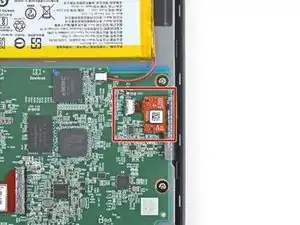
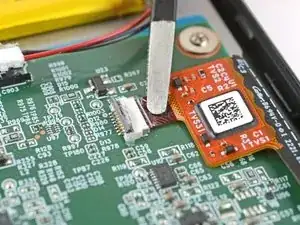
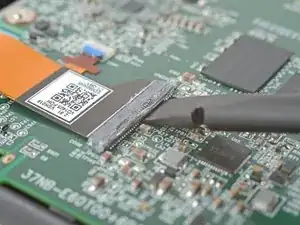
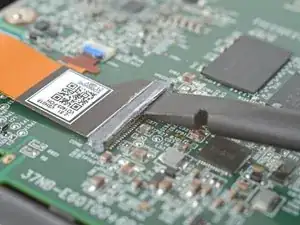
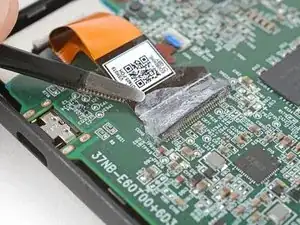
Insert the flat end of a spudger under the right side of the ZIF connector's black locking tab.
-
Lift up the locking tab with the spudger to unlock it.
-
-
-
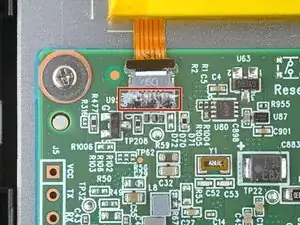
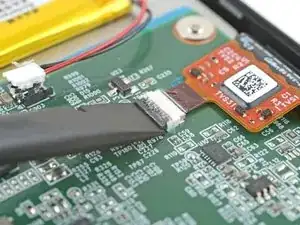
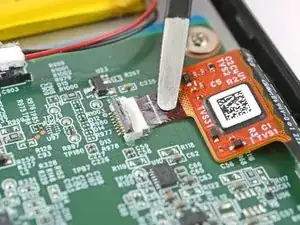
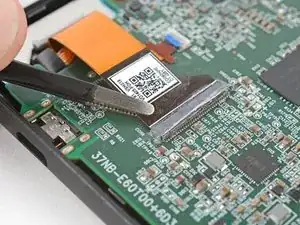
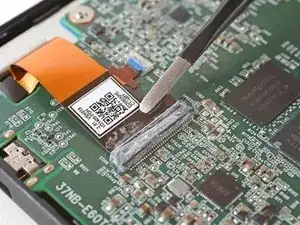
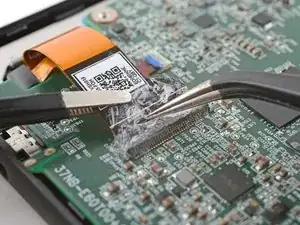
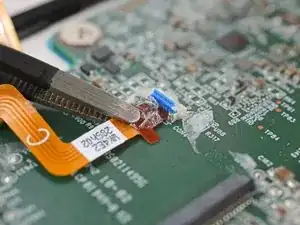
Use blunt nose tweezers to grip the corner of the display cable closest to the charging port.
-
Pull the cable away from the ZIF connector slowly and steadily at a level angle to separate the coating at the corner.
-
-
-
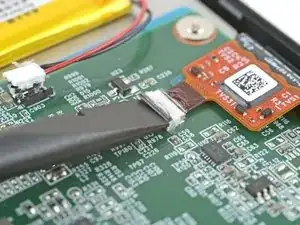
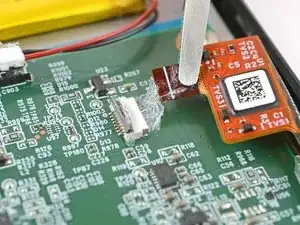
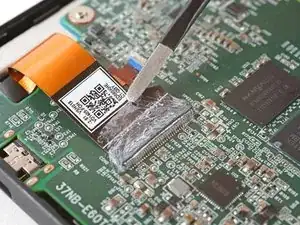
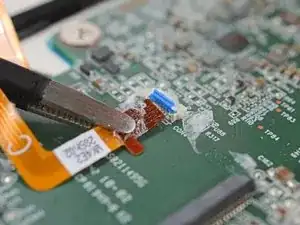
Repeat the previous step for the other corner until the the cable comes completely out of its socket.
-
-
-
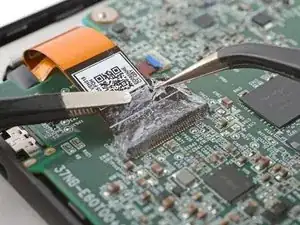
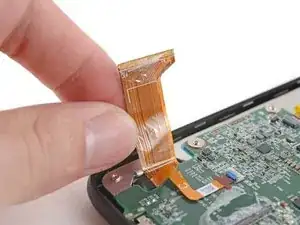
Lift up the display cable and peel off any remaining coating holding it to the motherboard.
-
Inspect the head of the cable and the ZIF connectors for any remaining coating that could prevent a good connection.
-
Peel off the coating—heating the cable and the ZIF connector when the coating becomes too brittle.
-
-
-
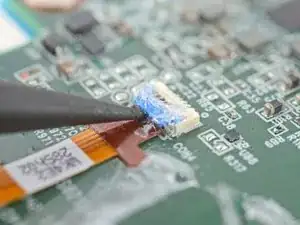
Lift the display cable out of the way of the backlight cable underneath.
-
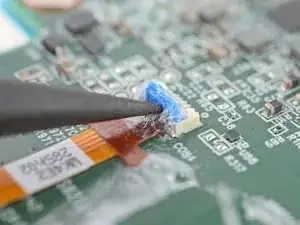
Use the point of a spudger to lift up the blue locking tab on the backlight cable ZIF connector.
-
-
-
Use blunt nose tweezers to grip the backlight cable close to its head and pull it away from its ZIF connector slowly and steadily to separate the coating.
-
Keep pulling on the cable until it comes completely out of its socket.
-
Inspect the head of the cable and the ZIF connector for any remaining coating that could prevent a good connection.
-
Peel off the coating—heating the cable and the ZIF connector when the coating becomes too brittle.
-
-
-
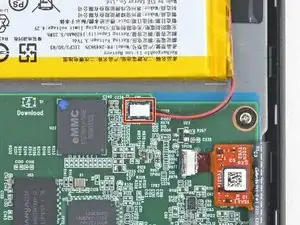
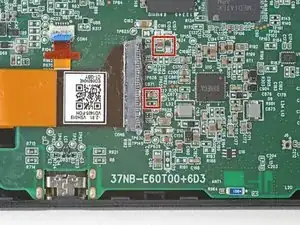
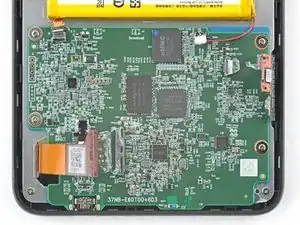
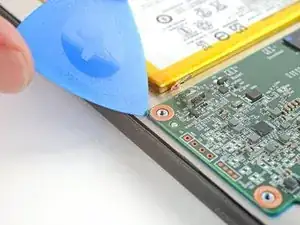
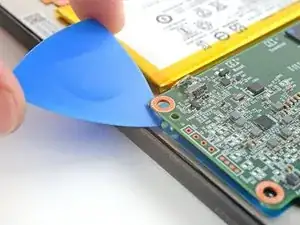
Slide an opening pick under the top left corner of the motherboard and lift it up enough to grip the motherboard with your fingers.
-
-
-
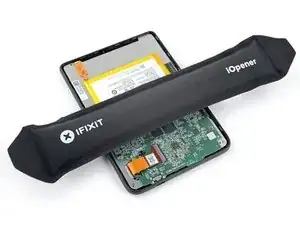
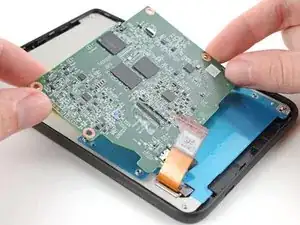
Lift the top edge of the motherboard and pull it toward the top of the eReader to remove it.
-
Slide the charging port into its slot at a slight downward angle before pressing the motherboard flat to the frame.
-
Follow this guide to update the VCOM number on your eReader to match your screen.
-


To reassemble your device, follow these instructions in reverse order.
Remember: after repairs, your eReader is no longer IPX8 waterproof.
Compare your new replacement part to the original part—you may need to transfer remaining components or remove adhesive backings from the new part before you install it.
Make sure each of your device's main functions still work, e.g., LED backlight, touch, Wi-Fi, etc.
Take your e-waste to an R2 or e-Stewards certified recycler.
Repair didn’t go as planned? Try some basic troubleshooting, or ask our Answers Community for help.