Introduction
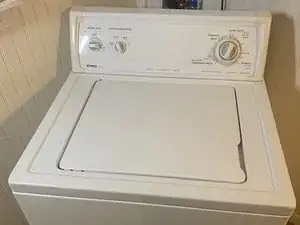
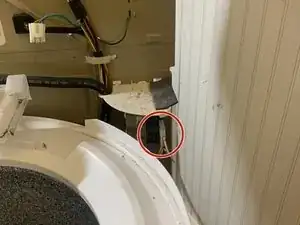
Here is a replacement guide for a faulty water inlet valve in a Kenmore 80 Series Washer. The water inlet valve connects the two water hoses to the machine and controls the flow of both hot and cold water to the washing machine. There are some issues that arise from a faulty water inlet valve such as the cold/hot water not turning off, the wash tub won’t stop filling with water, the washer starts draining before the wash cycle starts, or the wash tub won’t fill with water. In order to correct any one of these issues, replacement of the water inlet valve is necessary.
Parts
-
-
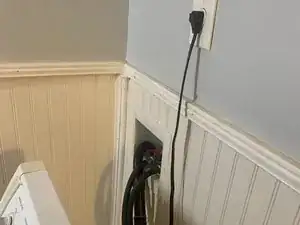
Unplug the washer from the electric wall outlet.
-
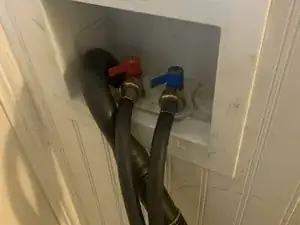
Turn off the hot and cold water supply valves by rotating the valves in a clockwise rotation.
-
-
-
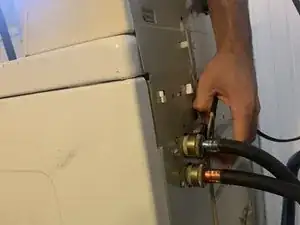
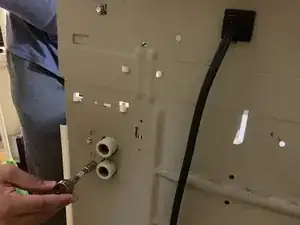
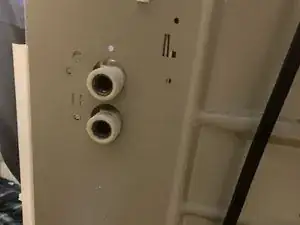
Use the groove joint pliers to remove the hot and cold water hoses in a counter-clockwise rotation.
-
-
-
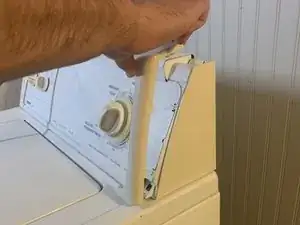
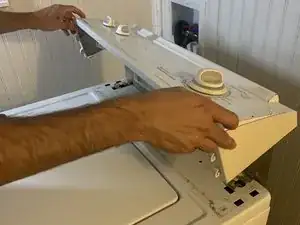
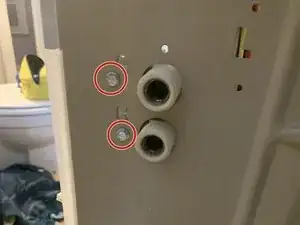
Remove plastic endcaps at either end.
-
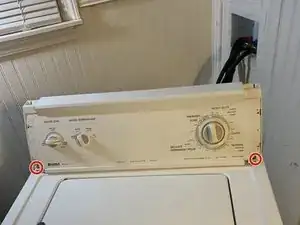
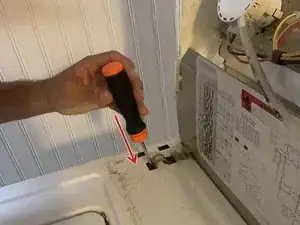
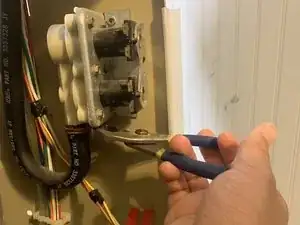
Unscrew the screws at either end using the Phillips head screwdriver.
-
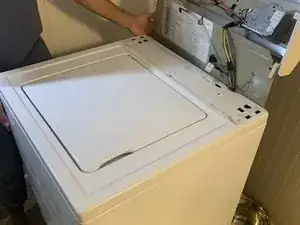
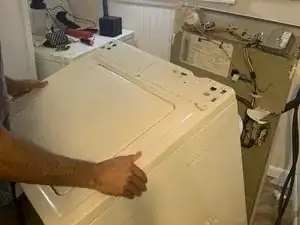
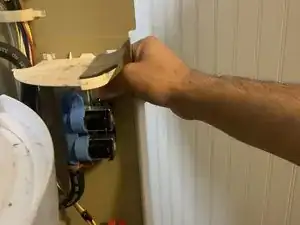
Rotate the panel up.
-
-
-
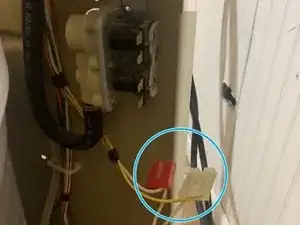
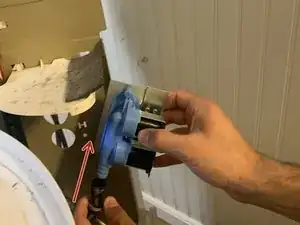
Use the groove joint pliers to press clamp and slide down from water hose.
-
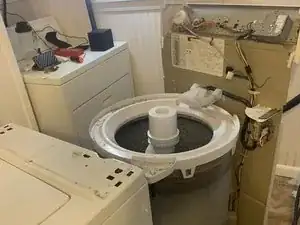
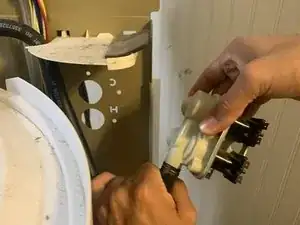
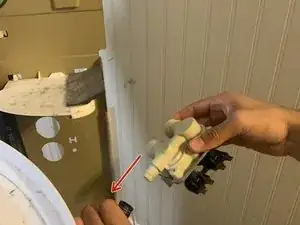
Remove valve out from back panel.
-
Remove interior water hose from inlet water valve.
-
-
-
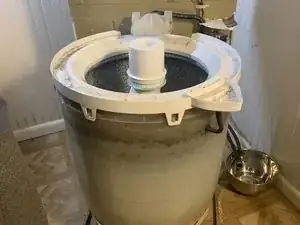
Slide the interior water hose over the water inlet valve.
-
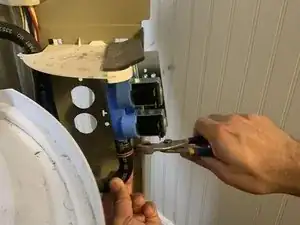
Use groove joint pliers to depress the clamp and secure the water hose to the valve.
-


To reassemble your device, follow these instructions in reverse order.
One comment
Nice but you did not share the most complicated part. putting the shell back on. its not just simple. corner slots, getting all slots aligned without damaging the inlet dispenser above the tub. then having the front side seat on the frame. i have spent more time and frustration on getting the shell back on verses the entire valve replacement.