Introduction
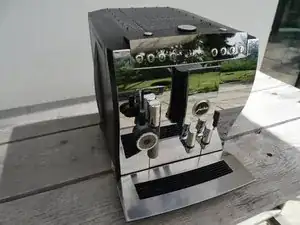
Removing and replacing the solenoid for the drain valve is quite simple. If the drain valve is not opened properly, the most likely failure pattern is as follows: after rinsing, the pressure is not taken from the brew group, the brew group motor continues to try to work, sounds very agonized. This process repeats itself a few times.
Tools
-
-
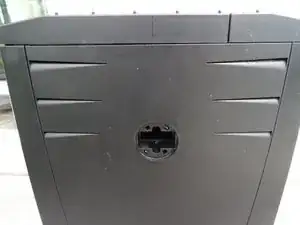
Turn the machine so the back is facing toward the front.
-
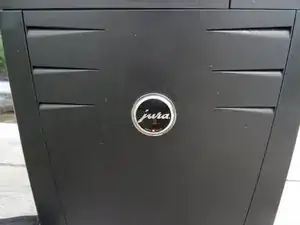
The Jura sign must be removed. Turn it a few millimeters counterclickwise.
-
Remove the Jura sign.
-
-
-
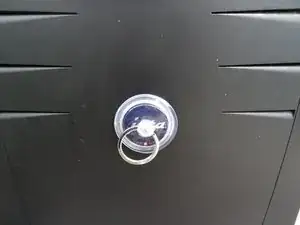
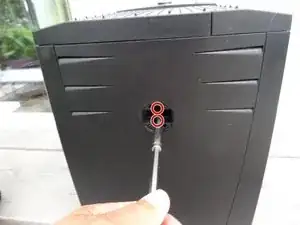
Behind the Jura sign are two screws with an oval head. They have to be removed.
-
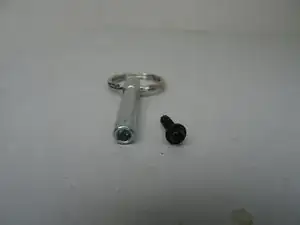
These screws have an oval head that makes them look like rivets (picture 2). You need to use a special bit for their removal. If the right bit is not available, it could be done with a pair of needle nose pliers. Jura wants to keep us out of our own machines!!!!
-
-
-
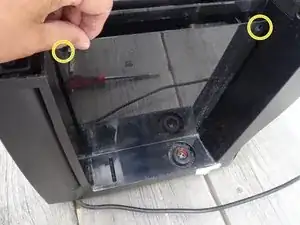
Remove the Torx T15 screw on the front wall of the side panel.
-
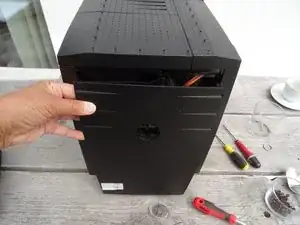
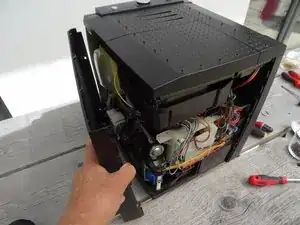
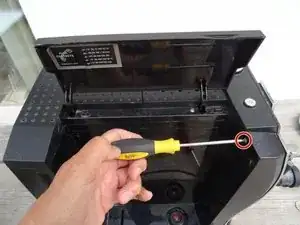
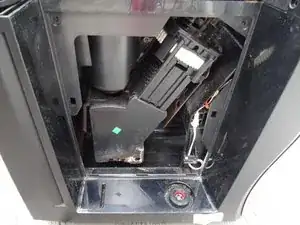
In the side part there is a lid over the brew group. The lid is fastened at the top with two oval head screws. Remove those to remove the lid.
-
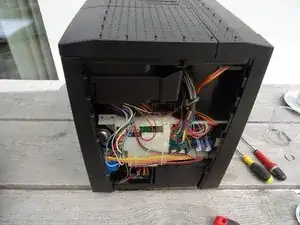
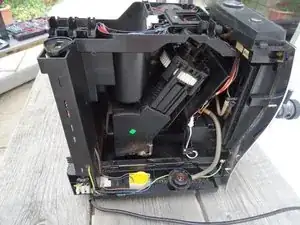
With the cover removed the brew group becomes visible
-
-
-
This step shows how to remove the top cover
-
Remove the powder tray and all coffee beans.
-
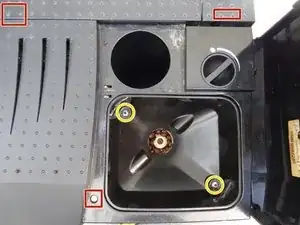
The cover is fastened with three Torx T15 screws. Those are easily visible under the covers as well as the small cover on the left back side.
-
Remove the two Phillips screws on the bean container and remove the bean container.
-
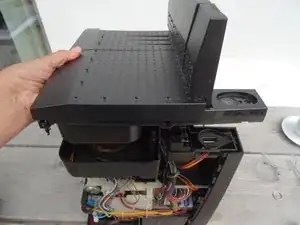
Lift the cover upwards.
-
-
-
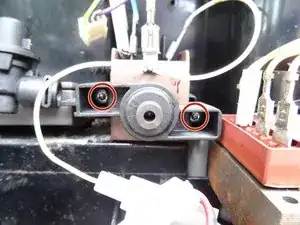
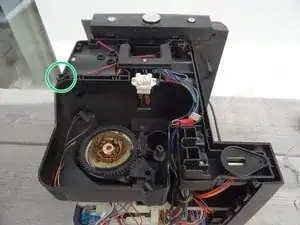
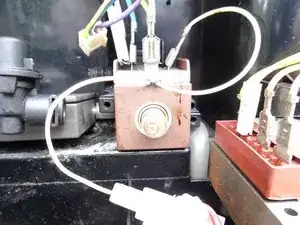
The solenoid is secured with a bracket held in place by two Torx T10 screws
-
Remove the two screws.
-
Take off the bracket
-
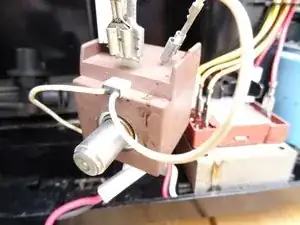
Take the solenoid out.
-
Disconnect the cables from the solenoid.
-
-
-
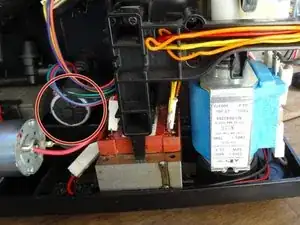
In newer models, there is a drainage motor instead of a magnet. In principle, it is removed in the same way as the magnet. Use these instructions
-
Remove the two Torx T15 screws on the drain motor and take out the motor. The side with the blue cable is marked with a dot.
-
First leave the motor connected. Trigger a flush and observe if the pin moves back and forth.
-
Work through the steps in reverse order to reassemble your device.
