Introduction
The steam valve is located behind the rotary knob at the top right. It is used to control the extraction of steam and hot water. The valve can have various malfunctions: it can be sluggish, leaky, or clogged. Often it is possible to repair the malfunction, replace a gasket, or remove traces of lime scale. This is shown here.
Note: There are different models of this valve. Your valve may look a little different, but the procedure is basically the same.
Tools
Parts
-
-
Lift out the coffee tray
-
Remove the lid sealing the coffee bean container
-
Remove all of the coffee beans you can possibly remove.
-
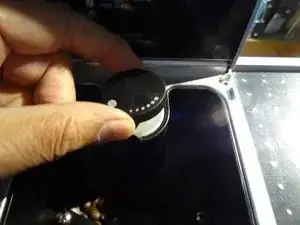
Pull the adjuster of the coffee bean grinder straight up
-
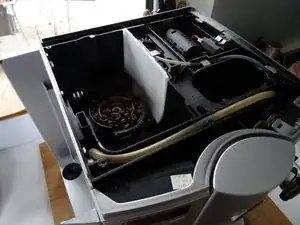
Remove the four T15 Torx screws
-
-
-
Remove the cup heat plate.
-
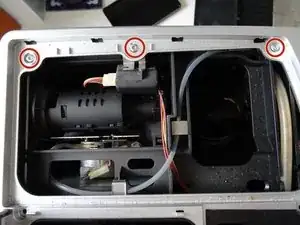
Below the cup heat plate there are three more T15 Torx screws. Remove them.
-
-
-
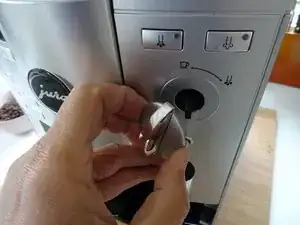
Remove the knob for the steam valve by simply pulling it off.
-
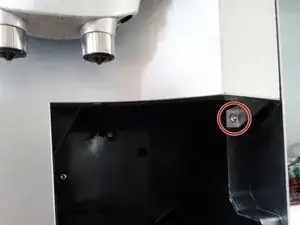
The front cover is secured with a Torx T15 screw. Remove it.
-
-
-
Use a spudger to lift the two notches at the top of the front cover a bit to release the keypad at the top.
-
Lift the keypad upwards and pull it to the back. The steam pipe will slide out from its connection.
-
-
-
Remove the silicone hose leading from the steam valve to the coffee spout. If it is secured with a cable tie which must be removed first.
-
The front cover is now free and can be opened.
-
-
-
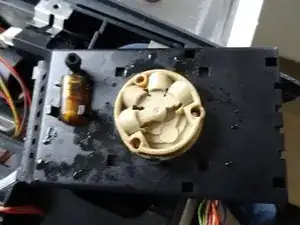
Loosen the clips on the black cover and carefully lift it off.
-
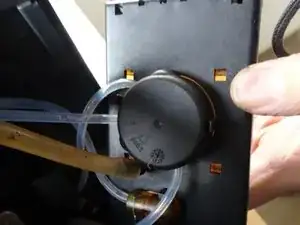
Pull out all hose connections. There are small O-rings at the ends, they may also be stuck in the valve body. Remove the O-rings and replace them with new ones when reassembling.
-
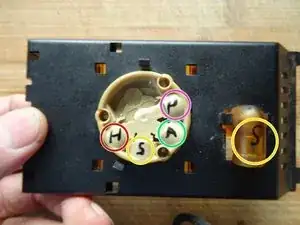
Note exactly where which hose is connected, e.g. by taking a photo, or mark the connection points. In the third photo, the connections are marked (this may also look different on some models):
-
H = Heating
-
S = Steam generator on
-
S = Steam generator off
-
A= Pressure release valve (elbow)
-
P = Pump
-
-
-
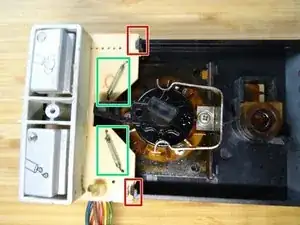
Release the two latches on the pushbutton board.
-
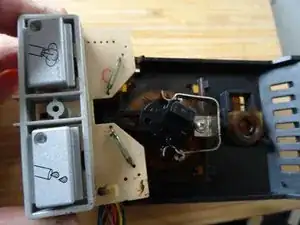
Lift the board very carefully by the bottom and pull it off the unit.
-
The unit is free.
-
-
-
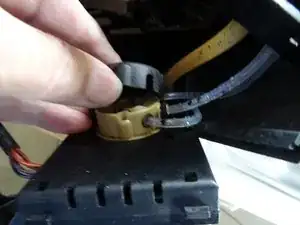
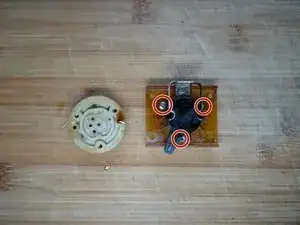
Loosen the three Phillips screws on the black valve bonnet and very slowly lift it upwards off the valve body.
-
-
-
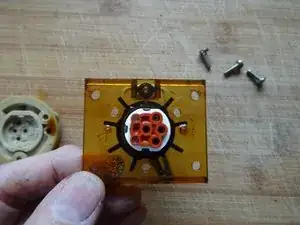
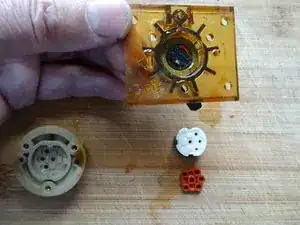
Turn the valve bonnet over. The molded seal becomes visible. Make sure that it is seated correctly; it must be seated in the valve body again later, otherwise the valve will not work.
-
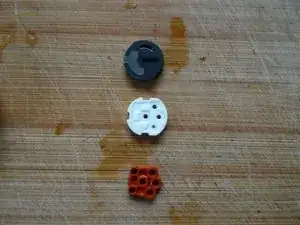
Carefully lift out the molded seal and the two ceramic washers. Note the exact installation position.
-
Now you can clean all parts. If the seal is defective, you need to replace it.
-
Work through the steps in reverse order to reassemble your device.
11 comments
How can i find the right hose connections? I have a Jura S75, and i lost my picture about the connections.
M Hunor -
See 3rd picture in step 9
VauWeh -
I connencted like that, but at the bottom of the brewing unit there is a pipe and the water flushes from that. Maybe i connencted a wrong pipe?
M Hunor -
OK, here are two documents (in german), which will hopefully help:
(1) https://www.yumpu.com/de/document/read/7...
(2)
VauWeh -
Follow the way of the water! The pipe on the bottom of the brewing unit leads into the drainage valve. Normally this is closed and the fresh hot water coming from the ceramic valve via heater flows into the lower piston and changes to coffee. It only opens - the loud "clack" - for a short moment, when the brewing cycle ends for pressure release. Maybe the drainage valve is permanent open?
VauWeh -
Thank you very much! It helped a lot.
Yes, the drainage valve is open and the machine doesnt close. Maybe the problem in the electronics?
M Hunor -
Mmm. Did you open the brewing unit? Perhaps you forgot a spring in the drainage valve.
VauWeh -
I chechked it, but it is on its place. I put the brewing unit in the "basic position". Should I try change this position?
M Hunor -
Without seeing the device, I don't have a good idea. Maybe the drainage magnet is stuck. But why so suddenly?
You did not open the drainage valve and replace the gaskets?
VauWeh -
I made a video about the machine. May you take a look?
Thank you very much!
M Hunor -
The bug seems to be specific. Let's continue the conversation by email: val.wil(replace this)t-online.de
VauWeh -
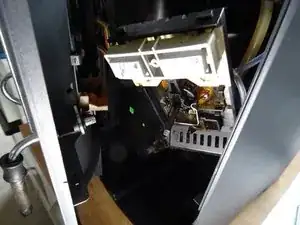
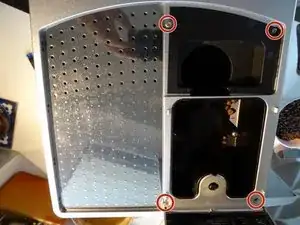
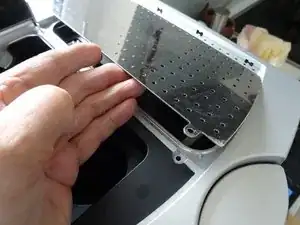
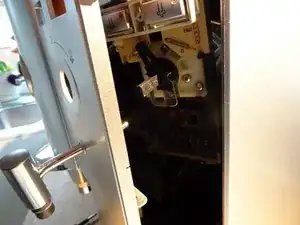


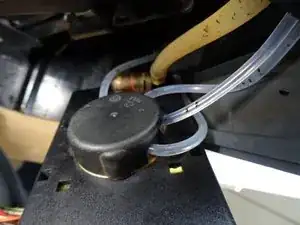
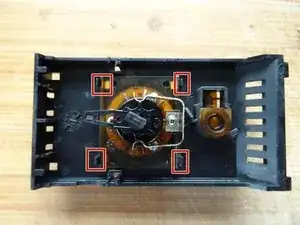
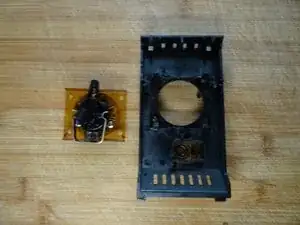
With the Impressa XS 90 there is an additional ground beans funnel that needs to be removed that hides two of the four torx screws
Ian Channing -