Introduction
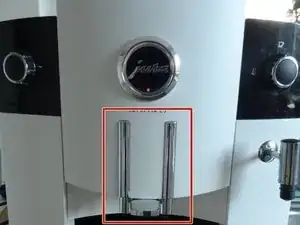
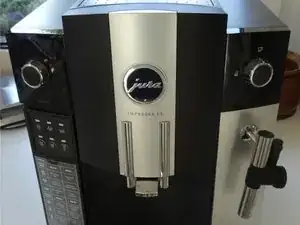
Sometimes the coffee does not come out of the dispenser, but runs out next to it. The dispenser nozzles may be clogged with coffee grease. It often helps to clean it with pipe cleaners, but sometimes you have to remove the coffee dispenser completely for cleaning or replacement. This is shown here.
Tools
-
-
The instructions are suitable for nearly every model of Jura and similar ones e.g. AEG and Krups.
-
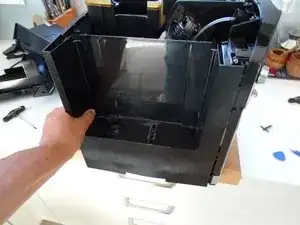
Remove the water reservoir.
-
-
-
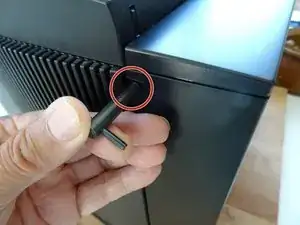
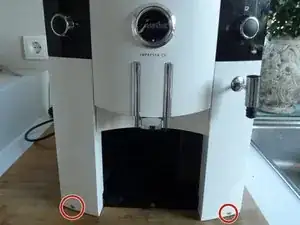
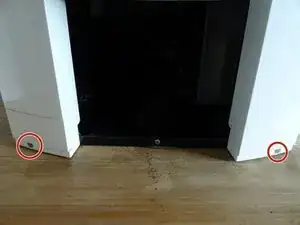
Using an oval head bit you can screw them out. If you haven´t got one you can carefully use pliers. It is a good idea to later change the screws for normal ones.
-
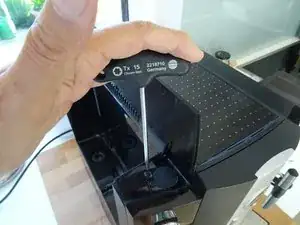
Beneath both top side covers are two Torx T15 screws. Remove those. Now lift off the whole top cover. Sometimes it jams and you have to use a bit of force.
-
The side covers must be pushed backwards by about 1 cm. Sometimes this is a little bit difficult to move. If necessary, wedge a plastic opening tool into the gap between the side covers and the front panel. The rear cover can be easily removed.
-
-
-
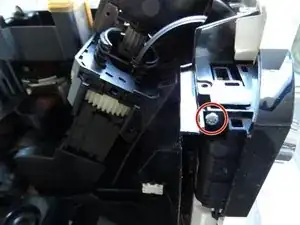
Remove the T15 Torx screw from the left side as well
-
The front cover is still connected on the bottom by two bayonet like fasteners. Lift the machine slightly up and release the fasteners and remove the front cover
-
Insert translation here
-
-
-
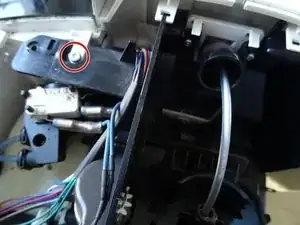
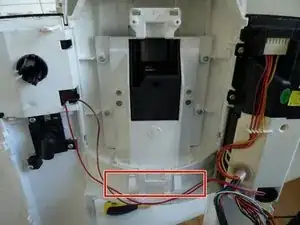
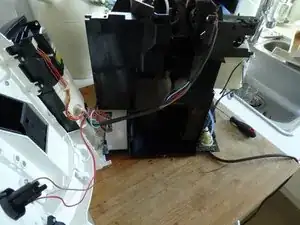
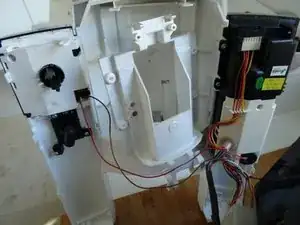
Open the front cover as far as possible to the sides.
-
Loosen the hose clamp on the steam hose and pull the hose off.
-
Pull the thick cable off the clamps on the front cover.
-
-
-
Remove the four T10 Torx screws that hold the coffee spout to the housing.
-
In case this has not yet been done, remove the inlet funnel. It is connect by two T10 Torx screws. (This picture shows it already removed)
-
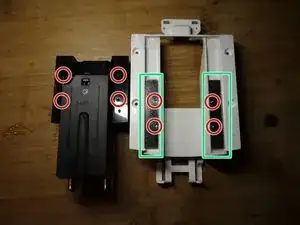
These are the magnet that hold two metal sliding plates in place. Do not lose those.
-
With a little bit of force remove the holder from the coffee spout.
-
-
-
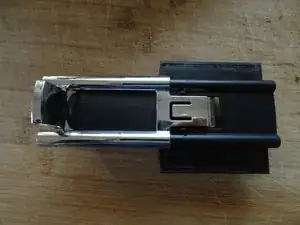
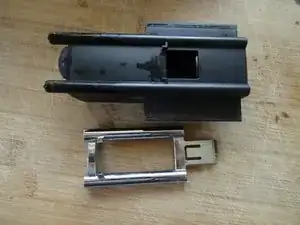
To the coffee spout is a decorative panel attached. Slide it of the spout by the tab.
-
On the inside of the spout is still distribution nozzle. Remove this by removing the tab on the top side.
-
Clean the coffee spout thoroughly or replace it if needed
-
-
-
The coffee spout can be moved up and down, but must also remain in any position. As a brake, two sliding plates are held in place by magnets on the back of the bracket. Be careful not to lose these magnets.
-
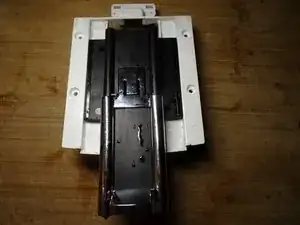
There are four pins on the back of the coffee spout. Insert these into the corresponding holes in the sliding plates. It is a bit tricky to install and screw the holder and the coffee spout at the same time.
-
Check whether the spout can be moved against slight resistance and whether it remains in any position.
-
Follow the steps in reverse order to reassemble your coffee machine
7 comments
Tipp: Beim Öffnen Staubsauger und Pinsel parat haben, damit man die vielen kleinen Bohnen aus den ganzen Rillen saugen kann.
nepumax -
Danke,
war sehr hilfreich und hat zum Erfolg geführt!
*******Auf der Rückseite des Kaffeeauslaufs befinden sich vier Stifte. Setze diese in die entsprechenden Löcher in den Gleitblechen ein. Es ist etwas knifflig, den Halter und den Kaffeeauslauf gleichzeitig einzubauen und zu verschrauben.*******
Wenn man die Magnete entfernt hat braucht man nicht alles gleichzeitig zu machen. Zuerst Auslauf, dann denn Halter und dann die zwei Magnete.
So klappt es auch einfacher
