Introduction

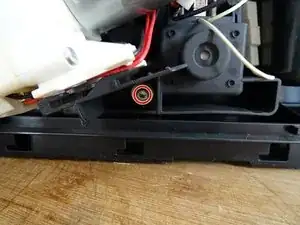
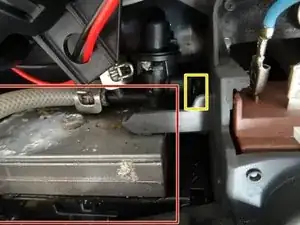
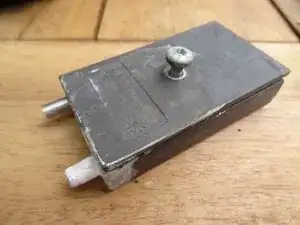
If water is dripping under the floor panel in the front right area, you need to investigate where it is coming from. Check the water heaters, ceramic valve, exhaust valve and their hoses. If everything is dry, the somewhat inconspicuous heat exchanger could also be leaking at the bottom. It is made of light metal, its lid has only one screw in the middle. The lid can warp and is difficult to seal. A new heat exchanger solves the problem. To get better access, the ceramic valve must first be loosened, its connections can remain. The outlet valve should also be removed, the connections can remain.

  1. 5A3N3eIFx1Heb6bk
    • Unplug the power cord!

    • Remove the water tank and the drip tray. Remove all coffee beans from the storage container.

  2. NnJLAJL5Waio4LED
    NnJLAJL5Waio4LED
    MyFN3qCcLTiNZAjA
    aYMCGjP5cv5hDRrI
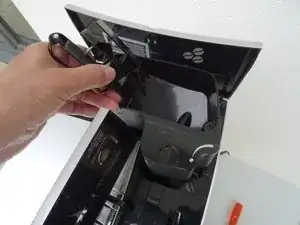
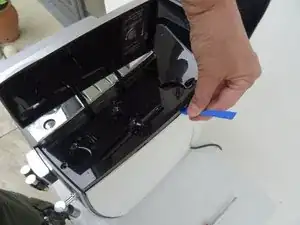
    • Flip open the lid of the bean compartment.

    • Unscrew the two slotted screws inside the bean compartment. The screws have a rubber washer and will not come out completely.

    • Remove the bean compartment.

    Bei mir war nur die auf dem Foto gezeigte Schraube vorhanden, habe dann die 2. gesucht....gab es aber nicht. Es scheint also mehrere Ausbaustufen der Maschine zu geben ;-)

    Michael -

  3. fJTEv1VUwR6FLwcK
    fJTEv1VUwR6FLwcK
    rYXVYklCURWX2Ptg
    BYCTUfTmCFJlRVUP
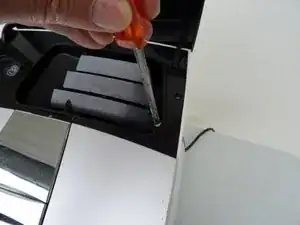
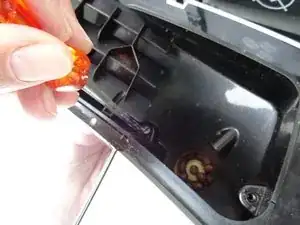
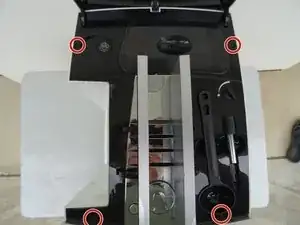
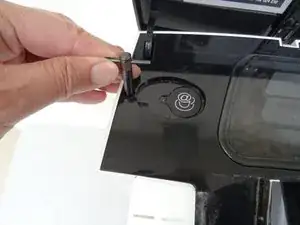
    • The top cover is fastened with oval head screws. Unscrew them.

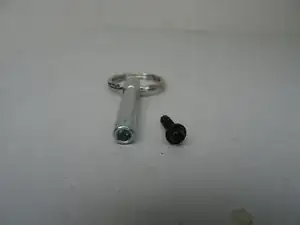
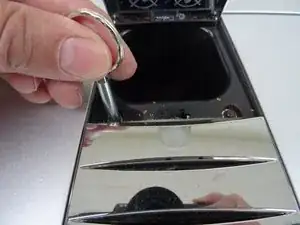
    • These screws have an oval head that makes them look like rivets (picture 2). You need to use a special bit - also available at iFixit - for their removal. Here a DIY guide. If the right bit is not available, it could be done with a pair of needle nose pliers. Jura wants to keep us out of our own machines!!!

  4. XhEyioaXnDWvOcGt
    • Also remove the two oval head screws underneath the ground coffee compartment lid.

  5. onsZxhFViRsLBdJD
    • Now you can pry up the top cover all around.

    • Remove the top cover. This often requires a little force.

    • Use plastic tools to avoid scratching your device.

  6. qsrIFw4HEXHqPV5j
    qsrIFw4HEXHqPV5j
    OaGyR6I1bUHSEBEE
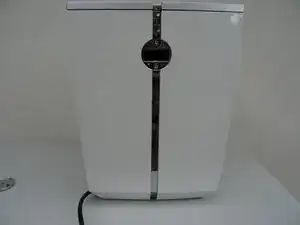
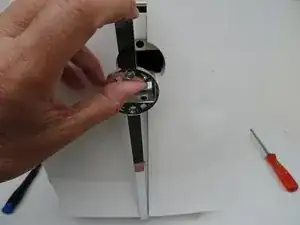
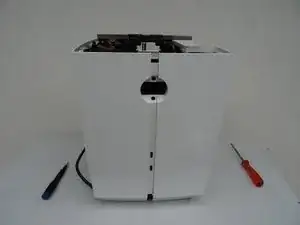
    • Turn the device with the back facing you.

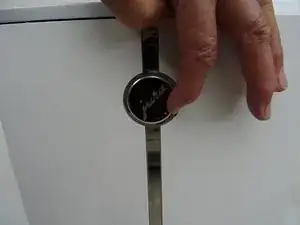
    • Turn the Jura label a few degrees counterclockwise. If it's hard to do, use a small suction cup.

    • Remove the Jura label.

  7. ybTTAN11tacVvWDD
    ybTTAN11tacVvWDD
    4YKywEJGnYEHcUvA
    NcVPJ1CRPusSjnkU
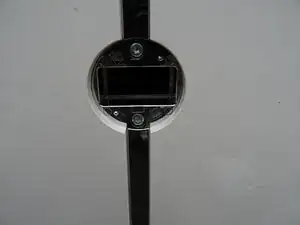
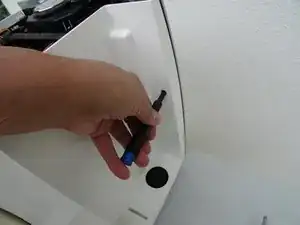
    • Underneath the label you will find two Torx T15 screws. Remove them.

    • Carefully pull the top of the chrome cover slightly outwards, then push it down and put it aside.

  8. KZsGEt26JpDfYFGy
    • Remove the Torx T15 screw on the side panel with the water tank.

  9. DqJEW6f1OySwDPFo
    DqJEW6f1OySwDPFo
    WuooxRL2D2aJcL3i
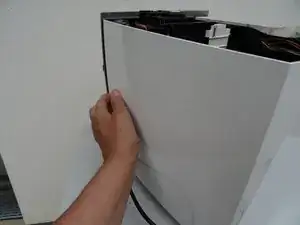
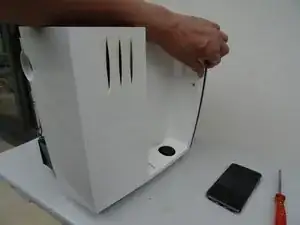
    • Pull the right side panel slightly towards the back.

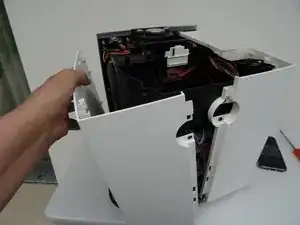
    • Remove the side panel.

  10. WLyIqGTDcKpqokZo
    • Pull the left side panel slightly towards the back and remove it.

  11. gWDINIfV4fSP1P5y
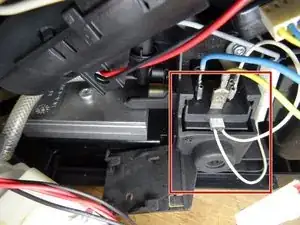
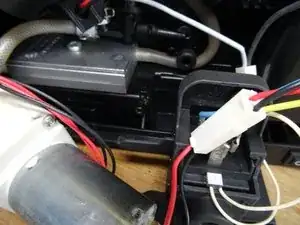
    • The motor for the drainage valve is located in the lower side of the unit near the center. It is fastened with three screws and connected with several flat plugs. In the picture, the ceramic valve has already been pushed off.

    • Note: models from J6 onwards have a motor installed and not a magnet.

  12. RicvL1ShkL5CiM2H
    RicvL1ShkL5CiM2H
    mHWIrtFnOMTeryLU
    LIyLUhJaOkMd6nP5
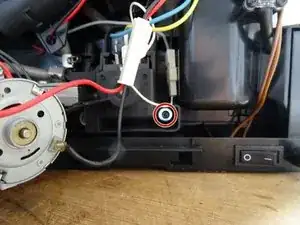
    • Unscrew the three Torx T15 screws on the motor for the drain valve. Pay attention to the washers underneath.

    • Carefully pull out the motor.

    • If you want to replace it, you still have to disconnect the flat connectors. Note where the connectors are connected.

  13. IBTLegafEvVKLQXr
    IBTLegafEvVKLQXr
    g5EIUQLlwVPZ4ijS
    2Q3QMDMhoFFs5JOM
    • Here is the removed heat exchanger. You'll find it at the bottom behind the ceramic valve.

    • You should also detach the exhaust valve for better access. To do this, pull off the clip on the right-hand side.

  14. G22fvxFIuXKQSTOP
    • The heat exchanger is connected with three hoses, and there is also an outlet in the base plate. When reassembling, make sure the gasket is still in place when you push the heat exchanger in. Make a note of which hose connects where.

    • Disconnect the three hoses and lift the heat exchanger up and out.

  15. dJPEgqnonBNITU6a
    • This exchanger was completely calcified and leaking because its cover plate was bent.

Conclusion

Follow the steps in reversed order to disassemble your device
VauWeh

Member since: 19/10/15

234462 Reputation

0 comments