Introduction

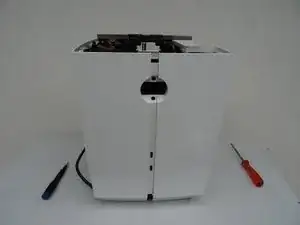
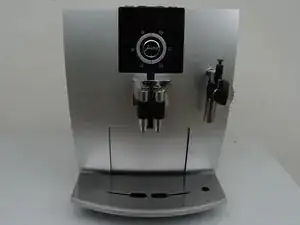
Follow this guide to open the casing of a Jura J5.

  1. 5A3N3eIFx1Heb6bk
    • Unplug the power cord!

    • Remove the water tank and the drip tray. Remove all coffee beans from the storage container.

  2. NnJLAJL5Waio4LED
    NnJLAJL5Waio4LED
    MyFN3qCcLTiNZAjA
    aYMCGjP5cv5hDRrI
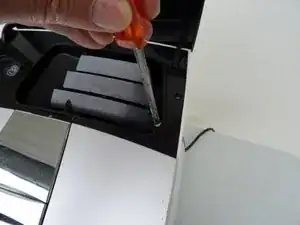
    • Flip open the lid of the bean compartment.

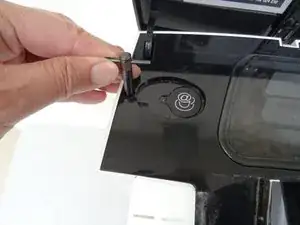
    • Unscrew the two slotted screws inside the bean compartment. The screws have a rubber washer and will not come out completely.

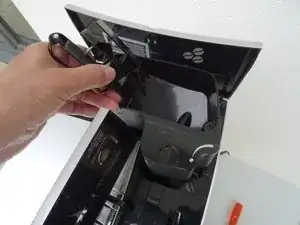
    • Remove the bean compartment.

    Bei mir war nur die auf dem Foto gezeigte Schraube vorhanden, habe dann die 2. gesucht....gab es aber nicht. Es scheint also mehrere Ausbaustufen der Maschine zu geben ;-)

    Michael -

  3. fJTEv1VUwR6FLwcK
    fJTEv1VUwR6FLwcK
    rYXVYklCURWX2Ptg
    BYCTUfTmCFJlRVUP
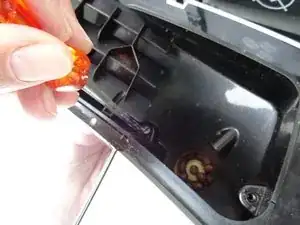
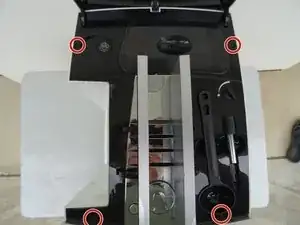
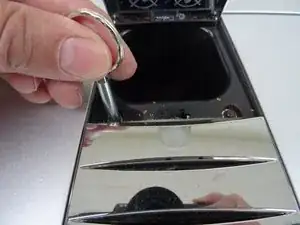
    • The top cover is fastened with oval head screws. Unscrew them.

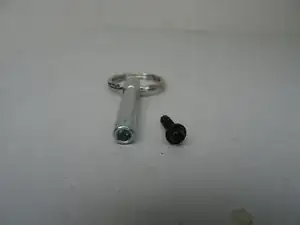
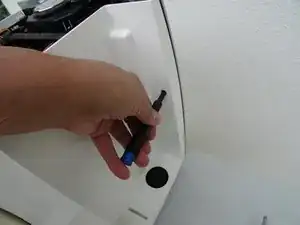
    • These screws have an oval head that makes them look like rivets (picture 2). You need to use a special bit - also available at iFixit - for their removal. Here a DIY guide. If the right bit is not available, it could be done with a pair of needle nose pliers. Jura wants to keep us out of our own machines!!!

  4. XhEyioaXnDWvOcGt
    • Also remove the two oval head screws underneath the ground coffee compartment lid.

  5. onsZxhFViRsLBdJD
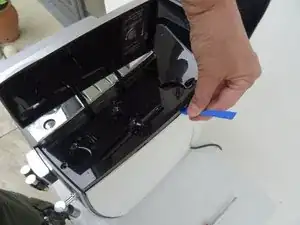
    • Now you can pry up the top cover all around.

    • Remove the top cover. This often requires a little force.

    • Use plastic tools to avoid scratching your device.

  6. qsrIFw4HEXHqPV5j
    qsrIFw4HEXHqPV5j
    OaGyR6I1bUHSEBEE
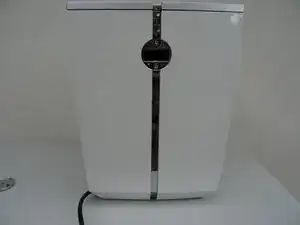
    • Turn the device with the back facing you.

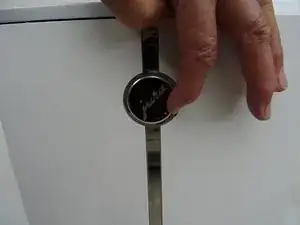
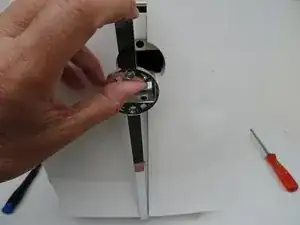
    • Turn the Jura label a few degrees counterclockwise. If it's hard to do, use a small suction cup.

    • Remove the Jura label.

  7. ybTTAN11tacVvWDD
    ybTTAN11tacVvWDD
    4YKywEJGnYEHcUvA
    NcVPJ1CRPusSjnkU
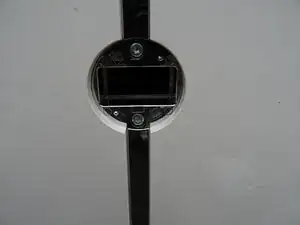
    • Underneath the label you will find two Torx T15 screws. Remove them.

    • Carefully pull the top of the chrome cover slightly outwards, then push it down and put it aside.

  8. KZsGEt26JpDfYFGy
    • Remove the Torx T15 screw on the side panel with the water tank.

  9. DqJEW6f1OySwDPFo
    DqJEW6f1OySwDPFo
    WuooxRL2D2aJcL3i
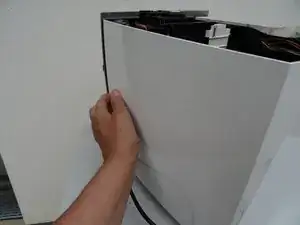
    • Pull the right side panel slightly towards the back.

    • Remove the side panel.

  10. WLyIqGTDcKpqokZo
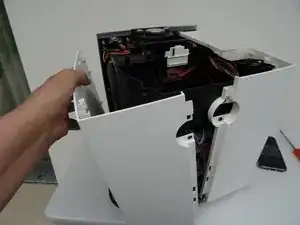
    • Pull the left side panel slightly towards the back and remove it.

Conclusion

Follow the steps in reverse order to reassemble your device.
VauWeh

Member since: 19/10/15

234435 Reputation

0 comments