Introduction

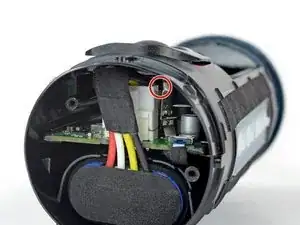
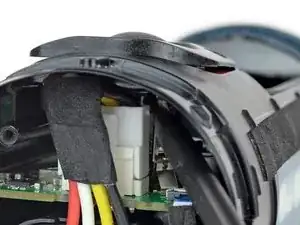
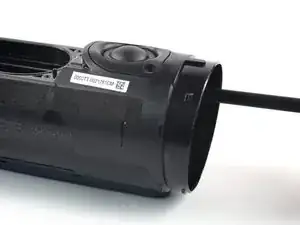
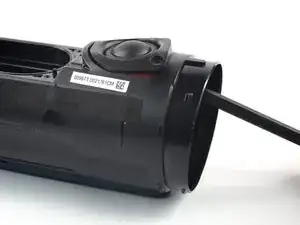
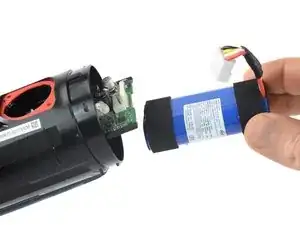
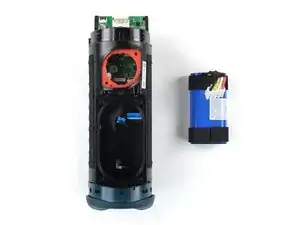
Use this guide to replace a worn-out or dead battery in your JBL Flip 6.

The model you see in this guide is the TT version. There are different models of the JBL Flip 6 that differ in their build and internal connectors.

This guide can be used as a reference when repairing other versions, but some disassembly steps may vary.

Check the first two digits of the serial number to find the model of your device. You can find the serial number printed on the packaging or on the speaker's leash bar.

For your safety, discharge the battery before disassembling your device. This reduces the risk of fire if the battery is accidentally damaged during the repair. If your battery is swollen, take appropriate precautions.

  1. lqC2agt3o2KrbOrq
    lqC2agt3o2KrbOrq
    XJDk2LSZMIMUgk2S
    ZcXN3rwDeV2paqVD
    • Before starting repairs, turn off your device and unplug any cables.

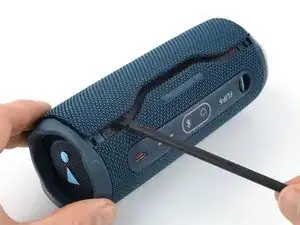
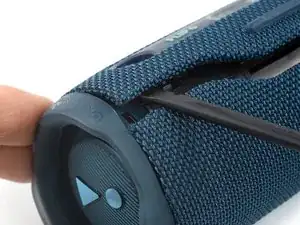
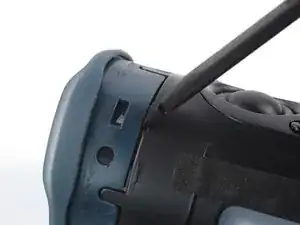
    • The fabric cover of the JBL Flip 6 is secured by plastic clips.

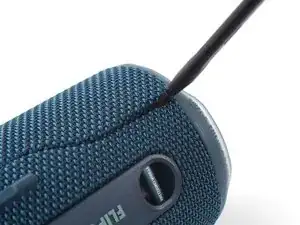
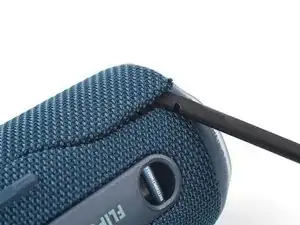
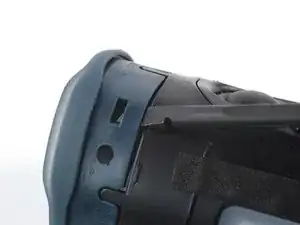
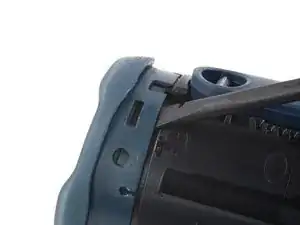
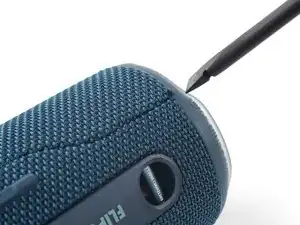
    • Insert the flat end of a spudger into the seam between the two halves of the fabric cover.

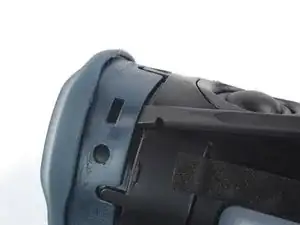
    • Push the spudger underneath the edge of the fabric cover without the control panel and pry upwards to release its plastic clips.

  2. 1GFxQoGDHwTTsuhB
    1GFxQoGDHwTTsuhB
    FgSPgPrMpDbKTBcT
    ir1yBXixir5CC63Y
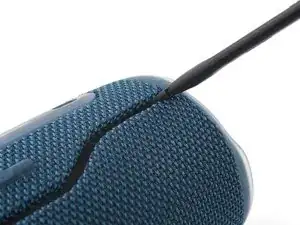
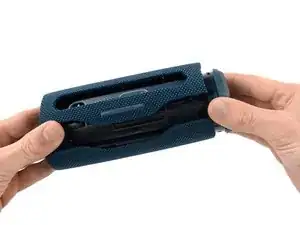
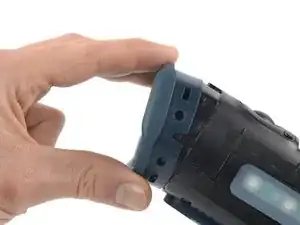
    • Repeat the previous step, using your spudger to work your way along the entire seam to release the remaining plastic clips.

  3. ZBYMLSGXKEXN5IZk
    ZBYMLSGXKEXN5IZk
    DCZcB5DNaHYqdAFF
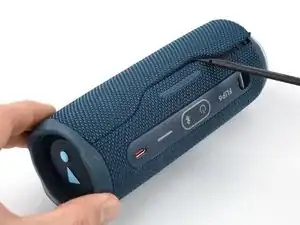
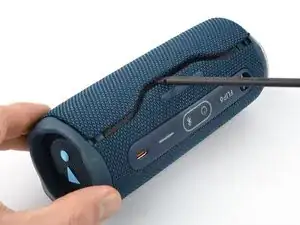
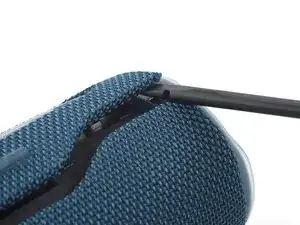
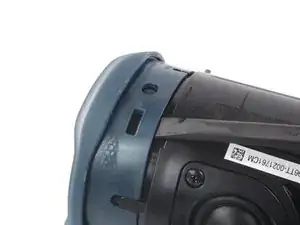
    • Insert the flat end of a spudger underneath the opposite edge of the fabric cover—the side with the control panel.

    • Pry upwards to release the plastic clip.

  4. xtXQd3KLcMRvIrae
    xtXQd3KLcMRvIrae
    rLSfMDeRECHLP4dy
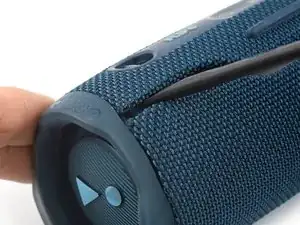
    • Repeat the previous step to release the last plastic clip on the other end of the fabric cover.

  5. O4hKnBWQNIUvBMQl
    O4hKnBWQNIUvBMQl
    dZqHrjZQSsFnEJV2
    RVLpgRNlFFjAQFrW
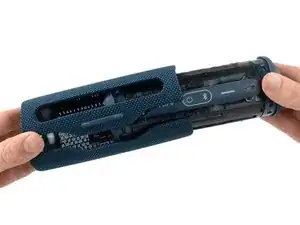
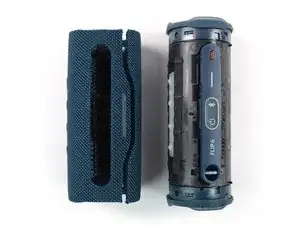
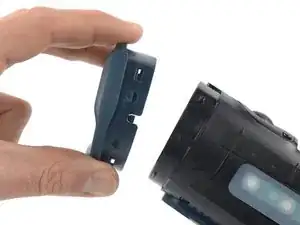
    • Use one hand to spread the edges of the fabric cover apart and your other hand to pull the speaker assembly away from the cover.

    • Remove the fabric cover.

    • During reassembly, this is a good point to power on your device and test your repair before reinstalling the fabric cover.

  6. swP3HXVDxas3m4kq
    swP3HXVDxas3m4kq
    cNAMDyeAeUBYc3jS
    Nf3ChGMHTSDcxSdP
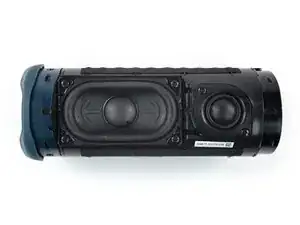
    • The right passive radiator is secured by plastic clips and labeled R.

    • Insert the flat end of a spudger underneath the passive radiator housing near one of the plastic clips.

    • Pry upwards to release the first plastic clip holding the passive radiator housing in place.

  7. YSpNaPBtBEG5Hwps
    YSpNaPBtBEG5Hwps
    lOQDHTMVqAtBL3Ee
    • Repeat the previous step to release all of the plastic clips holding the housing in place.

  8. VrjtldwPWWj5muMr
    VrjtldwPWWj5muMr
    AogBVmHSxhpxaq4q
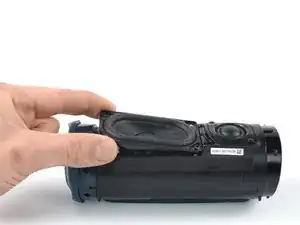
    • Remove the right passive radiator.

  9. MZ6KWfQjGJmvDjrb
    MZ6KWfQjGJmvDjrb
    k4IaEsuA2LUktdJK
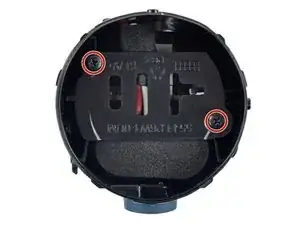
    • Use a Phillips screwdriver to remove the two 9.5 mm-long screws securing the safety bracket.

  10. AZLuqnvvKGpDPuPH
    AZLuqnvvKGpDPuPH
    iv2aL4JDeGM1fnIa
    • Use a pair of tweezers or your fingers to remove the safety bracket.

  11. jLEejltiiwWyLDjd
    jLEejltiiwWyLDjd
    24UCSItYH2tPZ4gE
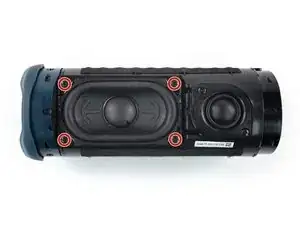
    • Use a Phillips screwdriver to remove the four 9.5 mm-long screws securing the woofer.

    • Don't try to remove the woofer all the way yet, as it‘s still connected to the motherboard.

  12. BhFiUkeQZubDjvjN
    BhFiUkeQZubDjvjN
    iATBkG25SaiDGWTK
    USnDkxubrmDfHj3N
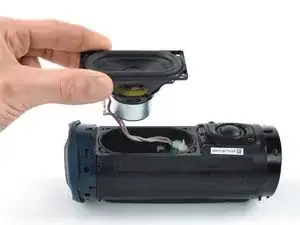
    • The woofer cables are long enough to allow placing the woofer outside the speaker assembly, but avoid straining or sharply folding the cables when doing so.

    • When handling the woofer, grab it by its edges to avoid damaging the fragile center material.

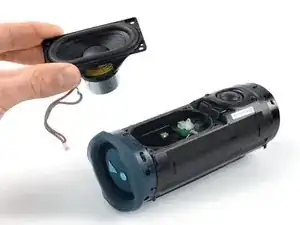
    • Lift the woofer out of its recess and place it next to the speaker assembly.

  13. hVJG1tHp5WGYDDV2
    hVJG1tHp5WGYDDV2
    L5WjIbqKotFB16DQ
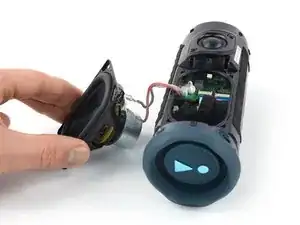
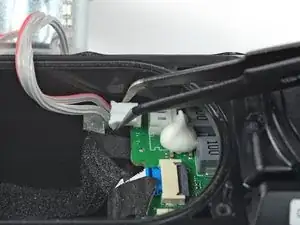
    • The woofer is connected to the motherboard with a JST connector.

    • Use a pair of tweezers to grasp the sides of the woofer connector.

    • Slide the connector out of its socket, gently wiggling it left and right to loosen the clips securing it.

  14. Q5mQontwZsb34Jmq
    • Remove the woofer.

  15. kNFruwBHZ3dEaLNO
    kNFruwBHZ3dEaLNO
    GKRrhKXKJjZpKwmp
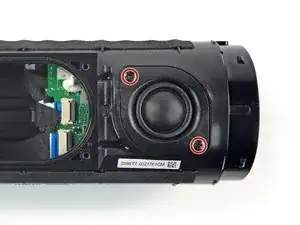
    • Use a Phillips screwdriver to remove the two 9.5 mm-long screws securing the tweeter.

  16. F5C5L5Gs1gNinhnR
    F5C5L5Gs1gNinhnR
    KBXiXAEqvJhiQx6A
    • There are different versions of the JBL Flip 6 with different tweeter connectors. Both require a slightly different disconnection procedure.

    • A connector next to the woofer connector, which can be disconnected just like the woofer's.

    • A spade connector with contact springs, which can be disconnected by simply prying up the tweeter.

    • To pry up the tweeter, insert the tip of a spudger between the battery connector and the connector stem of the tweeter and gently press the tweeter upwards to push the stems out of their contact springs.

    • To reconnect the spade connector, just press the contacts back into the springs.

  17. pfO1TkiOYTgis6jB
    pfO1TkiOYTgis6jB
    XBgs3WEHschkyody
    4dXbefXqBDoL3xnV
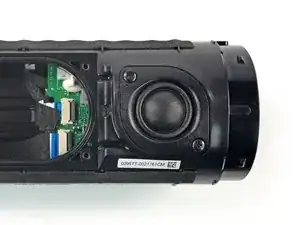
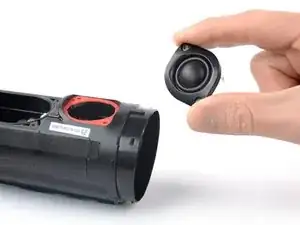
    • Use a spudger to pry up the tweeter.

    • Remove the tweeter.

  18. MhwB4l6Qltn4Y3Gh
    MhwB4l6Qltn4Y3Gh
    IsKFYWGUS5DYKVDT
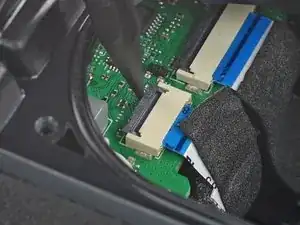
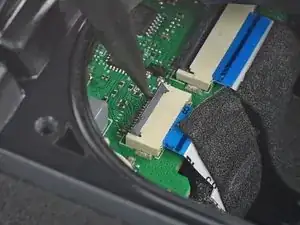
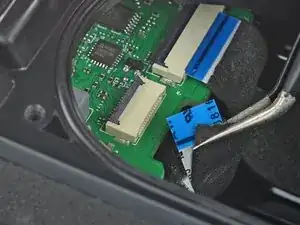
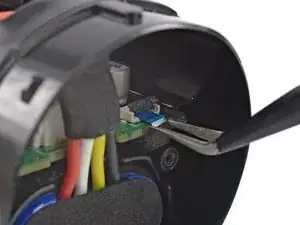
    • Use the tip of a spudger or your fingernail to flip up the small, hinged locking flap on the power button cable ZIF connector.

  19. 432VLAFaMjSdoQIw
    432VLAFaMjSdoQIw
    R5ekHIPhvfLgFAHr
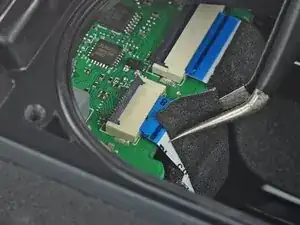
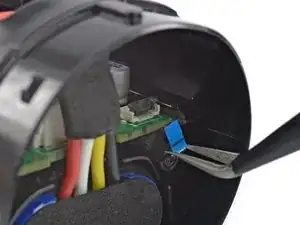
    • Use a pair of tweezers to pull the power button cable out of the ZIF connector.

  20. wOHGOOCDRYWrh24P
    wOHGOOCDRYWrh24P
    rutPAkX6TLNq3KKX
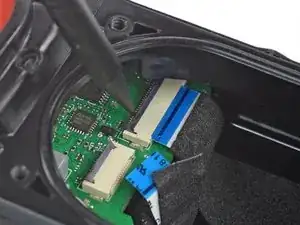
    • Use the tip of a spudger or your fingernail to flip up the small, hinged locking flap on the charging cable ZIF connector.

  21. Jjy4DQGRreXhZFPn
    Jjy4DQGRreXhZFPn
    N44y2rdgQ2qbPoBr
    • Use a pair of tweezers to pull the charging cable out of the ZIF connector.

  22. tCJeggtiMm3LpGOv
    tCJeggtiMm3LpGOv
    lvbvYr5KFlK5iSGs
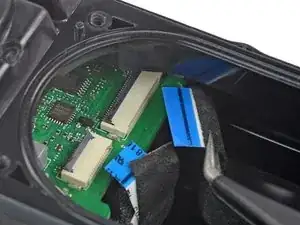
    • Use the tip of a spudger or your fingernail to flip up the small, hinged locking flap on the volume button cable ZIF connector.

  23. FUFQbXQATOORbKa1
    FUFQbXQATOORbKa1
    3iQNOaMr2OD6RsKk
    • Use a pair of tweezers to pull the volume button cable out of the ZIF connector.

  24. UhO2bLbIALmOtFoY
    UhO2bLbIALmOtFoY
    suktMJgXMpJwtsjI
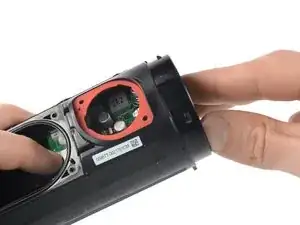
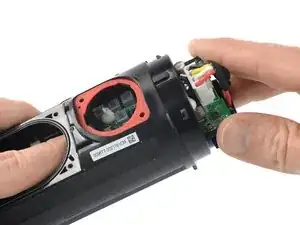
    • Insert a finger into the woofer cutout and press against the left edge of the motherboard.

    • Push the motherboard out of the speaker assembly just until you get free access to the battery connector. You don't need to push it out all the way.

  25. 6aGyr2YPZLDOj4rB
    6aGyr2YPZLDOj4rB
    lrlbLJPfsm63BT1n
    RVhdIMMJ6FOWUhQT
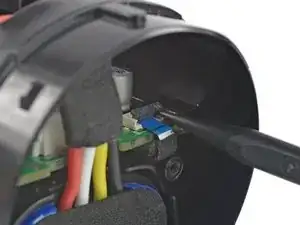
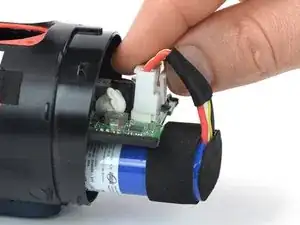
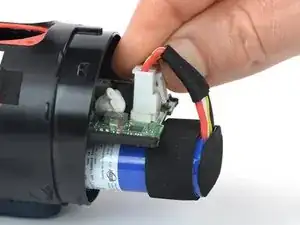
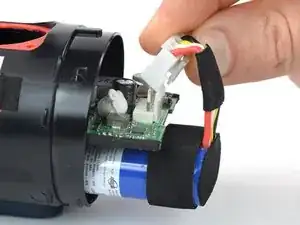
    • The battery is connected to the motherboard with a power cable connector that has a small tab on the side that locks it in place.

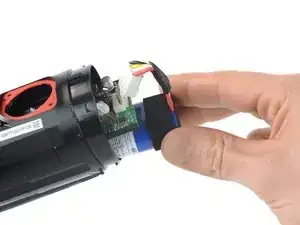
    • Squeeze the tab against the connector, and pull the connector straight up from its socket to disconnect the battery.

  26. CThbZvD4blXcSlb1
    CThbZvD4blXcSlb1
    1PRATsi1hHaDr3tC
    WCXr5JHb4rxhZH6c
    • Pull the battery out of the speaker assembly to remove it.

Conclusion

If possible, power on your device and test your repair before reassembly. For optimal performance, calibrate your newly installed battery after completing this guide.

To reassemble your device, follow these instructions in reverse order.

Take your e-waste to an R2 or e-Stewards certified recycler.

Repair didn’t go as planned? Try some basic troubleshooting, or ask our Answers community for help.
Dominik Schnabelrauch

Member since: 23/11/16

224702 Reputation

0 comments