Introduction
This guide is a step by step process on how to reach and remove the motherboard from the JBL Flip 5 speaker.
-
-
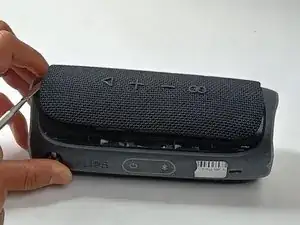
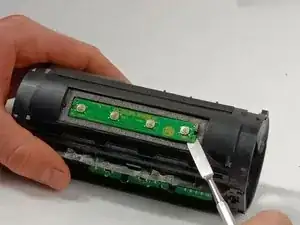
Insert the flat edge of the metal spudger underneath the corner of the outer case.
-
Use the spudger to pry open the plastic clips that secure the outer case.
-
-
-
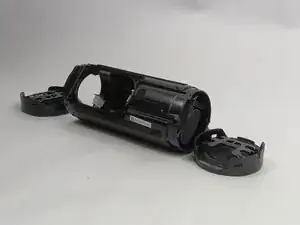
Once all the clips are removed, you can gently remove the outer case.
-
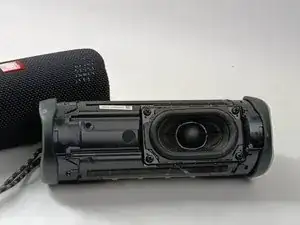
The case is now fully removed. Now a new case will be attached by putting the case into position and pushing on the clips to reattach them.
-
-
-
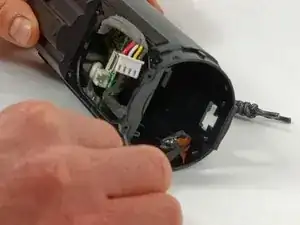
Once screws are fully out make sure to carefully pull out so the wires connected don't get damaged.
-
-
-
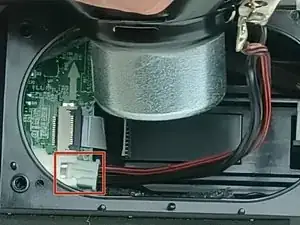
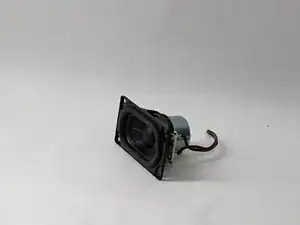
Once you carefully lift up the speaker, gently disconnect the wire that connects the speaker to the motherboard.
-
-
-
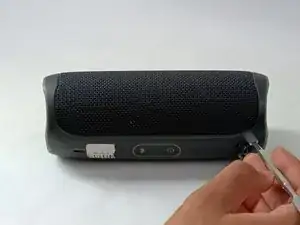
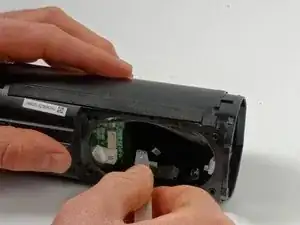
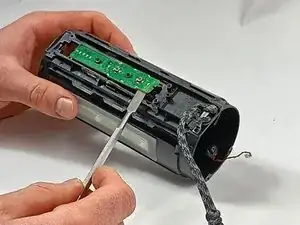
The next part needed to remove covers each side and the power and bluetooth buttons in a middle strip along the speaker.
-
Begin (as shown in the second picture) by unscrewing the two screws (17mm each) with the Philips #00 screwdriver.
-
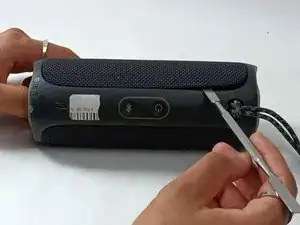
Then flip the device around and unscrew the other two screws (17 mm each) on the other side just the same.
-
-
-
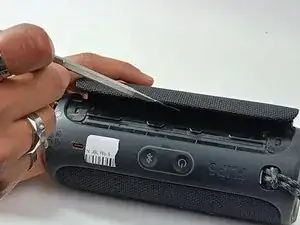
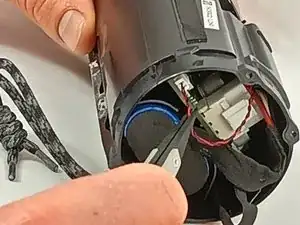
Once all the screws are removed, pull the passive radiator bracket on either end off.
-
Set the passive radiator bracket to the side. It is not needed for the buttons replacement.
-
-
-
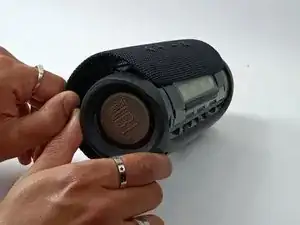
Next you must remove the passive radiator.
-
To do so use the metal spudger to undo the clips holding it down.
-
Once the clips on both sides are removed, you can pull the left and right passive radiators off the device.
-
-
-
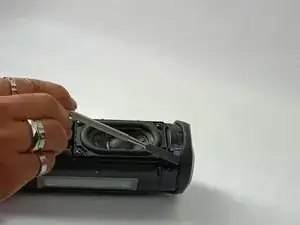
Peel the rubber cover off using a metal spudger. It may be very sticky, so you may need to pull hard.
-
Then peel the cover off using your fingers.
-
-
-
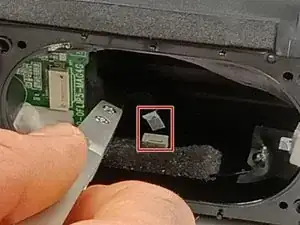
Use the metal spudger to again pull the board containing the power and bluetooth buttons off from the device. It is located next to the strap.
-
-
-
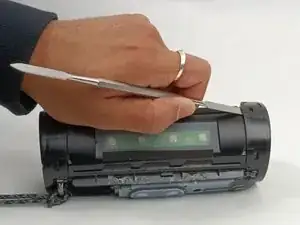
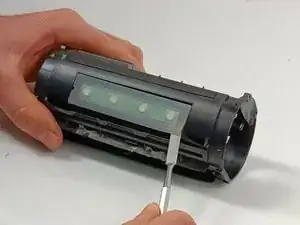
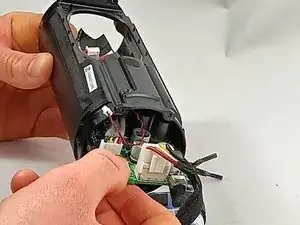
Remove the black tape attached to the inside of the speaker.
-
The adhesive used is strong and may need more force if there is no progress.
-
-
-
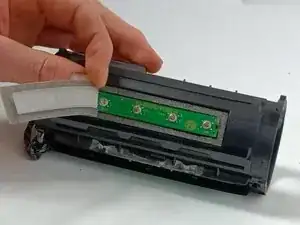
Remove the wiring attached to the motherboard and leave it facing away when pulling the motherboard out.
-
This part is attached on and is very tight. Do not pull from the wire and pull from the plastic head to prevent damage.
-
-
-
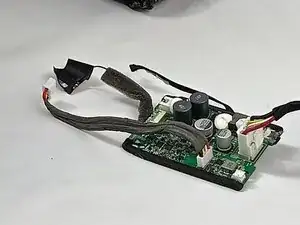
First, slide the battery fully out. You may need to tilt it up slightly to remove it fully and then gently start to pull the motherboard out the same way. Again, you need to gently tilt it up halfway to fully remove it.
-
-
-
Once you have the motherboard removed, repair the motherboard before putting it back in or replace it with a new motherboard.
-


To reassemble your device, follow these instructions in reverse order.
One comment
There seem to be different versions of the Flip 5. My one (I think that it called the GG version) had two ribbon cables attached to the edge shown in step 18 and the rest of the motherboard was different. The problem with my one was that one conductor in the 6 conductor ribbon had been damaged from pressure on something internally which had resulted in a non functioning vol+ button.
geoffrey -