Introduction

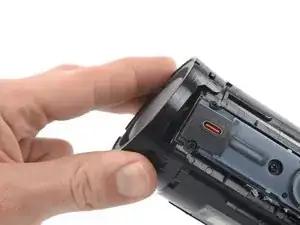
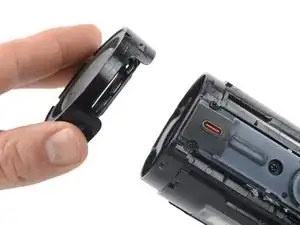
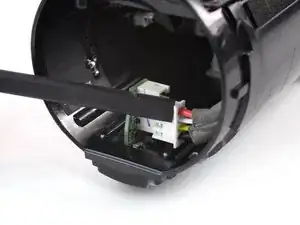
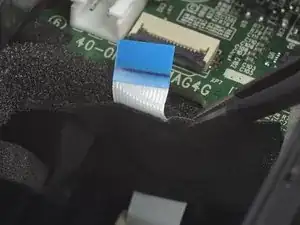
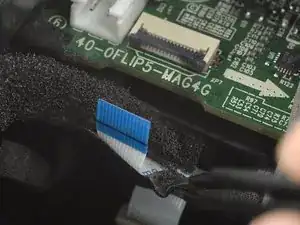
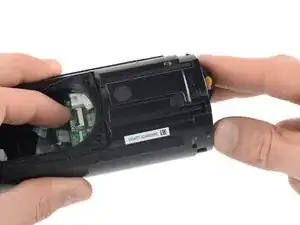
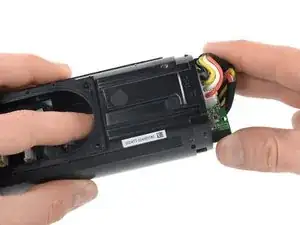
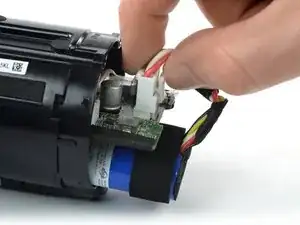
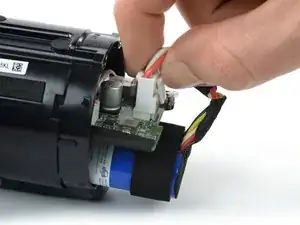
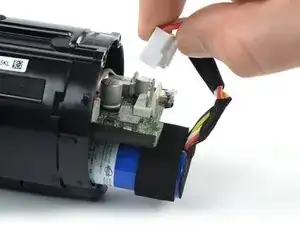
Use this guide to replace a worn-out or dead battery in your JBL Flip 5.

The model you see in this guide is the TT version. There are different models of the JBL Flip 5 that differ in their build and internal connectors.

This guide can be used as a reference when repairing other versions, but some disassembly steps may vary.

Check the first two digits of the serial number to find the model of your device. You can find the serial number printed on the packaging or in the speaker's leash bar cavity.

For your safety, discharge the battery before disassembling your device. This reduces the risk of fire if the battery is accidentally damaged during the repair. If your battery is swollen, take appropriate precautions.

  1. 1sOxJKURYGheHfkJ
    1sOxJKURYGheHfkJ
    IqDk3wkjMWMgFB4d
    sm1Hq1EeqCnIWmqo
    • Before starting repairs, turn off your device and unplug any cables.

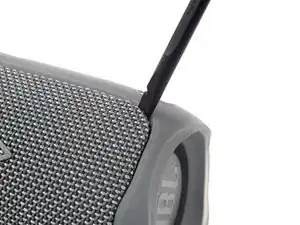
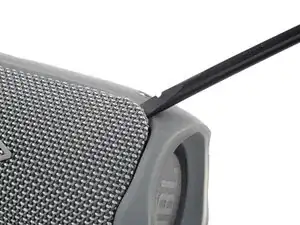
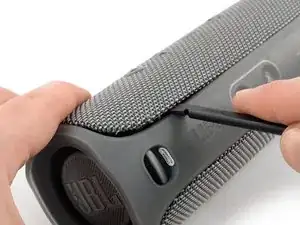
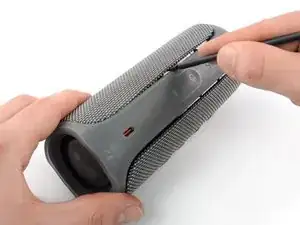
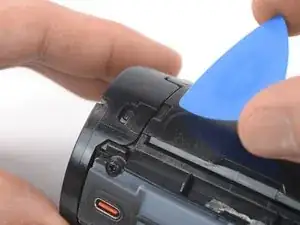
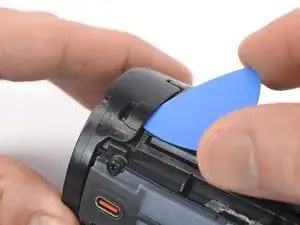
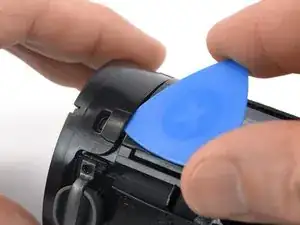
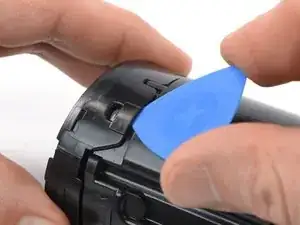
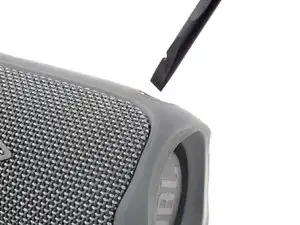
    • The fabric cover of the JBL Flip 5 is secured by plastic clips.

    • Insert the flat end of a spudger underneath a corner of the fabric cover.

    • Pry up to release the plastic clips securing the fabric cover.

  2. TgkZPyuDekfda2lU
    TgkZPyuDekfda2lU
    fdpXUBGSIYTpOEbe
    LP3LGIkehewReAeS
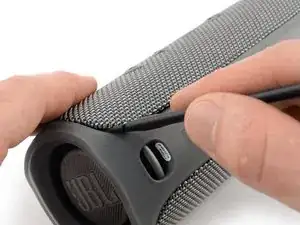
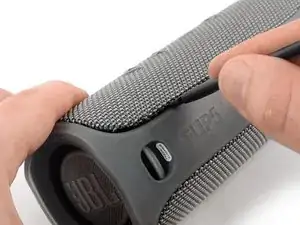
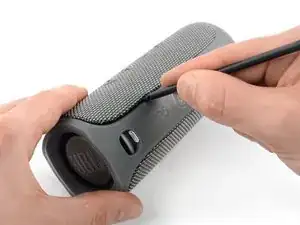
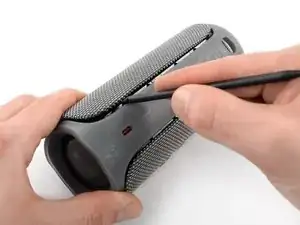
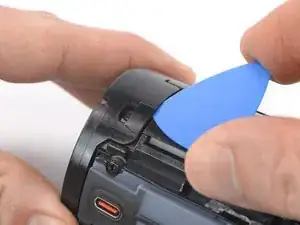
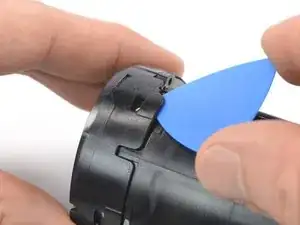
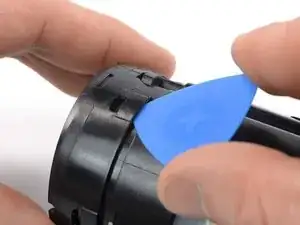
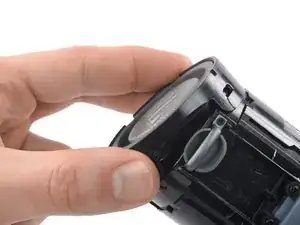
    • Slide the spudger along the edge of the fabric cover while prying up to continue to separate the plastic clips.

  3. uQC4jQLnVJqmMP6J
    uQC4jQLnVJqmMP6J
    CsGWFsMnATvy5LIs
    Fqu2NSnQ1l25IC5l
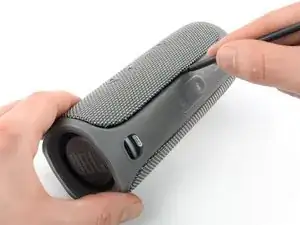
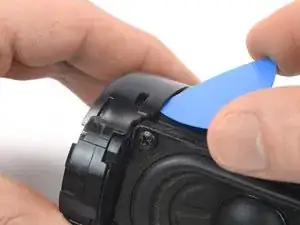
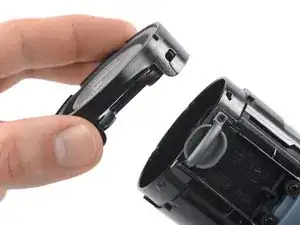
    • Release the remaining plastic clips to fully separate the fabric cover.

  4. Ku6J4AHGeZfwOfNJ
    Ku6J4AHGeZfwOfNJ
    RtLPIiqCJ3hgaHoo
    eZg5ZcaxOJVJOKZl
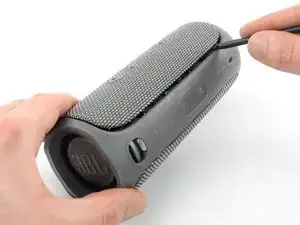
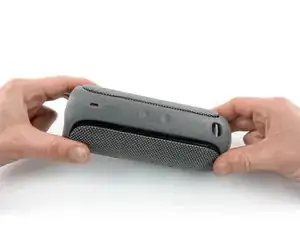
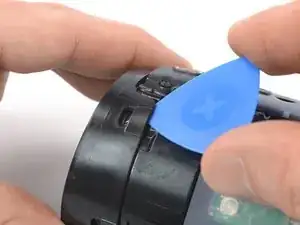
    • Repeat the previous steps to release the plastic clips and to fully separate the opposite edge of the fabric cover.

  5. If3viVoCSqhnffFa
    If3viVoCSqhnffFa
    ynnaTpLWivUPVbwu
    wXWKNYiDOtpmRVgL
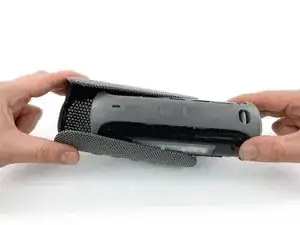
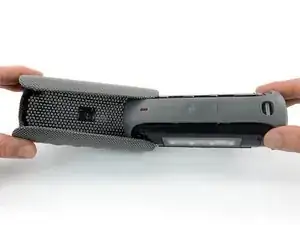
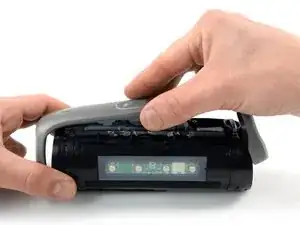
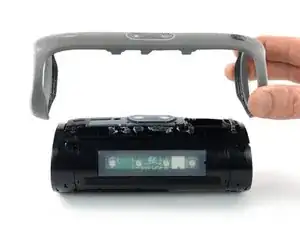
    • Use one hand to spread the edges of the fabric cover apart and your other hand to pull the speaker assembly away from the cover.

    • Remove the fabric cover.

    • During reassembly, this is a good point to power on your device and test your repair before reinstalling the fabric cover.

  6. GbmwJtGEYQFbyqor
    GbmwJtGEYQFbyqor
    Z3xDnlWxAdMbV1DW
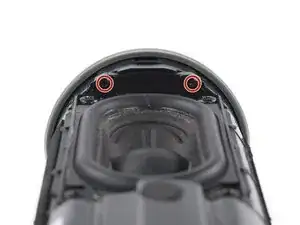
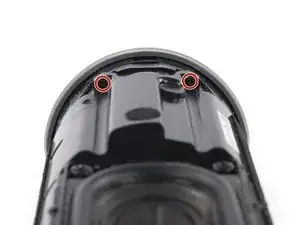
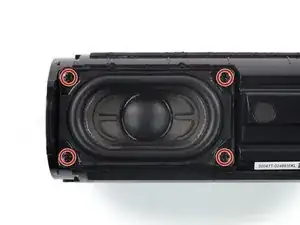
    • Use a Phillips screwdriver to remove the four 17 mm-long screws securing the passive radiator brackets.

  7. khrWuxxBnru2CaSO
    khrWuxxBnru2CaSO
    Or1ECZUEvOUTllJd
    OOhMAHxlRcatLZdU
    • The passive radiator bracket is held in place by mild adhesive around its center. If you‘re having trouble removing it, you can prepare an iOpener and apply it to the bracket for one minute to soften the adhesive.

    • Peel the passive radiator bracket off of the speaker assembly and remove it.

  8. dS3f4x1DjfCPKKIR
    dS3f4x1DjfCPKKIR
    Jfs6ahOZKDVJ4sUY
    P3VmlZRCkKD3Bs2W
    • The passive radiators are secured by plastic clips.

    • Insert an opening pick into the cutout next to the left passive radiator housing.

    • Push the opening pick underneath the passive radiator housing.

    • Pry upwards to release the plastic clip securing the passive radiator.

  9. UVCiISMGEhMMdSO6
    UVCiISMGEhMMdSO6
    sHb1LmOiWeIRqIZ5
    PVIq2iDsQouhIro6
    • Repeat the prying procedure for the three remaining plastic clips securing the left passive radiator.

  10. xiS6fddcI4FSOsII
    xiS6fddcI4FSOsII
    uUhTWiLU1BLTGJg1
    • Remove the left passive radiator.

  11. fu6c2sFBD2oXBfMP
    fu6c2sFBD2oXBfMP
    2BwUpwNRRMV1RrLH
    pFUMLpriGjJJEuLh
    • Repeat the prying procedure for the four plastic clips securing the right passive radiator.

  12. HJofypaNxy4CG1FE
    HJofypaNxy4CG1FE
    cfDsVRqKeBwPBofW
    • Remove the right passive radiator.

  13. YvpKPbRVVVJ1lr5Y
    • Use a Phillips screwdriver to remove the four 9.6 mm-long screws securing the woofer.

  14. loVgVMqE4TYgYMaY
    loVgVMqE4TYgYMaY
    5MKLKJEUoJAQ3YrW
    QkTccfNKqrCAdUEY
    • Don't try to remove the woofer all the way yet, as it‘s still connected to the motherboard.

    • The woofer cables are long enough allowing you to place the woofer outside the speaker assembly, but avoid straining or sharply folding the cables when you lift the woofer out of its recess.

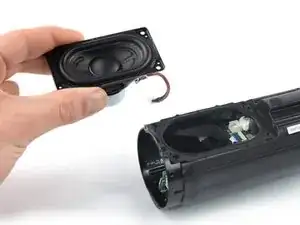
    • Lift the woofer out of its recess and place it next to the speaker assembly.

  15. fuUfWYYyARCAHNLw
    fuUfWYYyARCAHNLw
    hPWsWmFEAbXQBaR2
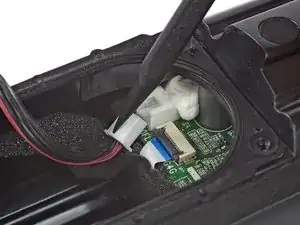
    • Use the tip of a spudger to push the woofer JST connector straight out of its socket to disconnect it.

  16. 621DMKtFJOZdQRWN
    • Remove the woofer.

  17. 3xHjNd2RRQvHeQ2A
    3xHjNd2RRQvHeQ2A
    yu11b51Rcr3L6bhD
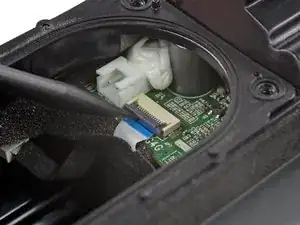
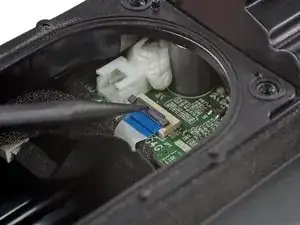
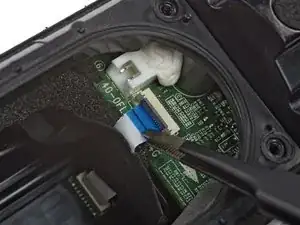
    • Use the tip of a spudger or your fingernail to flip up the small, hinged locking flap on the power button cable's ZIF connector.

  18. PLTlVdYBln2CVijV
    PLTlVdYBln2CVijV
    A6CXPtl5KXSxl53Y
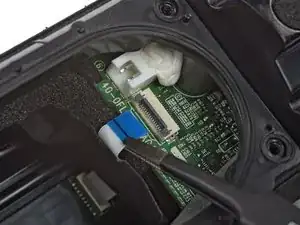
    • Use a pair of blunt nose tweezers to pull the power button cable straight out of the ZIF connector.

  19. pUW6n3rWi3MJsGqC
    pUW6n3rWi3MJsGqC
    fvGUGMZQMchNARZH
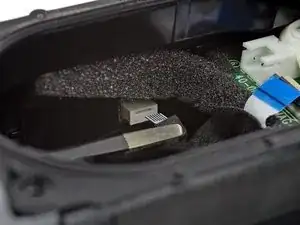
    • Use a pair of blunt nose tweezers to pull the volume button cable straight out of its connector to disconnect it.

  20. 6TV5BiAshhsZoORc
    6TV5BiAshhsZoORc
    5D2gKElWM6dYWToX
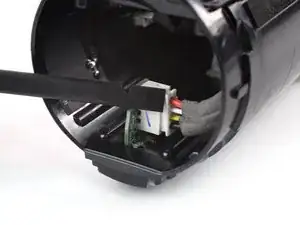
    • Use a spudger to push the charging cable connector straight out of its socket and disconnect it.

  21. mvQXbYxW4ifs5JOa
    mvQXbYxW4ifs5JOa
    iOtPcP4mlWhgj1Lf
    • The power button cable is lightly adhered to the motherboard with tape.

    • Use a pair of blunt nose tweezers to peel the fabric tape securing the power button cable off the motherboard‘s edge.

  22. B3aVcA4DcdXJswhb
    B3aVcA4DcdXJswhb
    6Dp4BFLTN6gXMsYt
    • The antenna cable is still connected to the motherboard, and the volume button cable is adhered to the speaker housing. Avoid straining or tearing them in the following step.

    • Push the motherboard out of the speaker assembly until you get free access to the battery connector.

  23. FQDs6ieigdANVXTS
    FQDs6ieigdANVXTS
    ckKcU1KKSLL6Edar
    4ehkD2ZcDuTJRyhy
    • Squeeze the tab against the power cable connector, and pull the connector straight up from its socket to disconnect the battery.

  24. H15VCIJiBnNAFe2B
    H15VCIJiBnNAFe2B
    Hxik4UhCZ6yGdZL2
    VdZNGtp3VfLCfPTZ
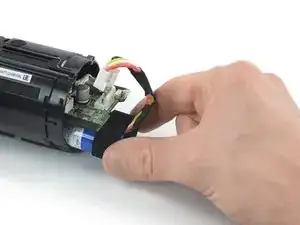
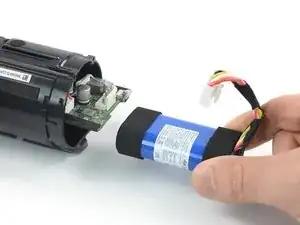
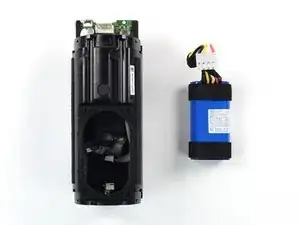
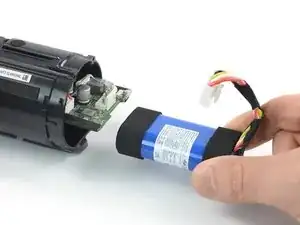
    • Pull the battery out of the speaker assembly and remove it.

    Where can i get it's power IC please my own is damaged

    Idrees Lawal -

Conclusion

If possible, power on your device and test your repair before reassembly. For optimal performance, calibrate your newly installed battery after completing this guide.

To reassemble your device, follow these instructions in reverse order.

Take your e-waste to an R2 or e-Stewards certified recycler.

Repair didn’t go as planned? Try some basic troubleshooting, or ask our Answers community for help.

Dominik Schnabelrauch

Member since: 23/11/16

224702 Reputation

One comment

Excellent instructions! Nice clean photos. I had no problem at all getting the new battery put in. Well done!
Timmy Langdon -