Introduction
Tools
-
-
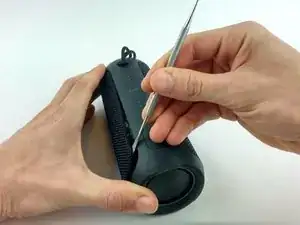
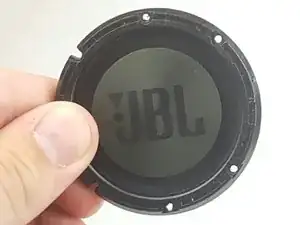
Remove the plastic outer housing using your hands or a standard spudger.
-
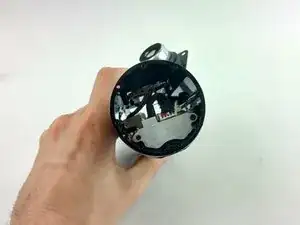
Important! Note the three alignment pins on the inner part of the housing. When reassembling, take special care to line these up and insert the pins into the receivers on the chassis prior to snapping the edges into place.
-
-
-
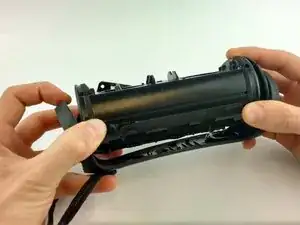
Use your hands to carefully remove the outer frame to expose the inner components of the speaker.
-
-
-
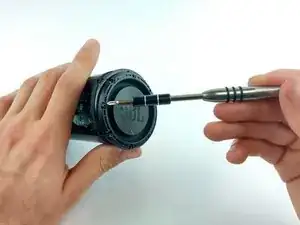
Go around the outer edge of the side passive driver with a screwdriver to remove the seven 8.9mm Phillips #00 screws from both sides of the device. Make sure to set the screws aside somewhere they won’t get lost.
-
To reassemble your device, follow these instructions in reverse order.
2 comments
What the fock?!?!? Ohhh, you basterds. I see what kind of game you're playing. I'm coming to get ya'. I'm gonna track you down, so help me God. I won't rest until I feel the warm, sticky blood of this author, and anybody that looks like him!! I will have my vengeance! I shall reign down upon him like a…(ding!) Ooohh! My toaster pastries!
Do you know what would be great? If we could source these diaphrams, or speakers, or whatever is being shown here to replace. They are nearly impossible to source!!
So far so good! I am certain that this guide won't leave off without a price for a replacement driver. The author surely would not leave out this critical information. Other information will be given as well. Information like where the part can be obtained. He definitely doesn't just say “reverse the procedure to install new driver". Not this guy. Nope.
Johnny Johnson -