Introduction
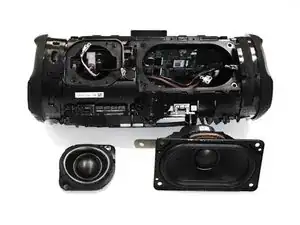
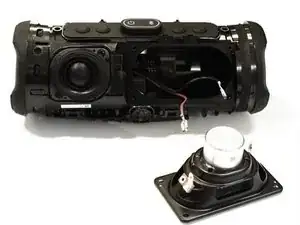
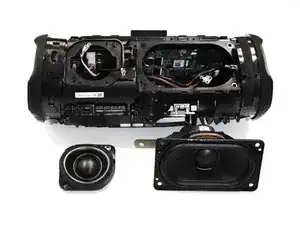
Welcome to our guide for replacing speakers on your JBL Charge 5. If you're dealing with blown-out or damaged speakers, this guide will help restore your device's audio.
Note: This guide is for the TT version, but it's applicable with slight variations for other models.
Identify your version using the first two digits of the serial number.
If uncertain or uncomfortable, consult a certified technician or JBL's customer support.
Safety First:
- Power off your device before starting.
- Be cautious with speaker wires during removal.
Check Warranty:
- If under warranty, check with JBL for professional repair.
Guide Highlights:
- Step-by-step instructions with illustrations.
- Work in a clean, well-lit area, handle components with care.
Post-Repair:
- Perform a sound test to ensure audio quality restoration.
- Connect to a device and play various audio content.
Let's begin the step-by-step process to replace speakers and revive your JBL Charge 5's exceptional audio.
Tools
-
-
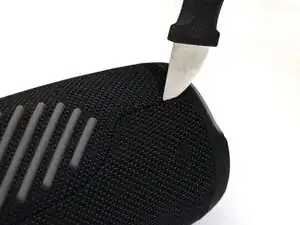
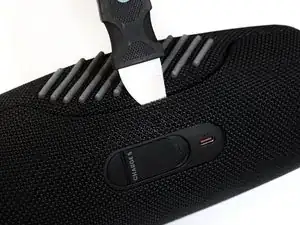
Insert the flat end of the Jimmy into the seam located between the fabric cover on the right side of the seam.
-
Pry upward on the fabric cover to release plastic clips on the right side of the seam.
-
-
-
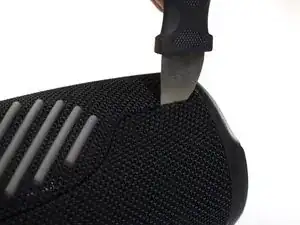
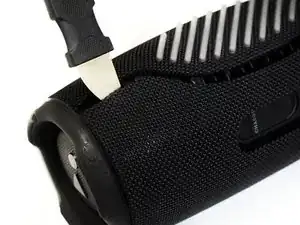
Insert the flat end of the Jimmy into the seam between the fabric cover at the center of the seam and the left side of the seam.
-
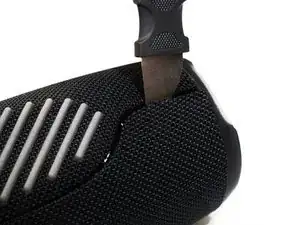
Use the Jimmy to pry open the edge with the rubber texture, releasing the remaining plastic clips.
-
-
-
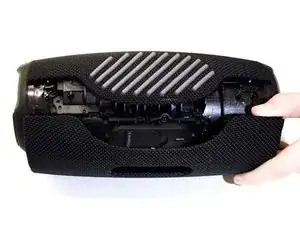
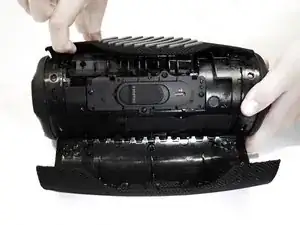
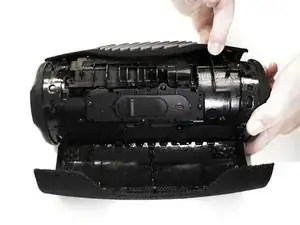
Use your hands to gently open the two halves of the casing and slide the fabric cover off of the interior housing.
-
-
-
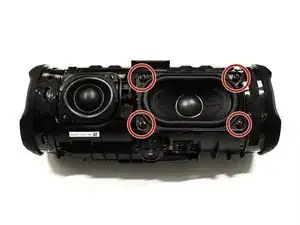
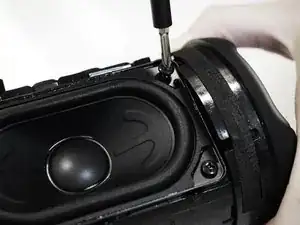
Using a Phillips #1 screwdriver, remove the four 16.5 mm screws on the corners around the oval speaker.
-
-
-
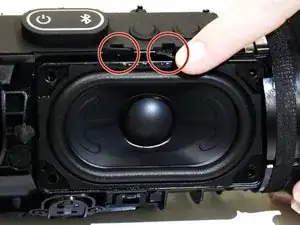
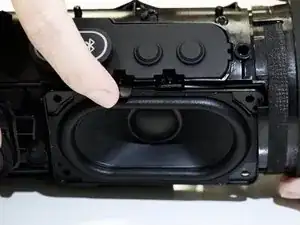
Gently use your hands to undo the flaps located at the top of the speaker.
-
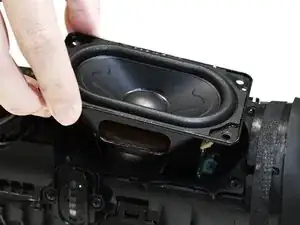
Grip the speaker on the top and bottom left of the square platform.
-
Gently remove the speaker from the casing.
-
-
-
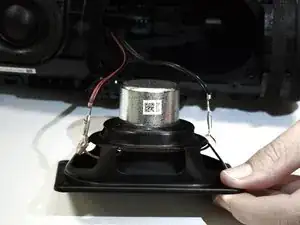
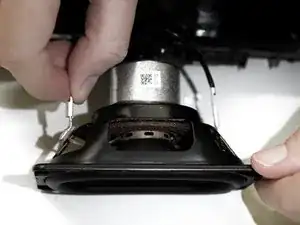
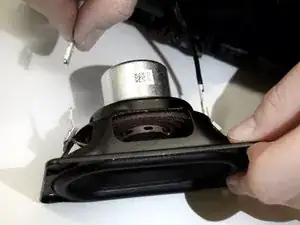
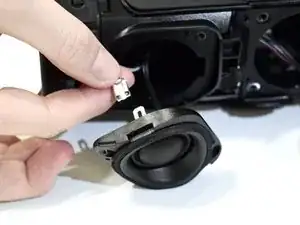
Holding the speaker firmly in place, gently remove the red wire from the speaker by pinching it at the silver base near the connection and pulling.
-
-
-
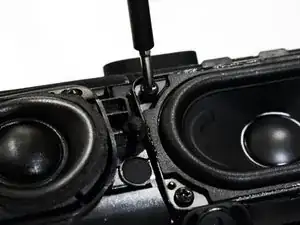
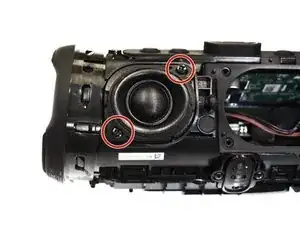
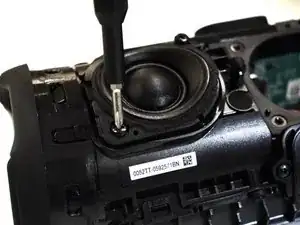
Using a Phillips #1 screwdriver, remove the two 16.5 mm screws in the small round speaker's top right and bottom left corners.
-
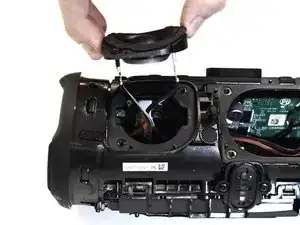
Gently use your hands to grip the speaker and remove it from the device.
-
-
-
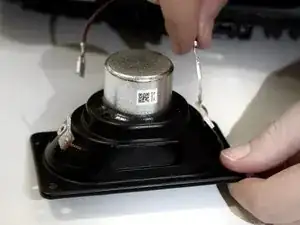
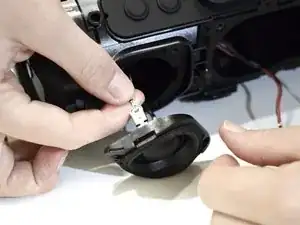
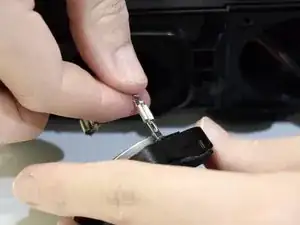
Pinch the white wire gently at the silver base near the connection.
-
Carefully disconnect the wire from the speaker by pulling it.
-
To reassemble your device, follow these instructions in reverse order.
