Introduction

Use this guide to replace the infrared sensor in your Insignia NS-24ER310NA17 television.

  1. 3QDjoaKT3JU1hvku
    3QDjoaKT3JU1hvku
    AHA3TxX4V6Duc3PJ
    41G3JgpZTPjI43UU
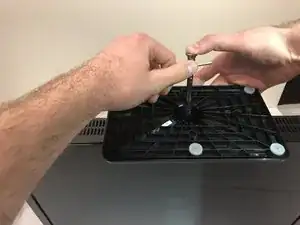
    • Rest the TV on its top edge so you have access to the base.

    • Use a Phillips #2 screwdriver to remove the four screws on the bottom of the base.

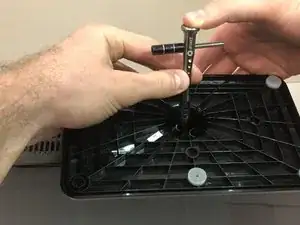
    • Remove the base from the frame.

  2. 6SPZO1FtKxaPddDV
    6SPZO1FtKxaPddDV
    foIimx5fFWLi3Htx
    G22xkKKFjFUQA6Hp
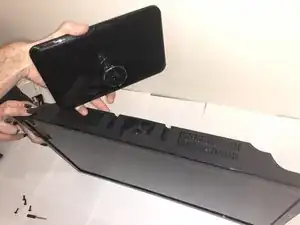
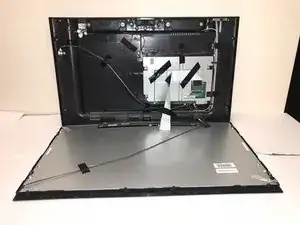
    • Lay the TV face down.

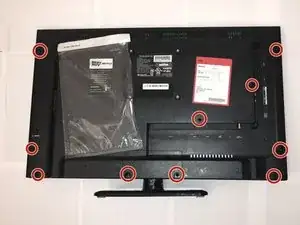
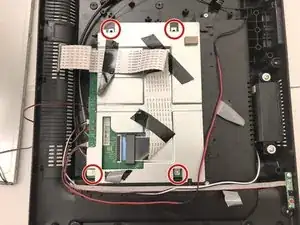
    • Use the Phillips #00 screwdriver to remove all of the screws from the the back of the TV.

  3. bUnMoJ1PmekrGbaJ
    • Stand the TV on its top edge.

    • Gently pry apart the front and back of the TV.

    • The two halves should pull apart easily since there are no longer any screws holding it together.

    • The two halves will still be connected by wires and cables that are taped to each side. Do not pull on these. We will remove them in the next step.

  4. SFFSpvLB5cZhWfEg
    SFFSpvLB5cZhWfEg
    hECYwNdZDuDkMFbT
    ATKoc1TCnQ5INiKj
    • As mentioned in the previous step, there are wires still connecting the two halves.

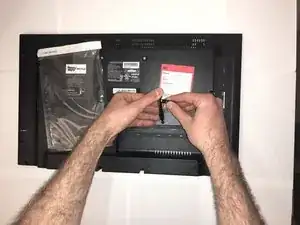
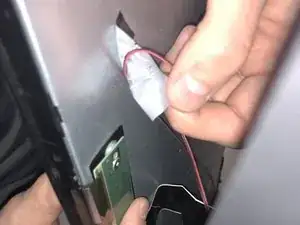
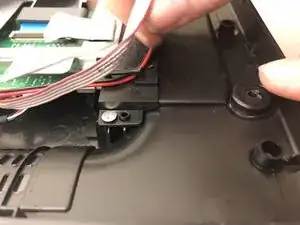
    • Remove all the pieces of tape to detach the wires from both sides.

    • You want to gently peel the tape off, without pulling on the wires.

  5. NNUMKqaVSkcPyoby
    • Spread apart your TV the rest of the way, but do not disconnect any of the wires.

    • You should have a clear view of the inside on both sides.

  6. wXN1SXUrTUVLTZp6
    • Remove all strips of tape attached to the silver steel rectangular piece.

  7. lvGuoRgEZIYEs5lt
    • Pull the red wire out from under the black plastic clip.

  8. TWJ3UIBVMLj1wQwR
    TWJ3UIBVMLj1wQwR
    xFcjk45RBWP5hpQr
    • Unscrew the four screws surrounding the steel rectangle with a Phillips 00 Screwdriver.

  9. a1UaRcHaBJMZyu5R
    • Carefully lift the rectangular piece.

  10. RQbwU2USXgFuMgUh
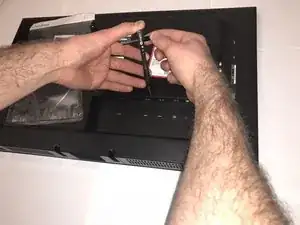
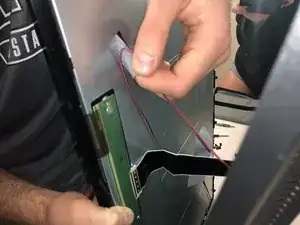
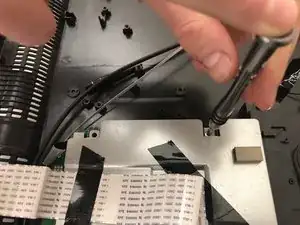
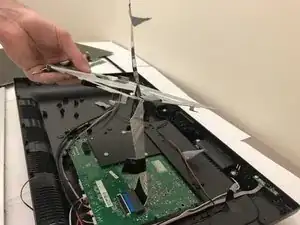
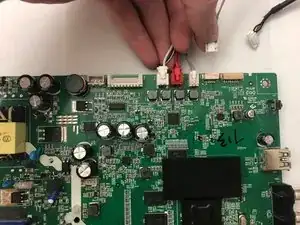
    • The rectangular piece will still be attached to the motherboard beneath it with a strip of tape. Remove this strip of tape.

  11. xcWNLuutYyptrpOf
    xcWNLuutYyptrpOf
    cmYSmR4nnYcqAoyj
    • Use a Phillips #00 screwdriver to remove the two screws on both sides of the motherboard.

  12. eJrGsJRlAVBMXUKw
    • Carefully lift the motherboard away from the television.

    • Keep in mind that the motherboard is still attached by several thin wires and should not be tugged.

  13. c1wLokabICmLftVW
    c1wLokabICmLftVW
    WqIcKLghDPCIIyTh
    M1tFCLxv4IjeFxJt
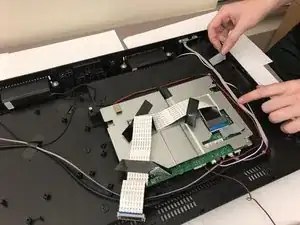
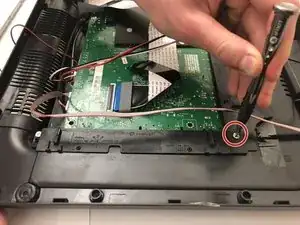
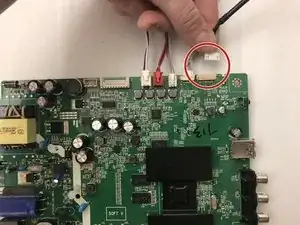
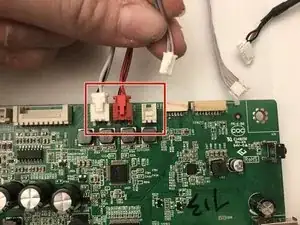
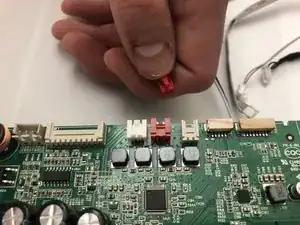
    • There are 5 wires attached to the motherboard. Remove the two thicker white wires to the right of the red wire.

  14. G6hv3Rxtva3gZMOK
    G6hv3Rxtva3gZMOK
    xnrGb2vcbnKIcOVK
    s2mSgKZcjdILmxuO
    • Remove the remaining three wires from the mainboard.

    Remember which wires go to where!

    Joshua Weiss -

  15. Y521RopVhO5wBKm6
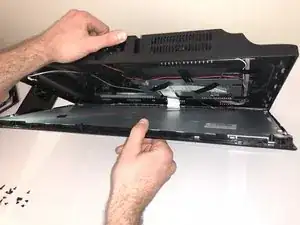
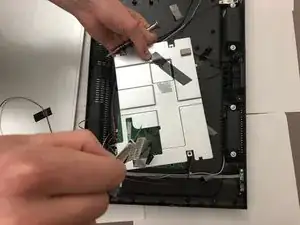
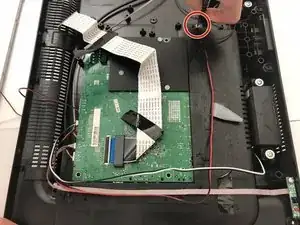
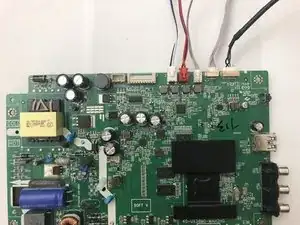
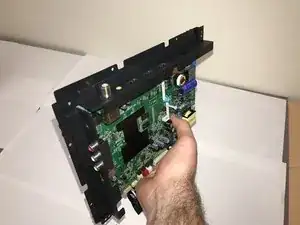
    • Carefully remove the mainboard from the television.

    • You have now successfully removed the mainboard.

  16. 2yGtoDYCrNXbJF2D
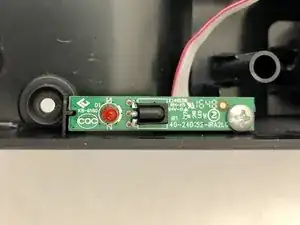
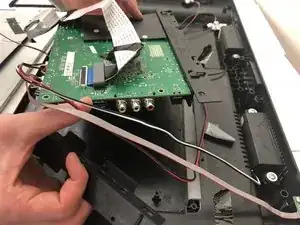
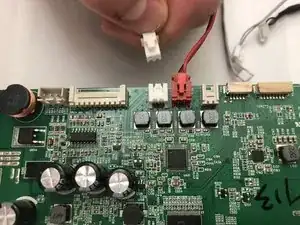
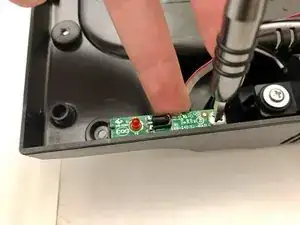
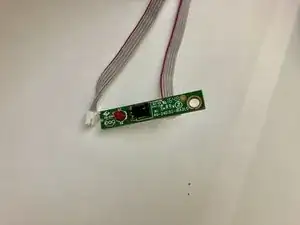
    • Unplug the ribbon cable from the port on the main board that corresponds with the IR sensor.

  17. Yri1fYRPMKXVuLxK
    Yri1fYRPMKXVuLxK
    yLNpZ36fFMv1KVoo
    • Remove the single screw holding the IR sensor and remove the sensor with the ribbon cable.

Conclusion

To reassemble your device, follow these instructions in reverse order.

Joelle Hylton

Member since: 23/01/18

266 Reputation

0 comments