
Introduction
If your Insignia Flex 10.1 tablet (model NS-P10W8100) exhibits indications of a blurry lens, physical damage to the camera, or connectivity issues that prevent the camera from being recognized by the system, use this guide to replace the camera of your device.
A tablet’s camera is essential for capturing images and videos, supporting activities like photography, video conferencing, and document scanning. A malfunctioning camera may exhibit symptoms such as poor image quality (e.g., blurry or distorted visuals), failure to initialize, physical damage, or connectivity issues with the device’s system. This guide provides the steps to replace the malfunctioning camera, bringing the device’s imaging capabilities back to full functionality.
Before proceeding with the repair, disconnect the device’s battery from all power sources to avoid electrical damage. Use ESD-safe tools while replacing the camera to safeguard internal components from static discharge, and handle ribbon connectors gently to avoid causing any damage. Once the camera has been replaced, be sure to dispose of the old parts responsibly to minimize environmental damage. Use Earth911’s recycling directory for guidance on safe electronic waste disposal.
Before proceeding with the replacement guide, confirm that the device is completely powered down and disconnected from all external power sources.
Tools
-
-
Carefully open the laptop and remove the keyboard by disconnecting it.
-
Place keyboard to the side as you will not need it.
-
-
-
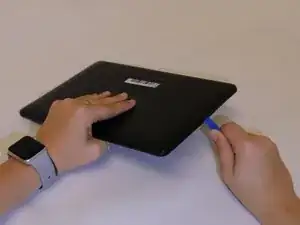
Lay the screen flat on its surface and use the iFixit opening tool to remove the cover by gently prying the back cover from the screen.
-
-
-
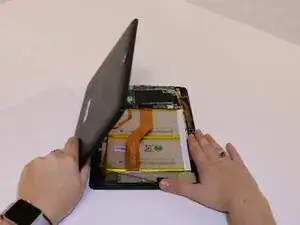
Use your fingers and pry the back cover from the screen. You may need to wiggle the cover a bit to separate the pieces.
-
If the back cover does not come off work your fingers around the corners and slowly pry the cover off using your fingers.
-
-
-
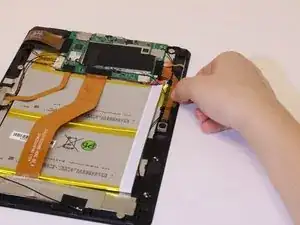
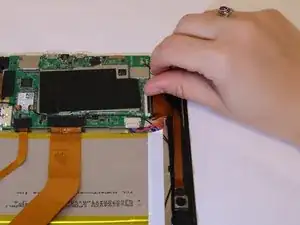
Carefully remove the yellow tape holding down the camera ribbon connector by pulling it upwards.
-
Remove the black tape holding down the camera ribbon connector which is attached to the motherboard.
-
-
-
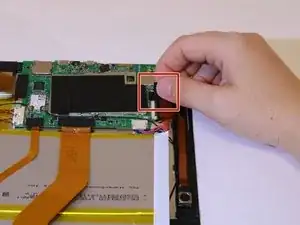
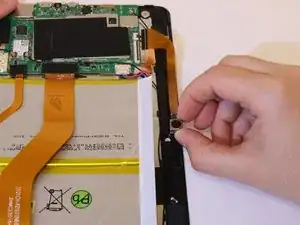
Disconnect the zero insertion force (ZIF) connector by using your fingernail to flip the small locking flap.
-
Disconnect the cable by gently pulling it outward.
-


To reassemble your device, follow these instructions in reverse order.