Introduction
After continuous usage, the batteries of electronics inside tend to give out completely, or they tend to not be able to hold a charge all that well compared to when they were brand new.
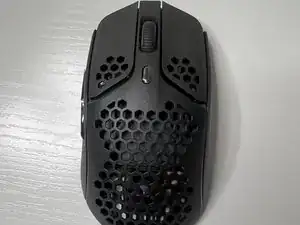
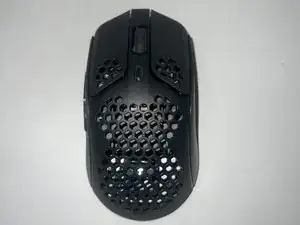
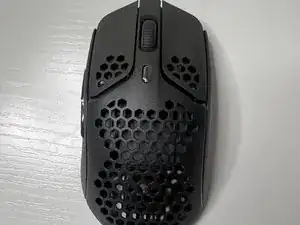
This guide demonstrates how to replace the battery inside of a HyperX Pulsefire Haste Wireless mouse Model: PF002, in order to extend the life span of the electronic and reduce the amount of e-waste.
Parts
-
-
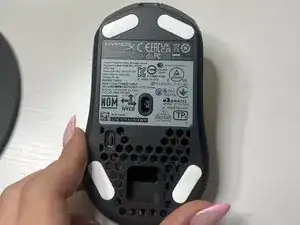
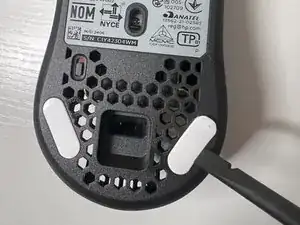
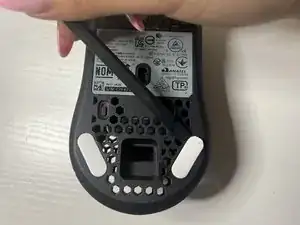
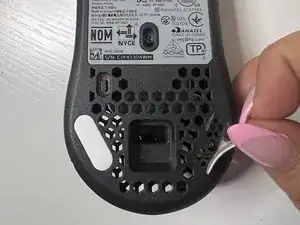
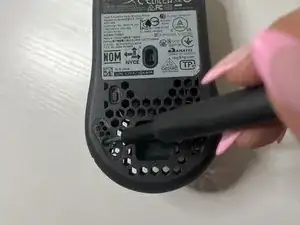
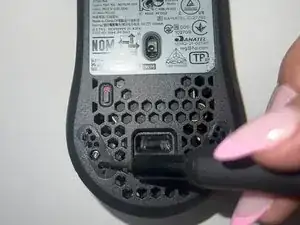
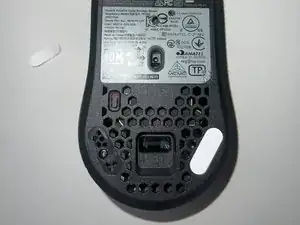
Using the plastic spudger, remove the white mouse sticker grips on both sides of lower portion of the bottom mouse to reveal the screw holes underneath.
-
-
-
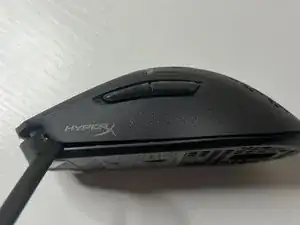
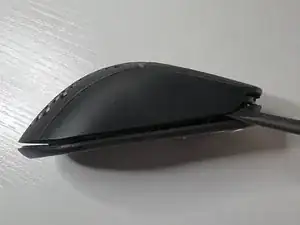
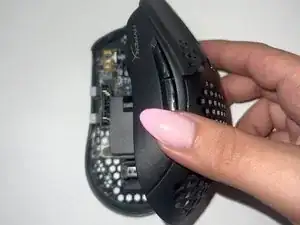
Use the plastic spudger to separate the mouse covering from the base on both sides of the mouse.
-
-
-
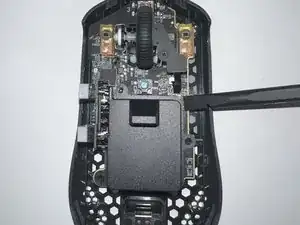
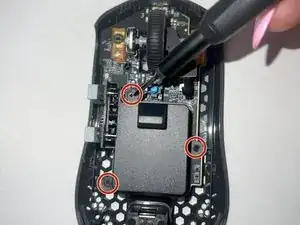
Remove the three screws located on the battery casing at the top, left, and right sides using a TR6 Torx screwdriver.
-
-
-
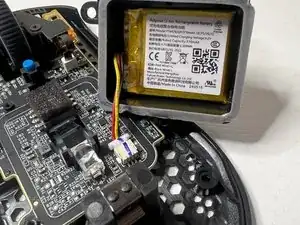
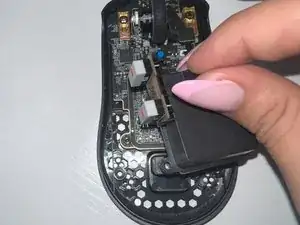
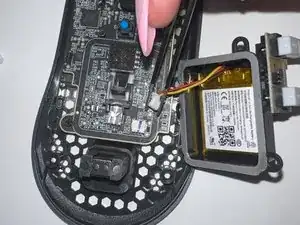
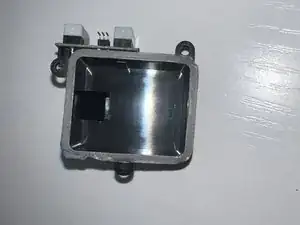
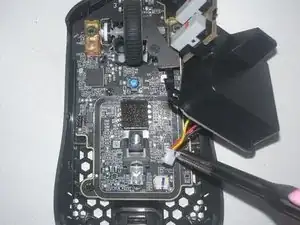
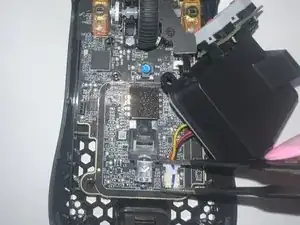
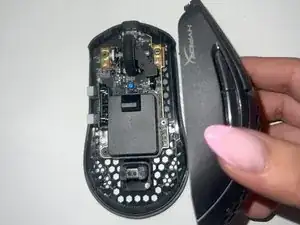
Use the plastic spudger to gently lift the battery cover with the battery inside, ensuring the wiring is still connected, setting it nearby.
-
-
-
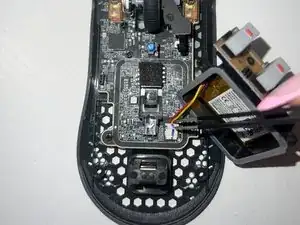
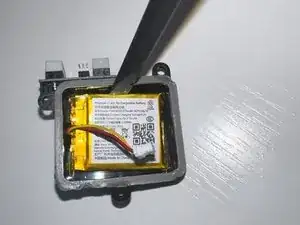
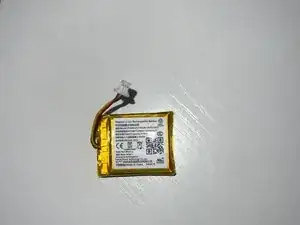
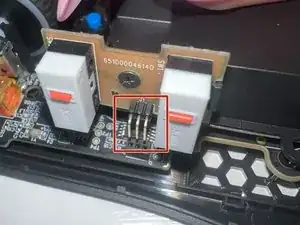
Use the tweezers to grab the white connector and remove the battery wiring from the mouse base.
-
-
-
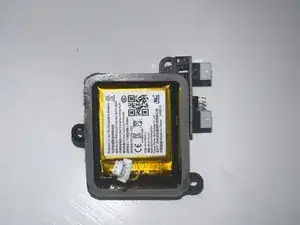
Using the tweezers, gently connect the wire back to its location, while ensuring the three pins are back in their original pinholes.
-
-
-
Using the TR6 Torx screwdriver, screw back all three of the screws originally taken off of the battery casing.
-
-
-
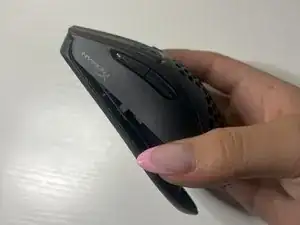
Place the mouse covering back on, ensuring the component is properly aligned with the screw holes underneath.
-
-
-
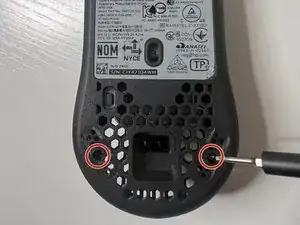
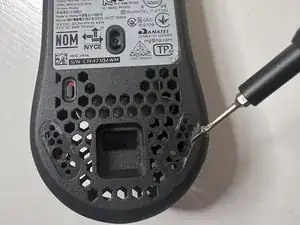
Screw both of the outer screws back on the lower bottom of the mouse using a TR6 Torx screwdriver.
-
-
-
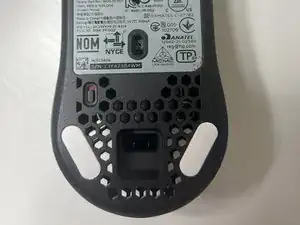
Place the mouse sticker grips that you previously took off back on to cover the screw holes.
-


Congratulations! You have successfully completed replacing the battery inside of your wireless mouse! You can now use your knowledge you have gained from this replacement in future similar scenarios and continue on doing your part in reducing the amount of e-waste on our planet.