
Introduction
IMPORTANT: Check Step 1 before buying the new parts.
A less expensive way of replacing your bite valve. It is recommended to consider replacing your bladder hose before it's completely unusable to prevent your hydration pack from being deadweight in the middle of a hike. You could also use this guide to simply upgrade your bite valve.
Parts
-
-
Find the same brand part of your valve for sale online or find one with the same size as it.
-
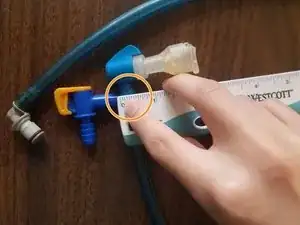
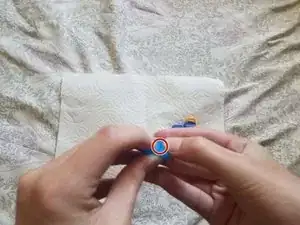
I first measured the new bite valve.
-
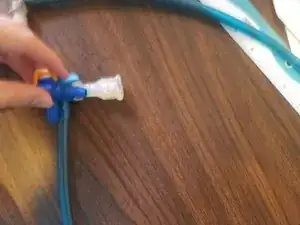
Then, I measured the old bite valve. Their sizes seemed similar enough. Finally, I compared the two bite valves and concluded that the new bite valve would be a suitable replacement.
-
-
-
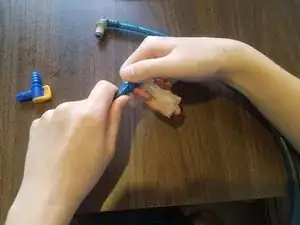
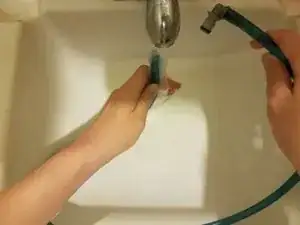
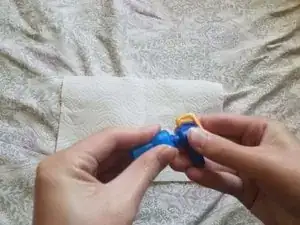
Remove the old or broken part by pulling it off if it's loose enough.
-
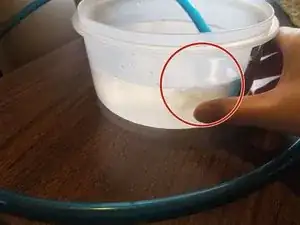
I made sure to keep the bite valve and the part of the hose around it submerged in the boiling water.
-
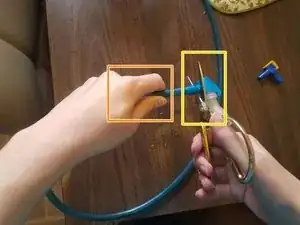
Ensure the end of the hose is cut at a 90-degree angle to avoid cutting yourself. Make sure your hand is far from the scissors while keeping a stable grip.
-
Once you're certain that nothing else is in the way of the scissors, make the cut.
-
-
-
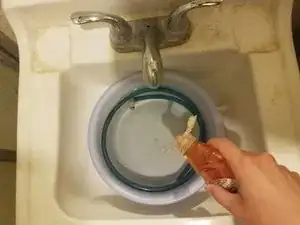
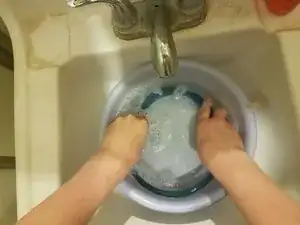
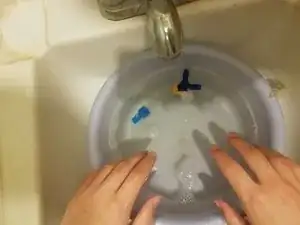
Use mild soap and water to clean the outside of the tube. Swirl the water with your hands to mix the soap and water well.
-
-
-
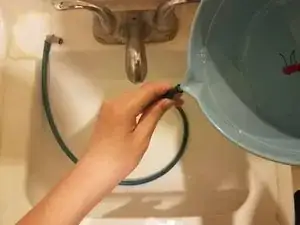
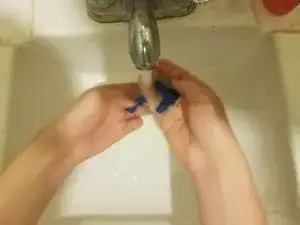
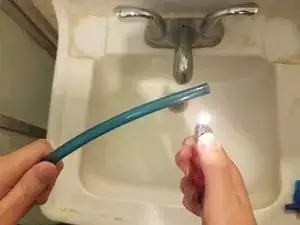
To clean the inside of the hose, head to a sink and run hot soapy water through it. Then, run regular water through it as rinsing.
-
-
-
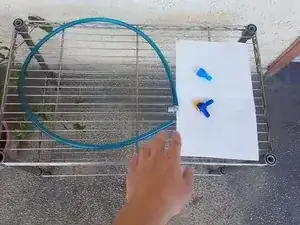
Clean and dry the new bite valve, inside and out. I reused the hot soapy water bowl from Step 3 to do it. Rinse it after. Make sure everything is dry before moving onto the next step.
-
-
-
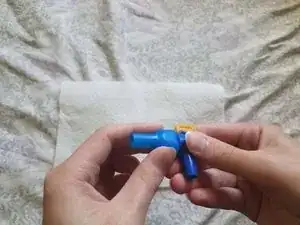
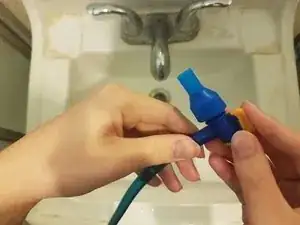
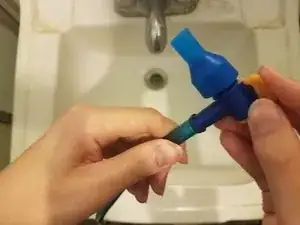
Attach the new mouth piece to the new bite valve.
-
Mines had a little hole you have to open up while pushing the bite valve through it.
-

Your Bladder Hose is now ready to be used once again. Attach it back to your Hydration Pack and you're good to go.