Introduction
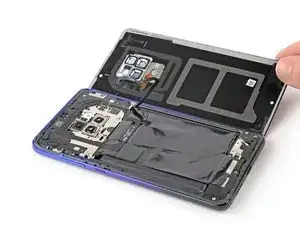
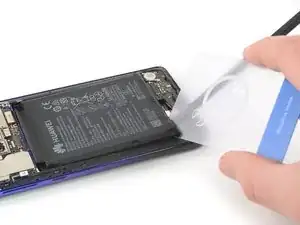
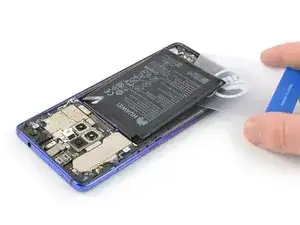
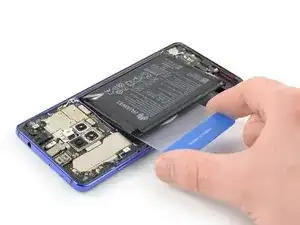
Use this guide to replace a worn-out or dead battery in your Huawei Mate 20.
Opening the Huawei Mate 20 will damage the waterproof sealing on the device. If you do not replace the adhesive seals, your phone will function normally but will lose its water-protection.
If your battery is swollen, take appropriate precautions. For your safety, discharge your battery below 25% before disassembling your phone. This reduces the risk of a dangerous thermal event if the battery is accidentally damaged during the repair.
Although it is possible to remove the battery without removing the main flex cable, we recommend to do so to avoid damage to surrounding components.
You’ll need replacement adhesive to reattach components when reassembling the device.
Tools
Parts
-
-
Before you begin, switch off your phone.
-
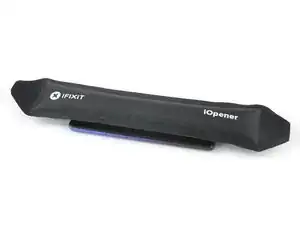
Apply a heated iOpener to the back of the phone to loosen the adhesive beneath the back cover. Apply the iOpener for at least two minutes.
-
-
-
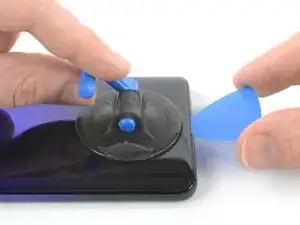
Secure a suction handle to the bottom of the back cover, as close to the edge as possible.
-
Lift the back cover with the suction handle to create a small gap between the cover and the frame.
-
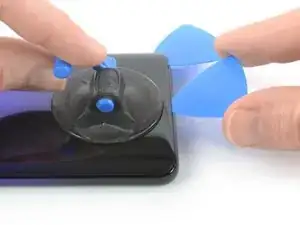
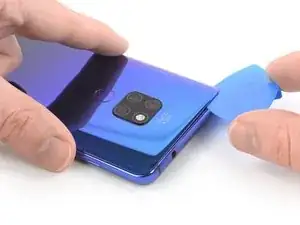
Insert an opening pick into the gap.
-
Slide the opening pick to the bottom right corner.
-
-
-
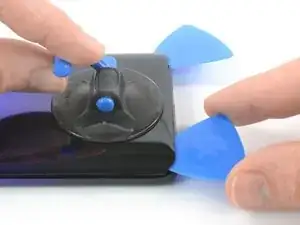
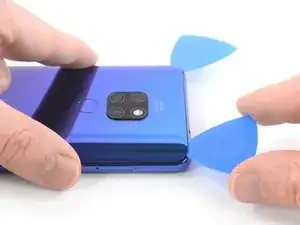
Insert a second opening pick and slide it to the bottom left corner to cut the adhesive.
-
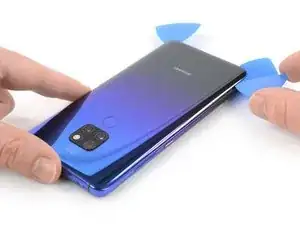
Leave the opening picks in place to prevent the adhesive from resealing.
-
-
-
Insert a third opening pick at the bottom left corner.
-
Slide the tip of the opening pick from the bottom left corner along the side of the phone to cut the adhesive.
-
Leave the opening pick in its place at the top left corner to prevent the adhesive from resealing.
-
-
-
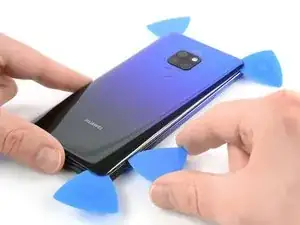
Insert a fourth opening pick under the top left corner of the back cover.
-
Slide the opening pick along the top edge of the phone to cut the adhesive.
-
Leave the opening pick in the top right corner to prevent the adhesive from resealing.
-
-
-
Insert a fifth opening pick at the top right corner of the phone.
-
Slide the opening pick along the right side to cut the remaining adhesive.
-
-
-
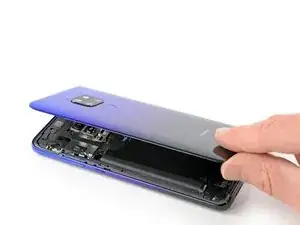
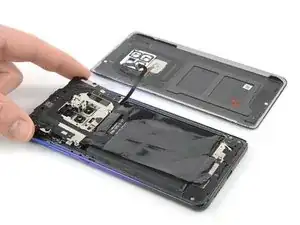
Carefully fold the back cover to the right side of the phone assembly. Avoid tension to the fingerprint cable during this procedure.
-
-
-
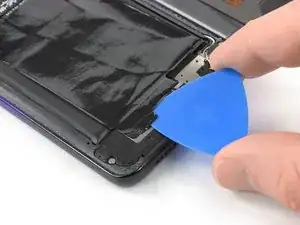
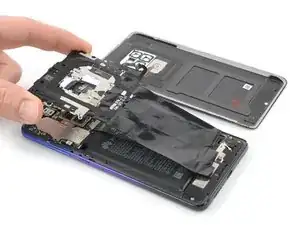
Slide an opening pick under the bottom end of the black protective foil that covers the battery. Use the opening pick to loosen the adhesive that attaches the foil to the loudspeaker.
-
-
-
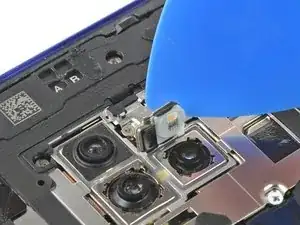
Use an opening pick to carefully pry the flash assembly off the motherboard cover and fold it into the direction of the battery. Avoid damaging the flash assembly flex cable.
-
-
-
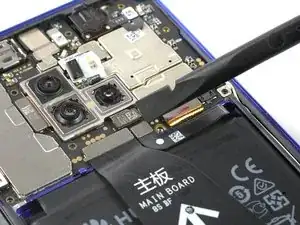
Use the pointed end of a spudger to unhinge the motherboard cover from the small hook above the left side of the battery.
-
-
-
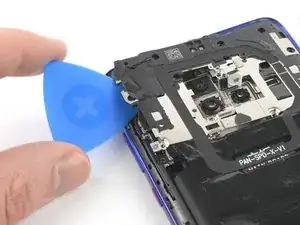
Slide an opening pick underneath the left side of the motherboard cover.
-
Use the opening pick to pry up the motherboard cover.
-
-
-
Remove the motherboard cover including the NFC and the black protective foil. Avoid damaging the flash assembly during this procedure.
-
-
-
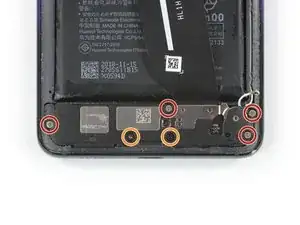
Remove the four Phillips #00 screws (3.3 mm length).
-
Remove the two Phillips #00 screws (3.9 mm length).
-
-
-
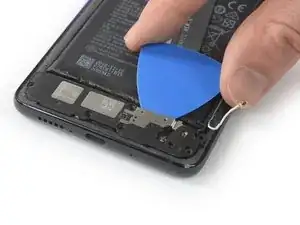
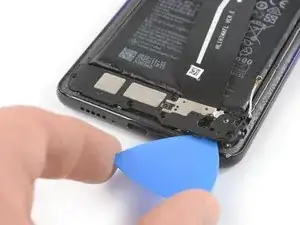
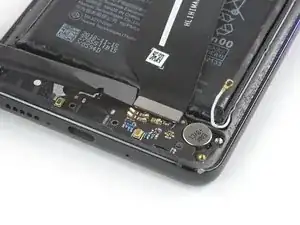
Slide an opening pick under the loudspeaker cover where the main flex cable is located.
-
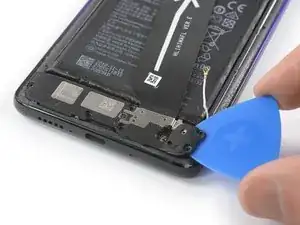
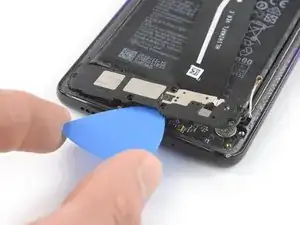
Slide the opening pick around the right side of the loudspeaker cover and start to pry it up. Avoid damaging the antenna cable during this step.
-
-
-
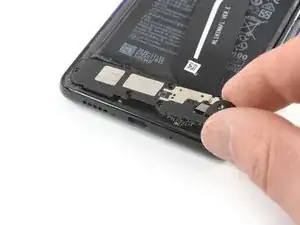
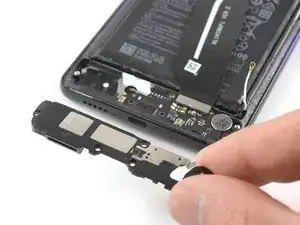
Work your way along the bottom edge of the loudspeaker cover into the direction of the charging port. Use the opening pick to pry up the loudspeaker during this procedure.
-
-
-
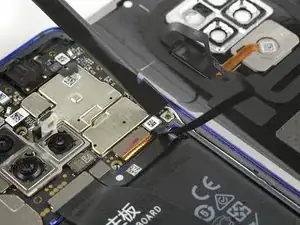
Use a spudger to pry up and disconnect the connector on the bottom end of the main flex cable.
-
-
-
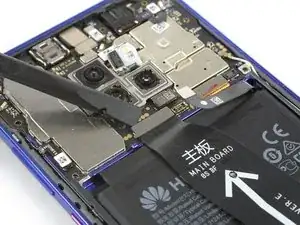
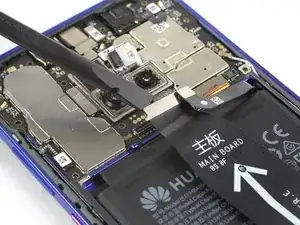
Use a spudger to pry up and disconnect the connector on the upper end of the main flex cable.
-
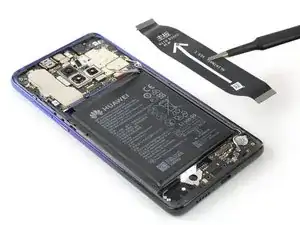
Remove the main flex cable.
-
-
-
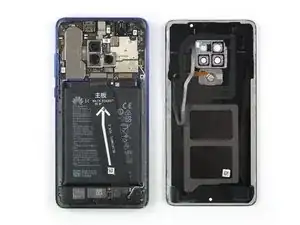
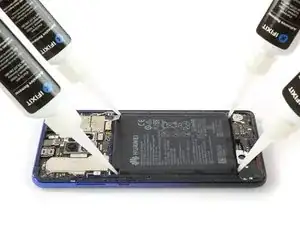
Apply adhesive remover or high isopropyl alcohol (>90%) in every corner of the battery and let it penetrate the adhesive beneath the battery for several minutes.
-
At this point you can attempt to continue with the following steps. If you aren't able to pry up the battery apply a heated iOpener to the screen to loosen the adhesive beneath. Apply the iOpener for at least two minutes. You may need to repeat the adhesive remover and heat procedure several times during the removal procedure.
-
-
-
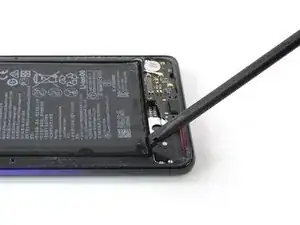
Insert a spudger into the gap between the midframe and the battery at the bottom left corner of the battery.
-
Use the spudger to pry up the battery until you created a small gap underneath. Try your best not to deform the battery during this procedure.
-
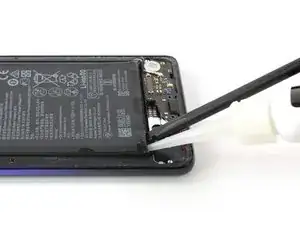
Apply some more adhesive remover into the created gap and let it penetrate the adhesive for several minutes.
-
-
-
Slide a plastic card into the gap you created with the spudger.
-
If you cannot manage to slide the plastic card along the left side of the battery leave it in its place and apply more adhesive remover or heat to loosen the adhesive furthermore.
-
-
-
Slide the plastic card underneath the battery and cut the adhesive with it. Work your way along the left edge of the battery until you've loosened all adhesive.
-
Use the plastic card to pry up the battery.
-
To reassemble your device, follow these instructions in reverse order.
For optimal performance, calibrate your newly installed battery: Charge it to 100%, and keep charging it for at least two more hours. Then, use it until it shuts off due to low battery. Finally, charge it uninterrupted to 100%.
Take your e-waste to an R2 or e-Stewards certified recycler.
Repair didn’t go as planned? Check out our Answers community for troubleshooting help.
2 comments
Vielen Dank Freunde, schon 2 mal erfolgreich durchgeführt, bei 2 Geräten.
Ausführliche Anleitung.
Ich habe damit erfolgreich den Akku, den oberen verklebten Lautsprecher und die Ladeplatine getauscht.
Handy ist wieder wie neu!


